Configuring the System
196
8
Automatic Date Advance
The Auto Date Advance function automatically proposes to change the date printed
on mail pieces at a preset time to the next 'working day' date.
Example: You can set the system to change dates at 17:00 hours and set Saturdays
and Sundays to be non-working days. From Friday 17:00 hours to Sunday 23:59, the
system will print Monday's date on the envelopes, after a confirmation message to
the user.
How to Se t the Automat ic Date Advanc e Feature
How to Set the
Automatic Date
Advance Feature
To set the auto date advance time and days:
1 As supervisor (see
How to Log in as Supervisor
p.190):
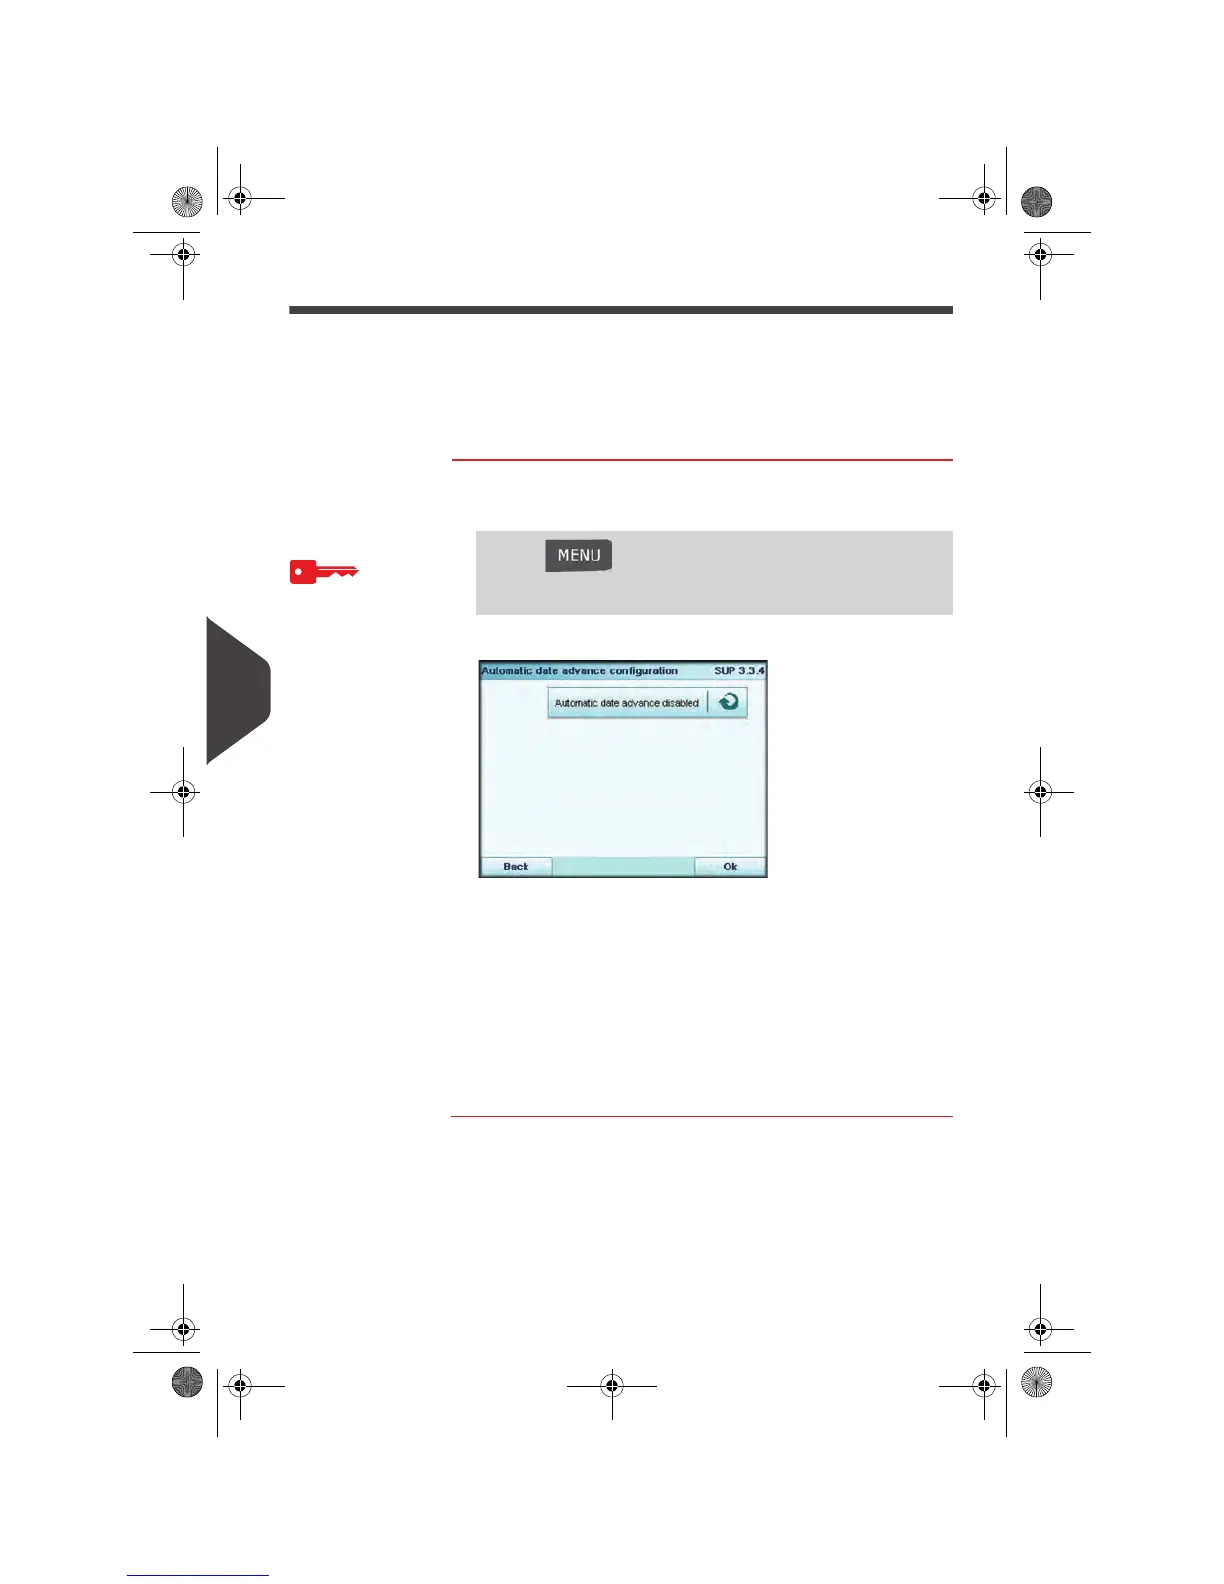
The
Automatic date advance
screen is displayed.
2 Press the Auto Date Advance button to Active status.
3 Enter the Automatic Date Advance time (00:00 hours is not
allowed).
4 Select Day to gain access to working days selection screen.
5 Tap the day or select the day and press Select/Deselect to
select or deselect each day.
6 Press [OK] to exit.
See also
•
Steps to Re-date Mail
p.51.
Press and type 3.3.4 or select the path:
> Default user settings > Default imprint parameters >
Automatic date advance
OMEGA1_US.book Page 196 Vendredi, 1. octobre 2010 10:46 10
 Loading...