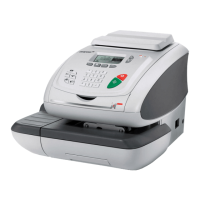
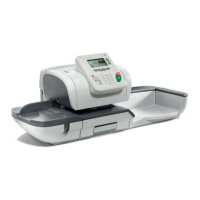
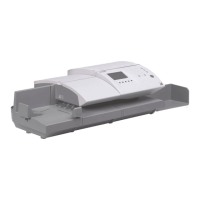
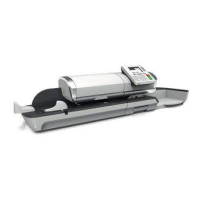
Running Mail
58
3
Running mail for “Incoming Dating”
You can print the date on incoming mail for internal tracking purposes. The text “Re-
ceived” can be added before the date. This feature is useful for companies that
receive mail requiring a deadline (payment due dates, for example). It allows them to
validate the date of receipt, since the date of processing may not be the same.
When indicated, steps are detailed in section
Detailed Steps to Run Mail
p.62.
See also
• For counting mail without printing:
Running 'No Printing Mail' (Sealing or Counting
only)
p.60.
Recommended Steps
For printing and receiving mail for incoming dating:
• Selecting the Print Mode [
Incoming dating
]
• Add “Received text” to be printed with date (optional) by selecting [Marking On/Off]
• Validate the date printed
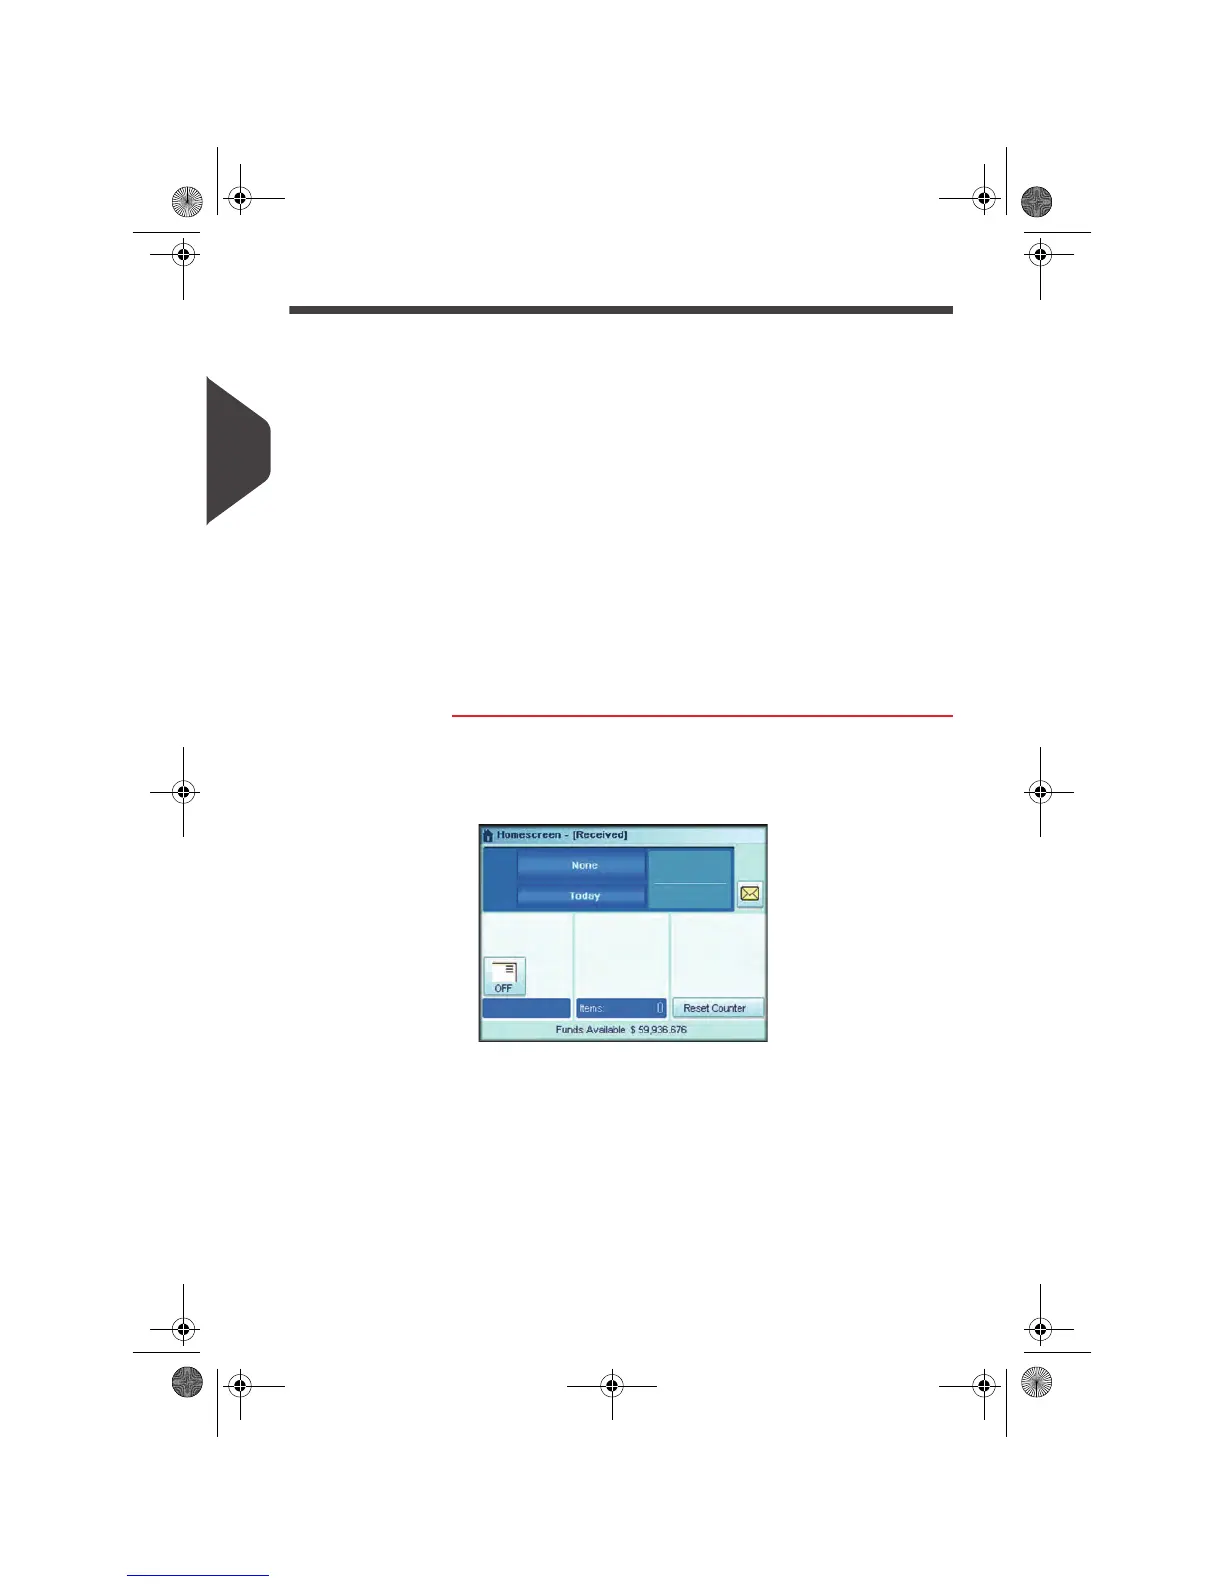
How to Process Incoming 'Received' Mail
How to Process
Incoming 'Re-
ceived' Mail
Once your mail is ready:
1 Confirm you are in Print Mode: [
Incoming dating
] home
screen. The name of the Print Mode is indicated on the top
line of the home screen as illustrated below.
If necessary, see
How to Change the Print Mode
p.62.
Customizing Incoming Mail Printing
The home screen indicates whether the text “Received” will be
printed to the left of the date:
1 To turn on/off the text, press the Ad Slogan area that states
“Marking On/off”.
OMEGA1_US.book Page 58 Vendredi, 1. octobre 2010 10:46 10
 Loading...