ENGINE MECHANICAL (M13 ENGINE) 6A2-69
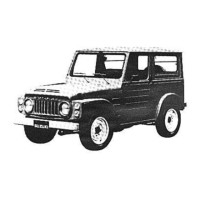
4) Install piston and connecting rod assembly into cylinder
bore. Use special tool (Piston ring compressor) to compress
rings. Guide connecting rod into place on crankshaft.
Using a hammer handle, tap piston head to install piston into
bore. Hold ring compressor firmly against cylinder block until
all piston rings have entered cylinder bore.
Special tool
(A): 09916-77310
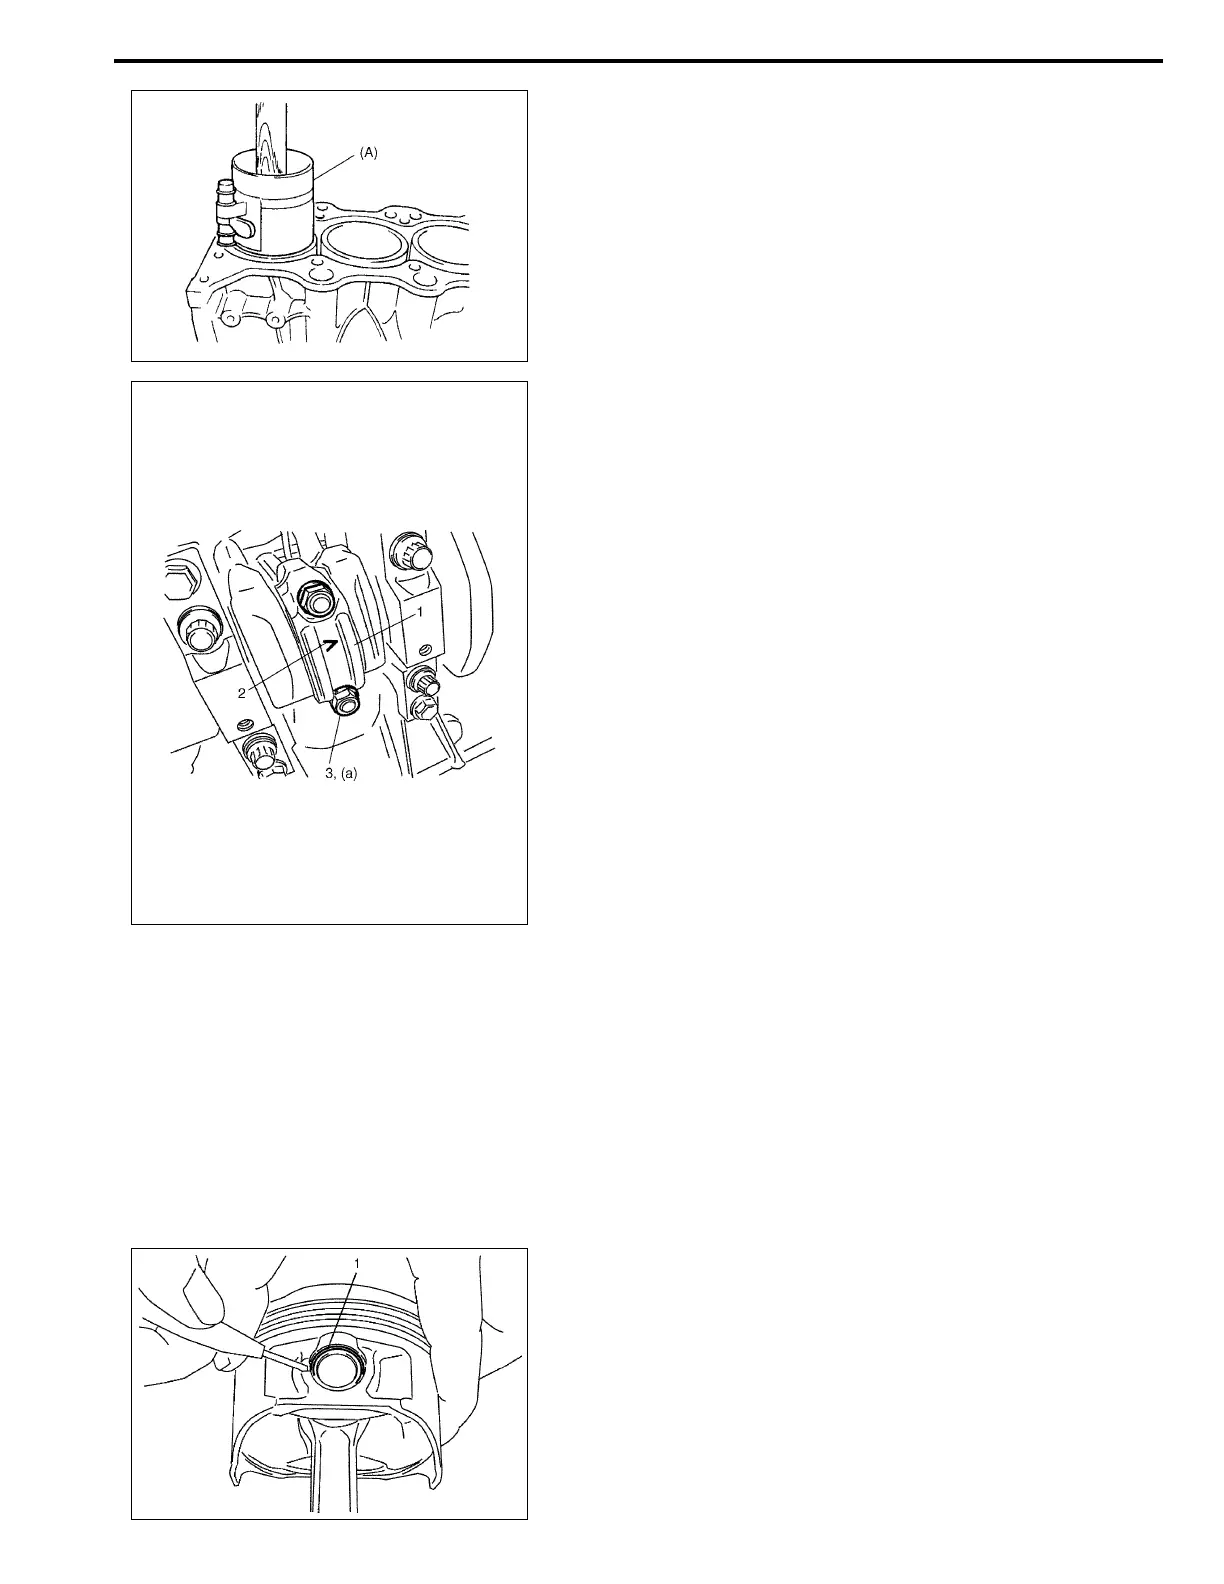
5) Install bearing cap (1):
Point arrow mark (2) on cap to crankshaft pulley side.
After applying oil to rod bolts and tighten cap nuts (3) gradu-
ally as follows.
a) Tighten all cap nuts to 15 N·m (1.5 kg-m, 11.0 lb-ft).
b) Retighten them to 45°.
c) Repeat Step b) once again.
Tightening torque
Bearing cap nut
(a): Tighten 15 N·m (1.5 kg-m, 11.0 lb-ft), 45° and 45° by the
specified procedure.
6) Install cylinder head referring to “Valves and Cylinder Head
Removal and Installation” in this section.
Pistons, Piston Rings, Connecting Rods and
Cylinders Disassembly and Assembly
Disassembly
1) Using piston ring expander, remove two compression rings
(Top and 2nd) and oil ring from piston.
2) Remove piston pin from connecting rod as follows.
a) Ease out piston pin circlips (1), as shown.
NOTE:
Before installing bearing cap, make sure that checking
for connecting rod bolt deformation.
Refer to “Connecting Rod” of “Pistons, Piston Rings,
Connecting Rods and Cylinders Inspection” in this sec-
tion.