09/2007
3-11
Phaser 8860/8860MFP Service Manual
IQ15, IQ16
Image Quality
Initial Issue
IQ15 Smudges or Smears
This RAP addresses image quality problems associated with the Print Engine. Smudges or
smears typically result from ink residue in the paper path. Residue can collect on the rollers,
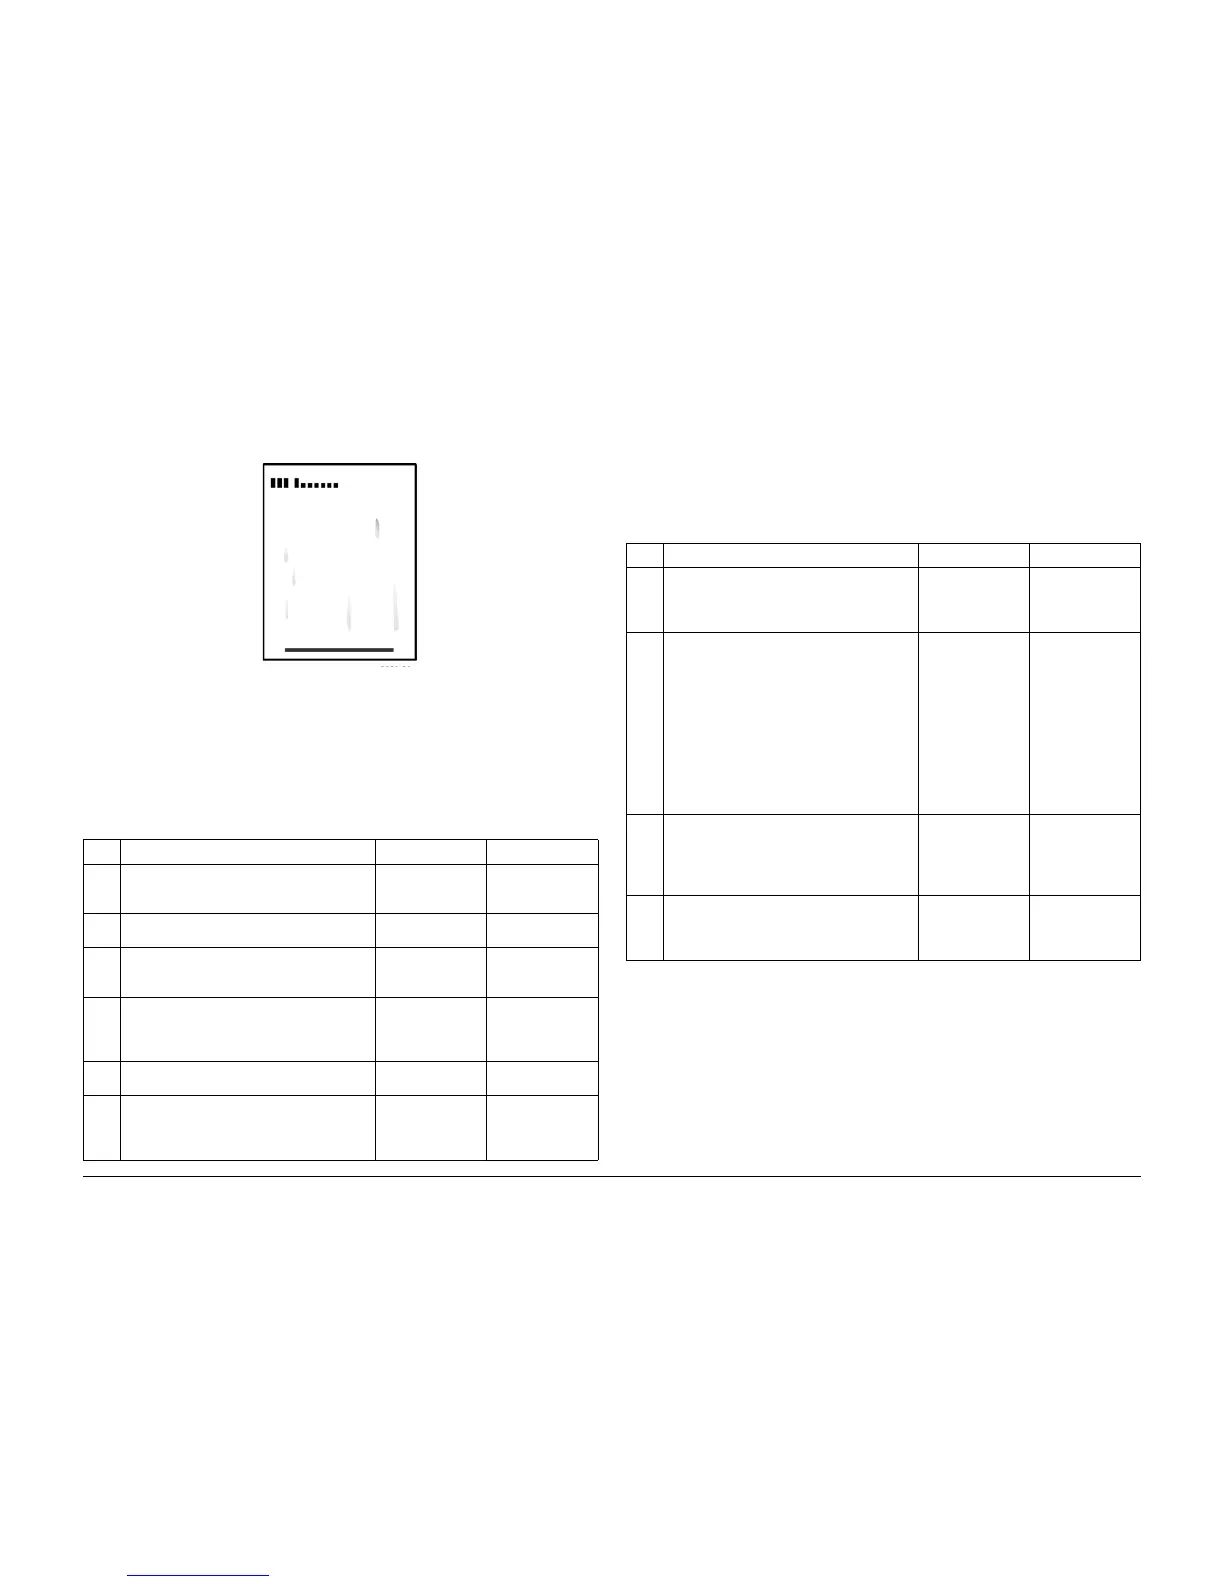
paper guide ribs, or inside the Preheater. Smudges or smears can appear as follows:
Figure 1 Example of Smudged or Smeared Output
Initial Actions
1. Check that supported media is being used.
2. Run the Remove Print Smears routine from the Control Panel.
Procedure
IQ16 Printed Image is Too Light or Too Dark
This RAP addresses image quality problems associated with the Print Engine.
Initial Actions
1. Check that supported media is being used.
2. Verify the settings for media type match the media loaded in the tray.
Procedure
Table 1 IQ15 Smudges or Smears
Step Questions and Actions Yes No
1 Clean the Print Engine exit path, and wipe the
Stripper Blade with a lint-free cloth.
Does the problem persist?
Go to Step 2. Complete.
2 Run the Remove Print Smears routine.
Does the problem persist?
Go to Step 3. Complete.
3 Repeat Step 2 up to 3 times if necessary.
Load fresh media and reprint the test page.
Does the problem persist?
Go to Step 4. Complete.
4 Remove the Drum Maintenance Kit and wipe
the clear plastic blade with a lint-free cloth.
Does the problem persist?
Replace the Drum
Maintenance Kit. If
the problem per-
sists, go to Step 5.
Complete.
5 Clean the rollers and Stripper Blade.
Does the problem persist?
Go to Step 6. Complete.
6 Check the Drum Maintenance Pivot Plate and
Cam Rollers for damage or debris.
Replace any defective parts.
Does the problem persist?
Replace the Pre-
heater (REP
2.0.17).
Complete
Table 1 IQ16 Printed Image is Too Light or Too Dark
Step Questions and Actions Yes No
1 Verify that paper type matches the type
selected in the driver and by the application.
Does the problem persist after making the
adjustments?
Go to Step 2. Complete.
2 Check and/or adjust the Control Panel print
mode settings.
1. Print the Troubleshooting Print Quality
page and evaluate the Output Quality
and Color Settings section.
2. Use the Lighten/Darken Output Quality
adjustment to attempt to correct the
problem.
3. Check that the print mode is not set to
Draft or Standard.
Does the problem persist?
Go to Step 3. Complete.
3 Insert new ink and print solid fill test prints
until the affected color returns to normal. This
could require several ink sticks of the affected
color.
Does the problem persist?
Go to Step 4. Complete.
4 Purge the ink from the affected color up to 10
times, checking output every 3 purges until
the discoloration clears.
Does the problem persist?
Replace the Print-
head (REP 2.0.2).
Complete.