09/2007
4-26
Phaser 8860/8860MFP Service Manual
REP 2.0.3, REP 2.0.4
Initial Issue
Repairs and Adjustments
31. Install the Inner Simplex Guide.
32. Install all covers and doors.
33. Install the Output Tray, Scanner, and DADF on the 8860MFP.
34. Perform the Wiper Alignment Adjustment (ADJ 2.5.1).
35. Perform the Printhead Parking procedure (ADJ 2.2.1).
36. Perform the Head Tilt Gear Homing procedure (ADJ 4.13.1).
37. Perform the Process Drive Homing Procedure (ADJ 4.7.1).
38. Turn system power On and print a Configuration page to test operation.
REP 2.0.4 Y-Axis Belt
Parts List on PL 2.0
Removal
1. Remove the Left Side Cover (REP 1.0.7 or REP 1.1.9 for the 8860).
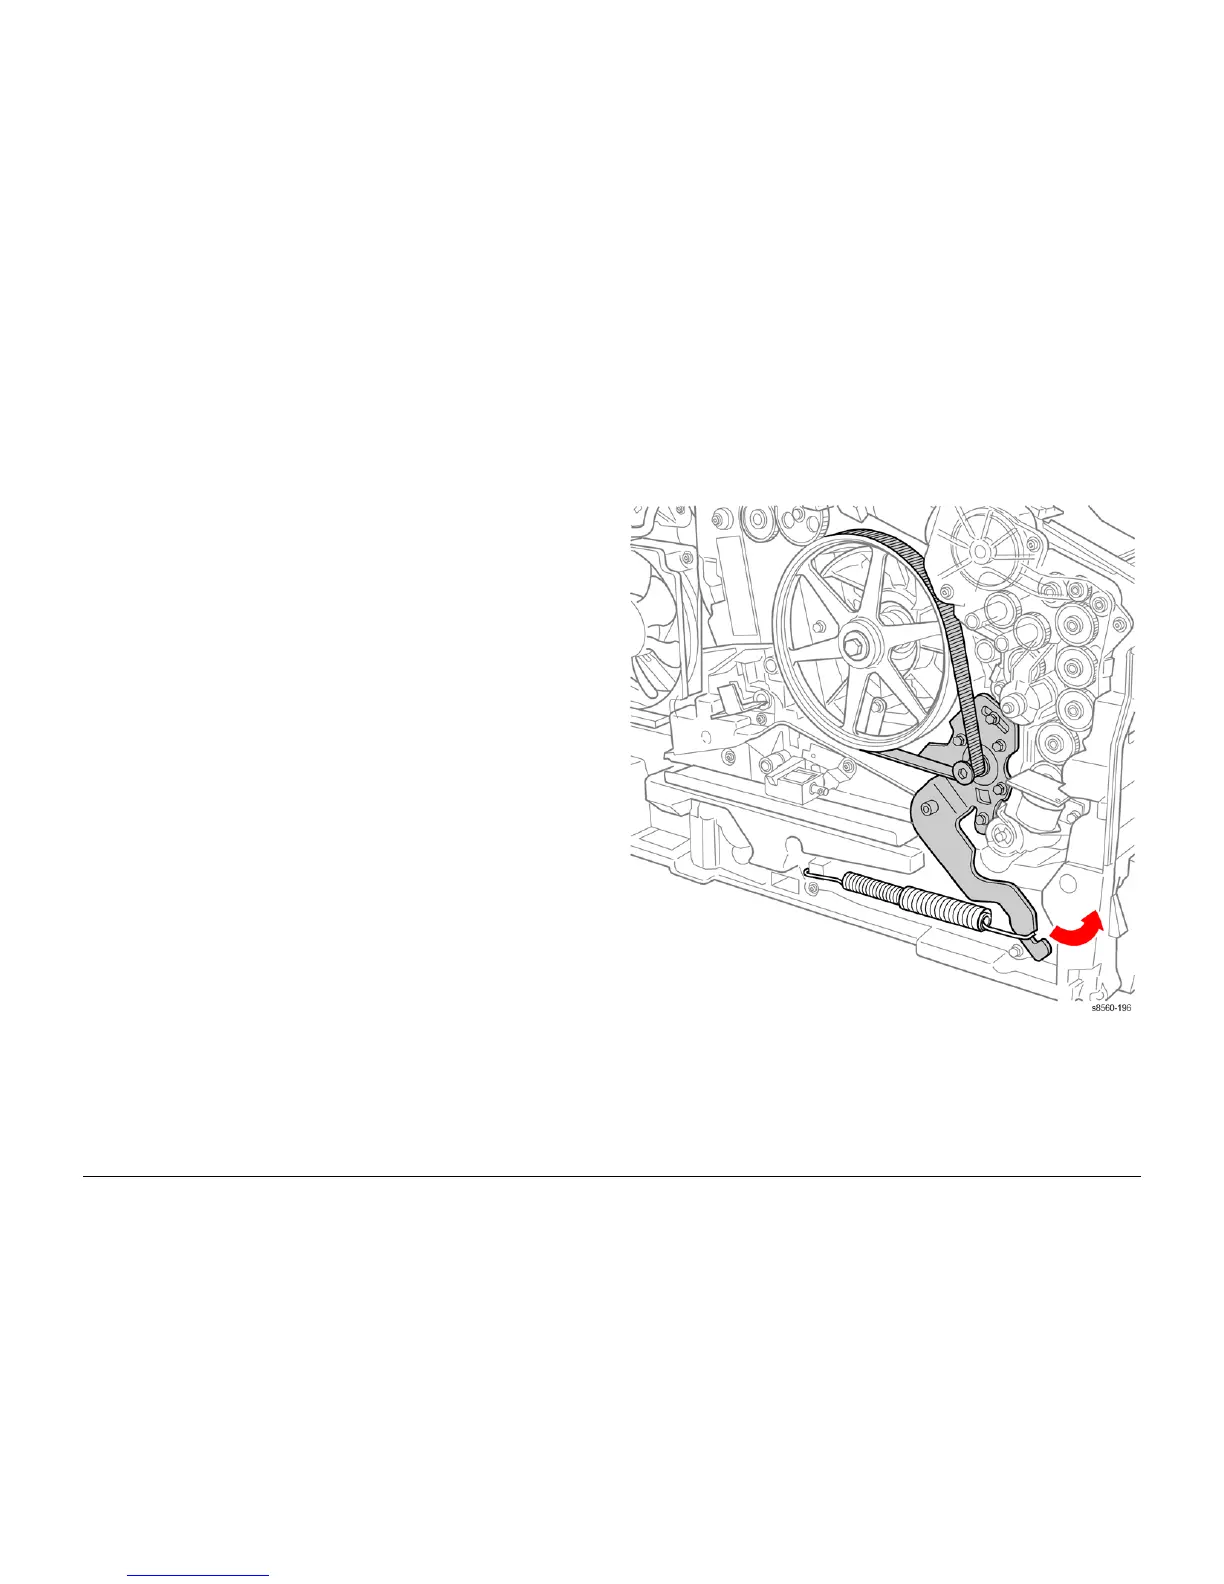
2. Release tension on the Y-Axis Belt by pushing the end of the Spring Arm toward the front
of the printer.
Figure 1 Removing the Y-Axis Belt
3. Hold tension with one hand while removing the Y-Axis Belt with the other.