09/2007
4-75
Phaser 8860/8860MFP Service Manual
REP 6.0.9, REP 6.0.11
Repairs and Adjustments
Initial Issue
REP 6.0.9 Paper Height Sensor
Parts List on PL 6.0
Removal
1. Remove the Front Door (REP 1.0.1).
2. Remove Tray 2.
3. Remove the Pick Roller Assembly (REP 3.0.18).
4. Remove the Lower Duplex Guide (REP 3.0.2).
5. Remove the Inner Simplex Guide (REP 3.0.1).
6. Release the 4 hooks that secure the Paper Height Sensor to the right side of the Pick
Assembly recess.
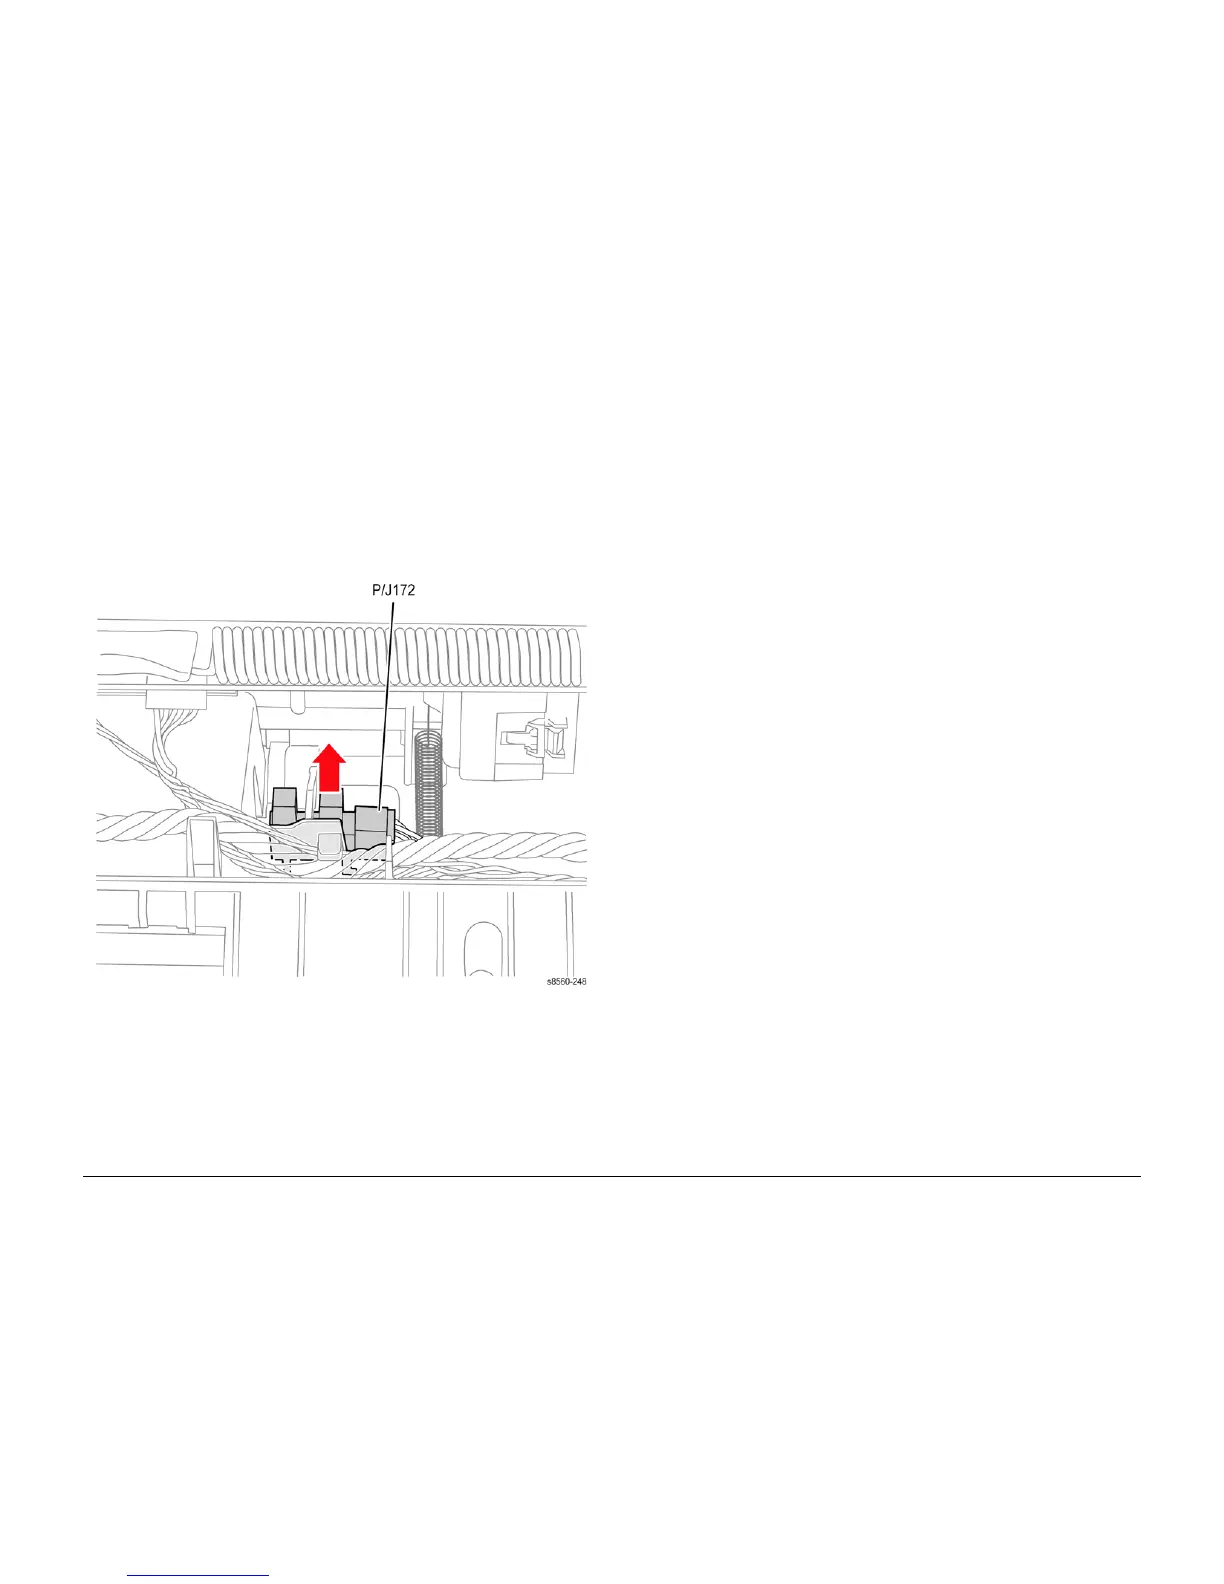
Figure 1 Removing the Paper Height Sensor
7. Disconnect the sensor (P/J172) from the harness and remove the sensor.
Replacement
Disconnect the Preheater Assembly (P/J0720 and P/J860) to make additional room to replace
the sensor. Release the lock on P/J0720 to remove it from the Preheater Assembly.
REP 6.0.11 Output Tray Full Sensor (8860MFP)
Parts List on PL 6.0
Removal
The Output Tray Full Sensor consists of two circuit boards mounted on either side of the Output
Tray. Replace both boards when replacing this sensor.
1. Remove the Scanner Assembly with attached DADF (REP 1.0.11).
2. Remove the Output Tray (REP 1.0.6).
3. Remove the Left Side Cover (REP 1.0.7).
4. Remove the Right Side Cover (REP 1.0.21).
5. Remove the Exit Elevator Motor (REP 4.0.9).
6. Disconnect the Output Tray Full Sensor connectors CN801 and CN802 (see Figure 1).
7. Remove 2 (plastic, T-20) screws that secure the left and right boards to the chassis.