09/2007
4-22
Phaser 8860/8860MFP Service Manual
REP 2.0.3
Initial Issue
Repairs and Adjustments
REP 2.0.3 Drum Assembly
Parts List on PL 2.0
Removal
NOTE: These steps describe Drum Assembly removal for the 8860MFP. On 8860 models,
access the Drum by removing the Exit Module (REP 3.1.13). Afterwards, return to this proce-
dure and begin at Step 9.
1. Remove the Scanner Assembly with attached DADF (REP 1.0.11).
2. Remove the Output Tray (REP 1.0.6).
3. Remove the Right Side Cover (REP 1.0.21).
4. Remove the Left Side Cover (REP 1.0.7).
5. Remove the Ink Loader Assembly (REP 2.0.1).
6. Park the Printhead using ADJ 2.2.1.
7. Place the Printhead Wiper Blade in its home position using ADJ 2.5.1.
8. Remove the Exit Module (REP 3.0.7)
9. Remove the Drum Temperature Sensor (REP 6.0.4)
10. Remove the Transfix Load Module (REP 2.0.15).
11. Remove the Media Drive Gearbox (REP 4.0.14).
12. Remove the Y-Axis Belt (REP 2.0.4). Relieve tension on the belt by pulling the end of the
Spring Arm toward the front. With the tension released, slide the belt off the pulley.
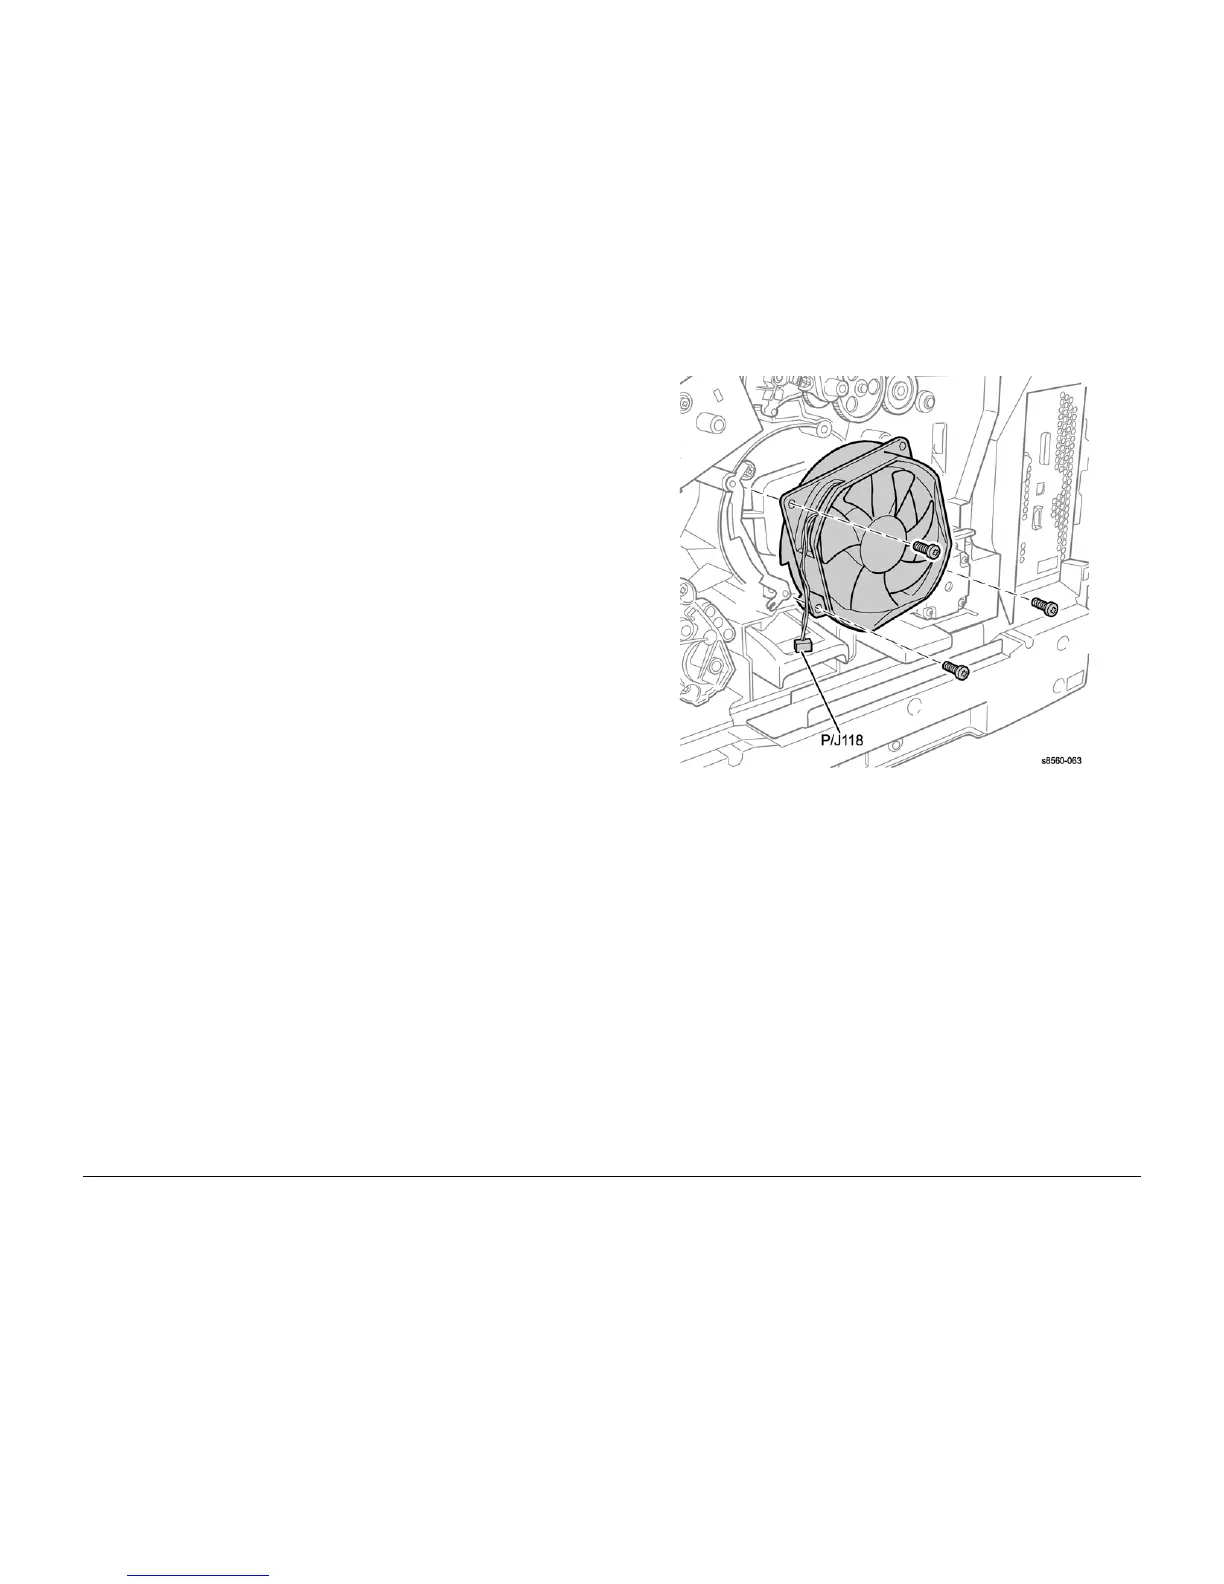
13. Disconnect the Drum Fan P/J118 from the Right Side Harness and release the fan har-
ness from the retainer on the Process Drive.
14. Remove 3 (plastic, T-20) screws that secure the fan to the Drum. Note the location of the
Ground Plate behind the fan
Figure 1 Drum Fan Mounting
15. Unplug the Drum Heater Harness P/J200 from the Relay Board and free the harness from
the retaining hook.