09/2007
4-71
Phaser 8860/8860MFP Service Manual
REP 6.0.2
Repairs and Adjustments
Initial Issue
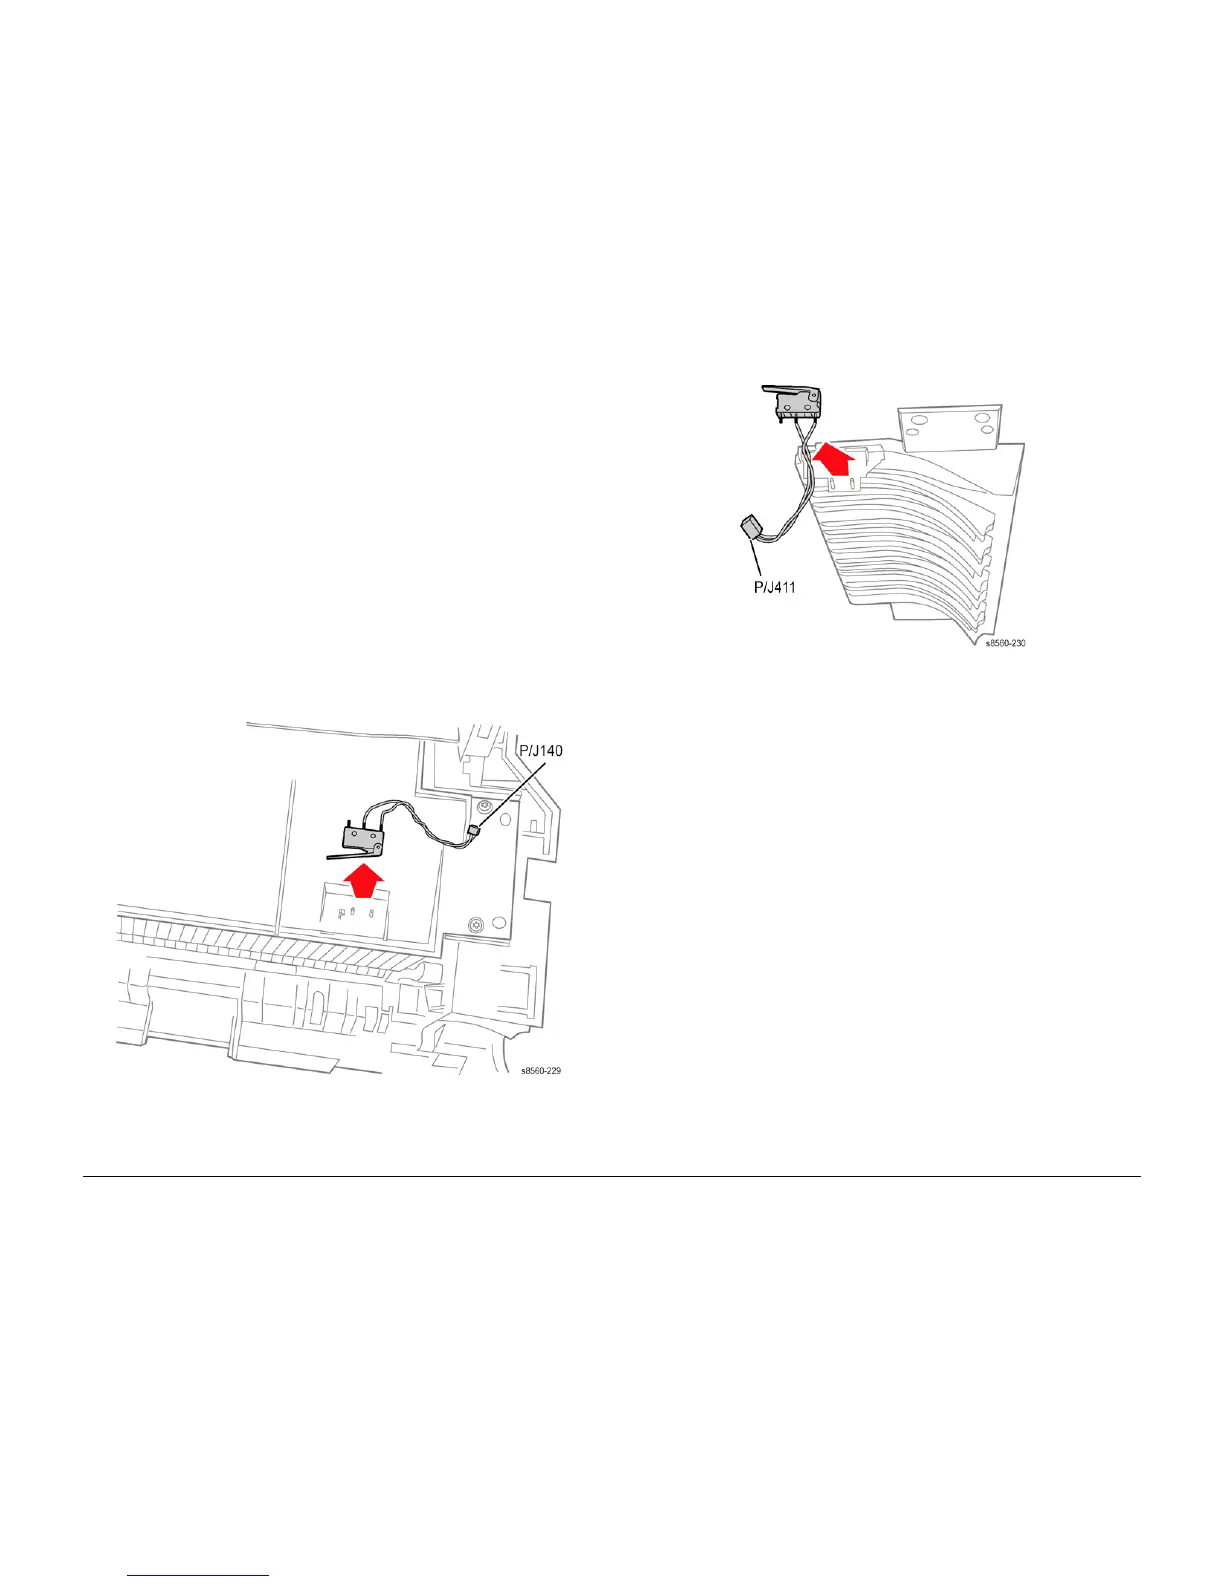
REP 6.0.2 Front Door and Exit Door Interlock Switches
Parts List on PL 6.0
Removal
NOTE: These steps describe Interlock Switch removal for the 8860MFP. On 8860 models,
access the switches by removing the Control Panel (REP 1.1.6). Afterwards, return to this pro-
cedure and begin at Step 3.
The same part is used for both the Front Door and Exit Door Interlocks, Use this procedure to
replace either interlock switch.
NOTE: Replacement of the Front Door Interlock Switch does not require removal of the Outer
Duplex Guide
1. Remove the Scanner Assembly with attached DADF (REP 1.0.11).
2. Remove the Output Tray (REP 1.0.6).
NOTE: Removal of the Outer Duplex Guide is not required to replace the Front Door Inter-
lock Switch.
3. Remove the Outer Duplex Guide (REP 3.0.6).
4. Remove the defective switch from the Outer Duplex Guide.
Figure 1 Removing the Front Door Interlock Switch
Figure 2 Removing the Exit Door Interlock Switch