09/2007
4-5
Phaser 8860/8860MFP Service Manual
REP 1.0.1, REP 1.0.6
Repairs and Adjustments
Initial Issue
REP 1.0.1 Front Door / Tray 1 Assembly
Parts List on PL 1.0
Removal
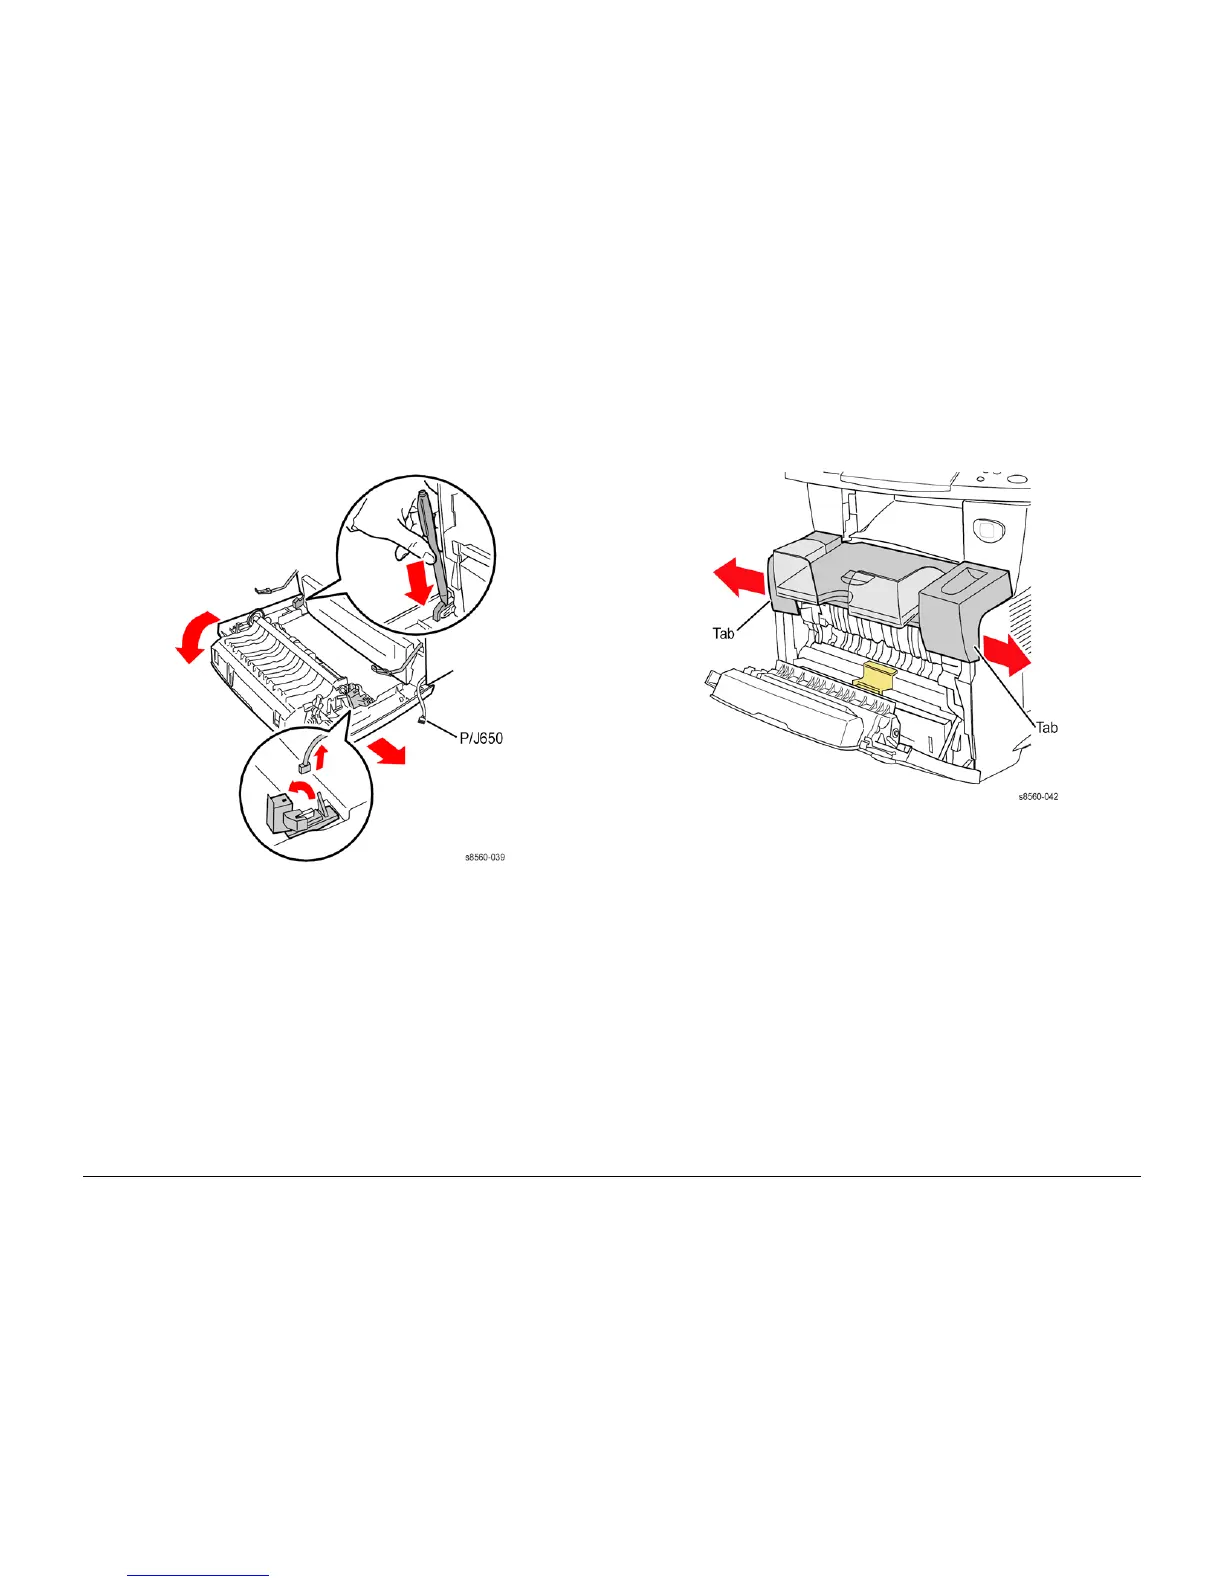
1. Open the Front Door and release the 2 Stopper Straps.
Figure 1 Releasing the Front Door Stopper Straps
2. Open the plug cover and disconnect P/J650 from the right side of the Front Door .
3. Release the wiring from cable retainers.
4. Remove the Front Door (Tray 1/MPT) by releasing the left hinge pin from the frame and
sliding the door to the right.
REP 1.0.6 Output Tray (8860MFP)
Parts List on PL 1.0
Removal
1. Open the Front Cover.
Figure 1 Output Paper Tray Retaining Tabs
2. Spread the left and right sides of the Output Tray to release the 2 tabs on the bottom.