09/2007
4-69
Phaser 8860/8860MFP Service Manual
REP 5.0.19, REP 5.0.24
Repairs and Adjustments
Initial Issue
Replacement
WARNING
Verify that no wiring is routed behind the Drum Heater Relay Board before installing the
screws.
CAUTION
When replacing the Drum Heater Relay Board screws, torque to no more than 12 in.-lbs. Over-
tightening these fasteners can result in irreversible damage to the chassis.
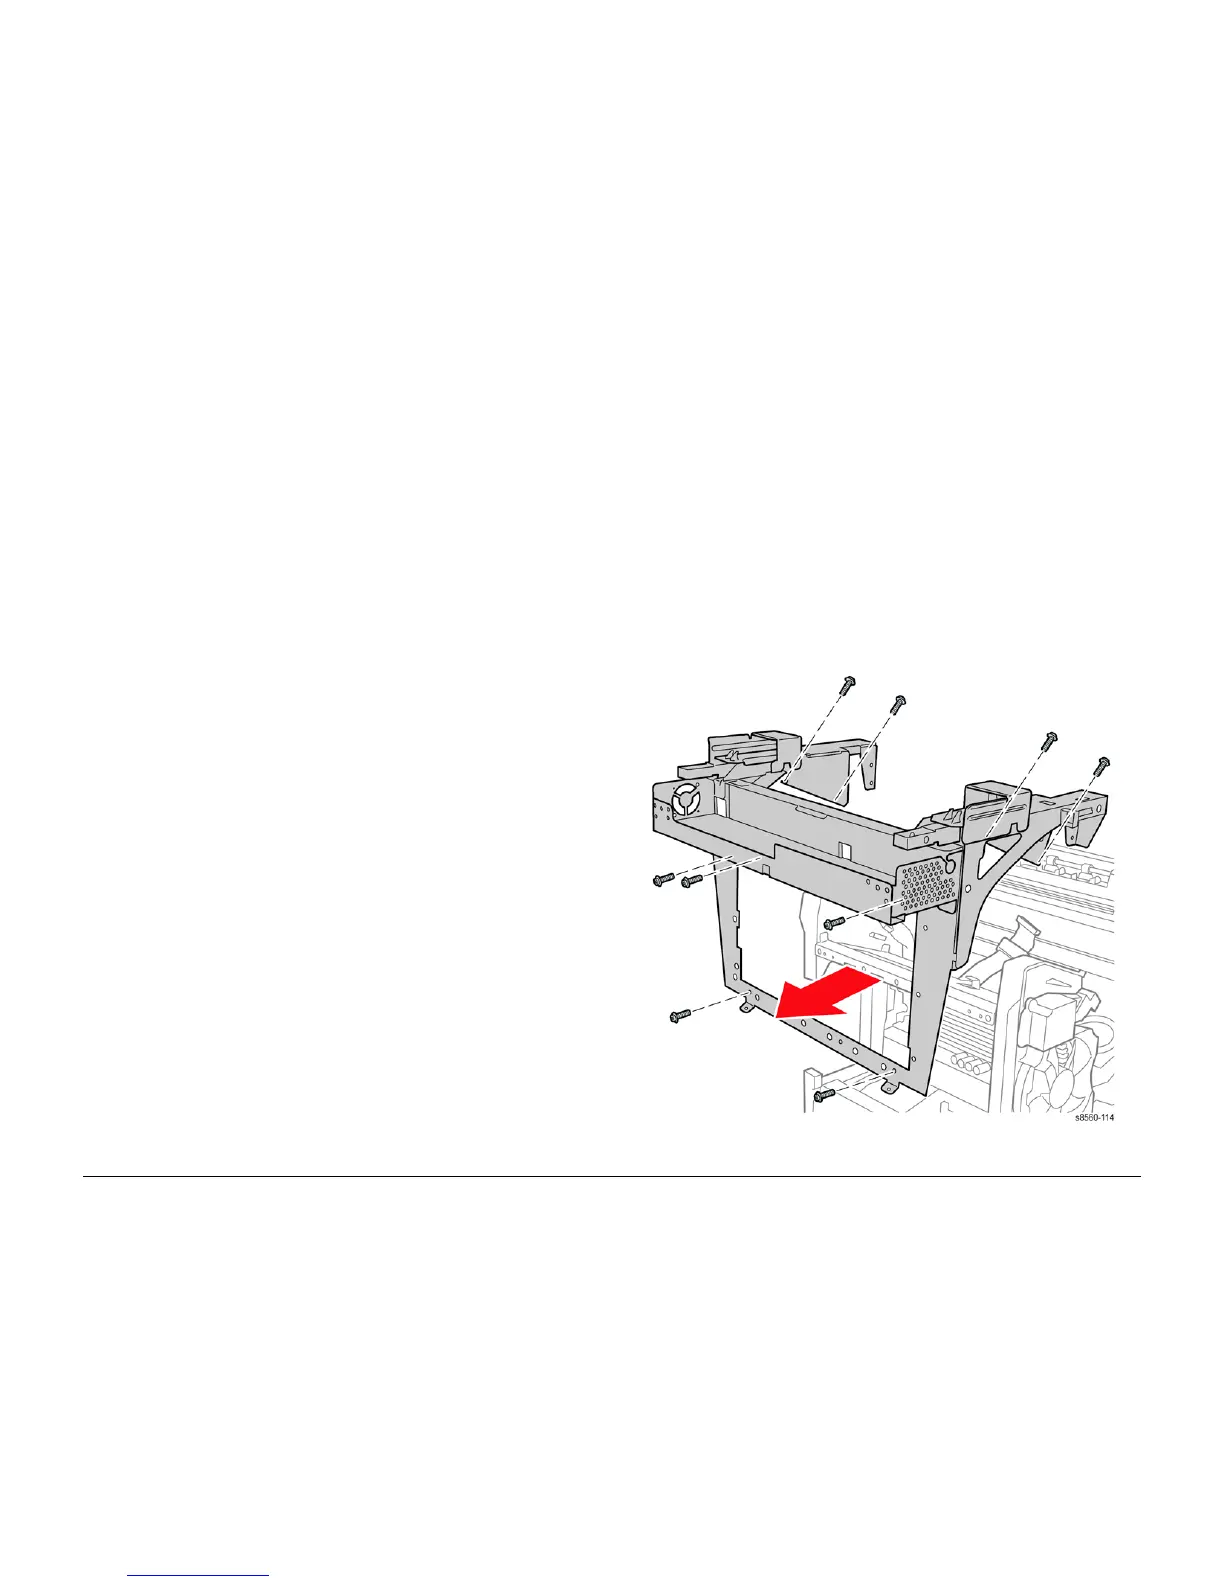
REP 5.0.24 Back Frame (8860MFP)
Parts List on PL 5.0
Removal
1. Remove the Scanner Assembly with attached DADF (REP 1.0.11).
2. Remove the Output Tray (REP 1.0.6).
3. Remove the Left Side Cover (REP 1.0.7).
4. Remove the Right Side Cover (REP 1.0.21).
5. Remove the Rear Cover (REP 1.0.20).
6. Remove the Ink Loader (REP 2.0.1).
7. Remove the Scanner Power Supply Fan (REP 4.0.3).
8. Remove the Exit Module Board (REP 5.0.1).
9. Remove the Scanner Power Supply (REP 5.0.2) and mylar insulator.
10. Remove the Electronics Module (REP 5.0.5).
11. Remove the Printer Stabilizer (REP 3.0.14).
12. Remove 7 (metal, T-20) screws that secure the Back Frame to the chassis.
Figure 1 Removing the Back Frame