09/2007
4-21
Phaser 8860/8860MFP Service Manual
REP 2.0.2
Repairs and Adjustments
Initial Issue
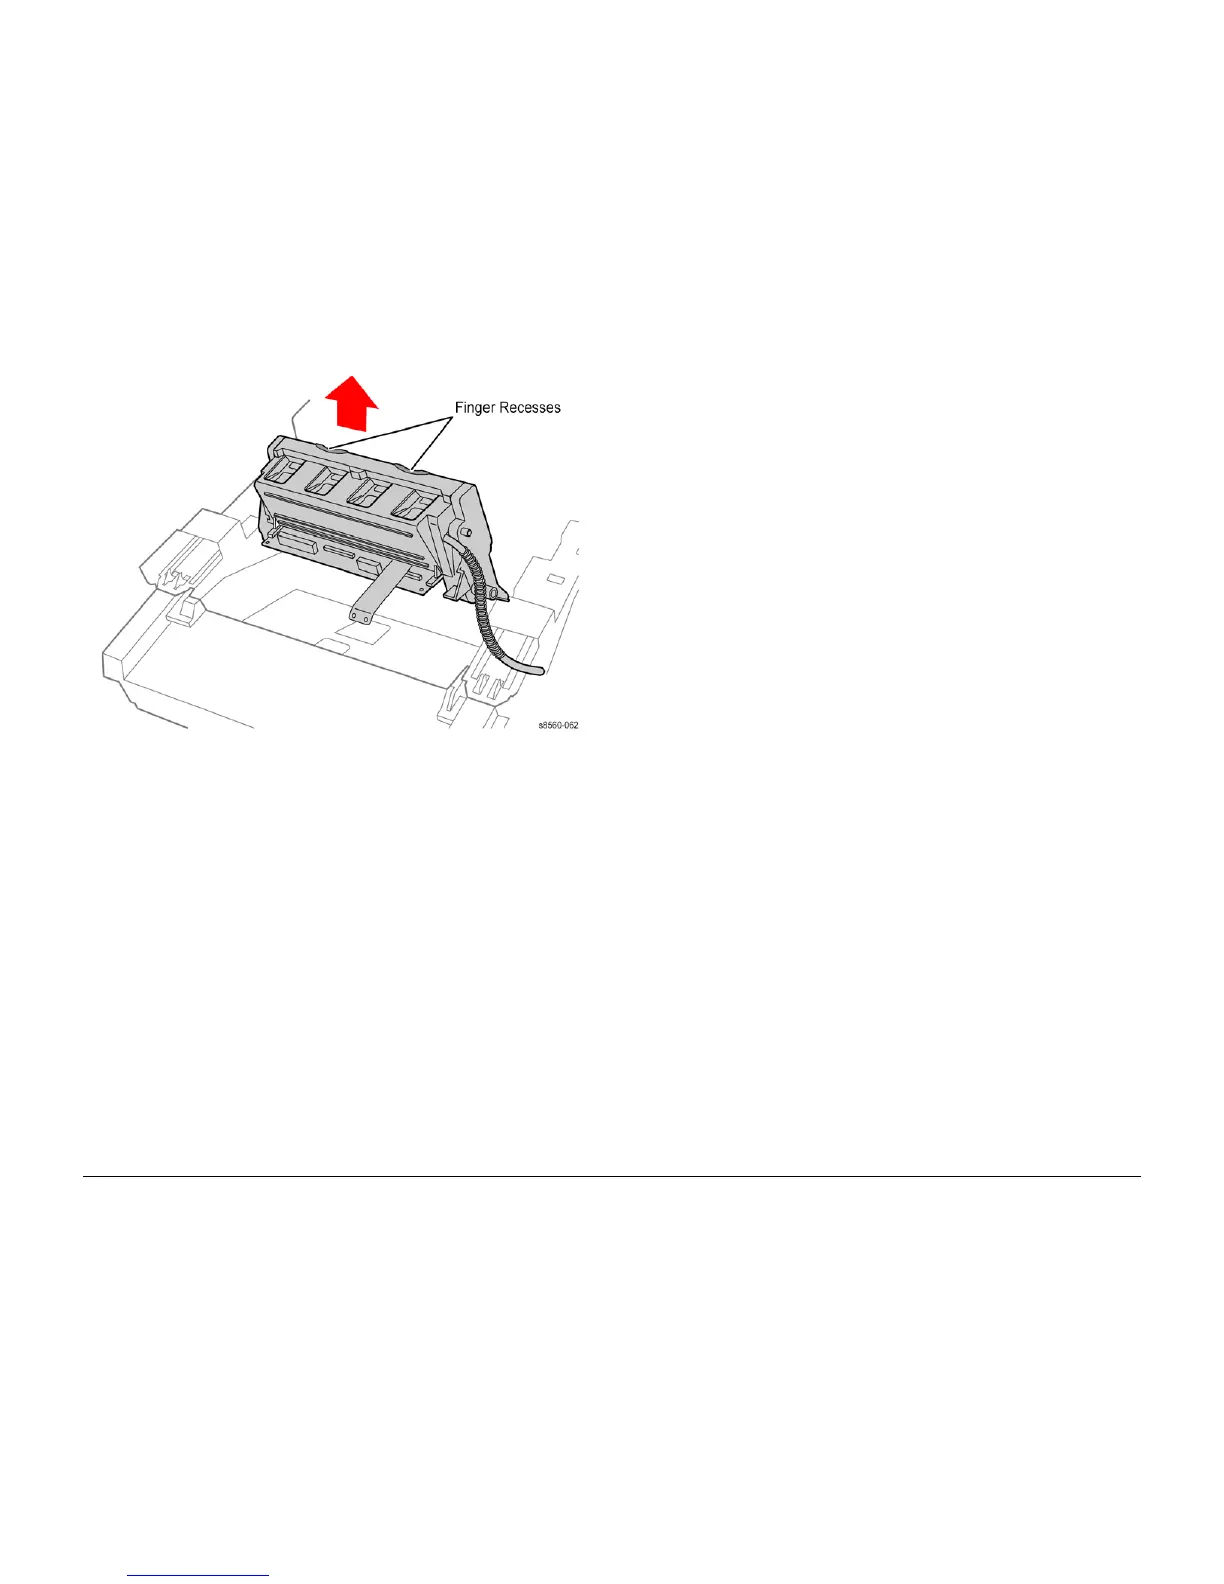
Figure 11 Lifting the Printhead
Replacement
Follow these steps to install the replacement Printhead.
1. Set the Head Tilt Gear to its home position by performing ADJ 4.13.1.
2. Lower the Wiper Assembly to the bottom of its travel.
3. Rest the Printhead in the Cradle Notches while attaching the 2 ribbon cables.
4. Seat and lock the Ribbon Cables (P/J180 and P/J240) in their respective sockets.
5. Lower the Printhead into its mounts. The Printhead should tilt forward in the print position.
6. Route the Purge Pump Hose through the frame and connect it to the Purge Pump.
7. Install the Roll Block on the left end of the Printhead Shaft. Orient the Roll Black as shown
on the label attached to the frame (Figure 7). The Red check mark indicates the correct
orientation.
8. Properly route and reconnect the Printhead Heater Harness (P/J4).
NOTE: Errors 7009 and 4025 are often the result of Printhead interference by the Print-
head Heater Harness. Make certain the harness is properly restrained and does not
obstruct Printhead movement.
9. Install the 2 (metal, T-20) screws that secure the Ground Strap.
10. Install the left and right Printhead Restraints. Tighten the screws to 6 in. lb. to avoid strip-
ping the chassis threads. Check that the restraints do not obstruct the Roll Block. Also,
make sure the Tilt Spring on the left restraint is properly positioned in the notch on the
back of the Printhead and does not pinch the Purge Pump Hose.
11. Set the X-Axis Bias Hook and spring on the left end of the Printhead Shaft. See Figure 4.
Ensure the point of the hook is centered in the shaft and the rest of the hook floats freely.
12. Install the Ink Loader.
13. Perform ADJ 4.13.1 to home the Head Tilt Gear.
14. Reassemble the remaining components, and turn system power on.
15. Print the Light Stripes page. Check for jets in Service mode. If necessary, use the Control
Panel to reset the jet substitution.
16. Package the defective Printhead and completed Printhead Checklist in the replacement
part’s packaging.