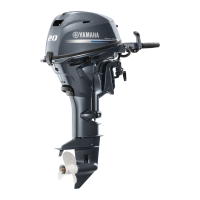
Starter motor
5-36
Removing the starter motor
Before removing the starter motor, make
sure to disconnect the negative battery ter
-
minal.
1. Remove:
• Starter motor
See “Starter motor” (7-16).
Disassembling the starter motor
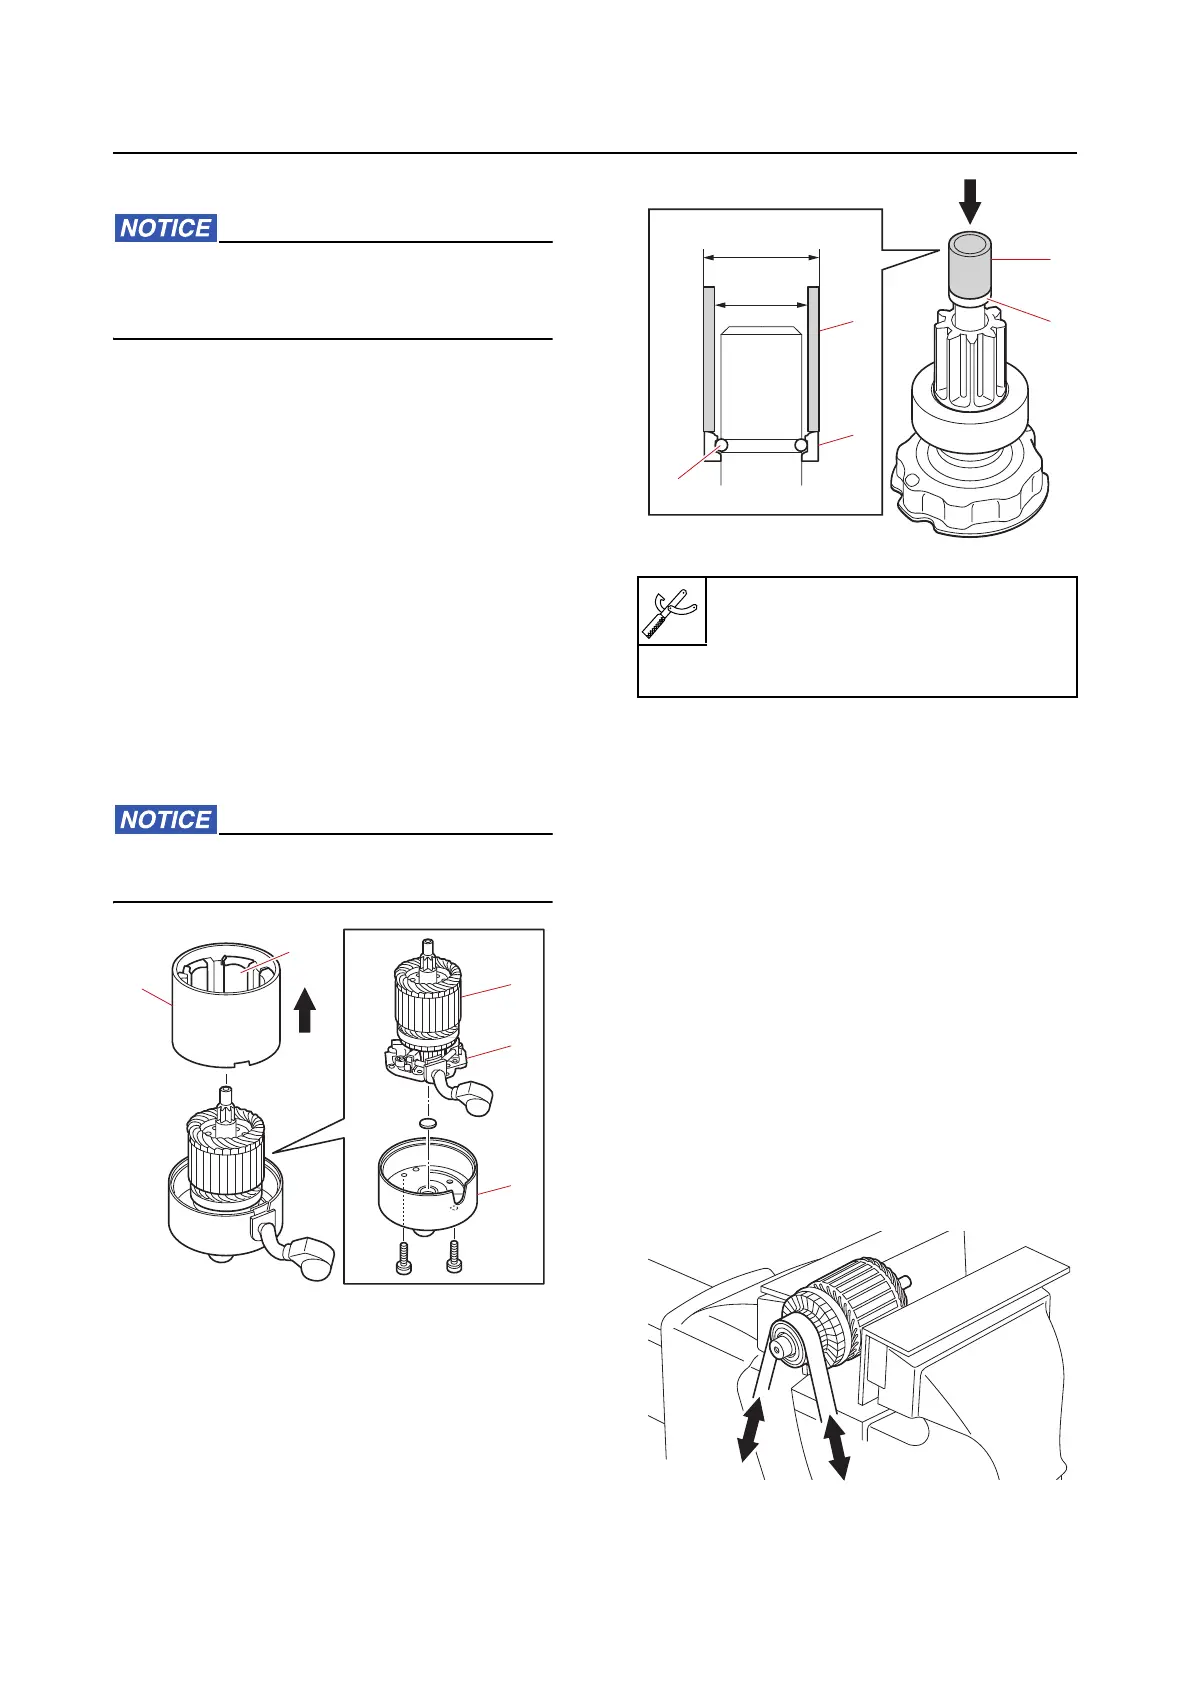
1. Remove:
• Stator
• Bracket screw
• Brack
et
• Armature
a. Remove the stator “1”.
b. Remove the armature “2” along with
the
brush holder assembly “3” from
the bracket “4”.
Do not disassemble the stator. Do not re-
move the magnets “5” from it.
2. Remove:
• Pin
ion stopper
• Cli
p
a. Push the pinion stopper “1” down, and
then remove the clip “2”.
Checking the starter motor pinion
1. Check:
• Pinion teeth
Cracked/worn Re
place the pinion.
2. Check:
• Pinion movement
Not smooth Replace.
a. Turn the pinion counterclockwise to
check that it operates smoothly an
d
turn it clockwise to check that it locks
in place.
Checking the armature (starter motor)
1. Check:
• Commutator
Dirty
Clean using 600-grit sandpaper
and compressed air.
1
5
3
4
2
Pipe “3”
(commercially available)
“a”: 18.0 mm (0.71 in)
“b”: 13.0 mm (0.51 in)
1
a
b
2
1
3
3



 To Next Page