Tiller handle (tiller handle model)
3-8
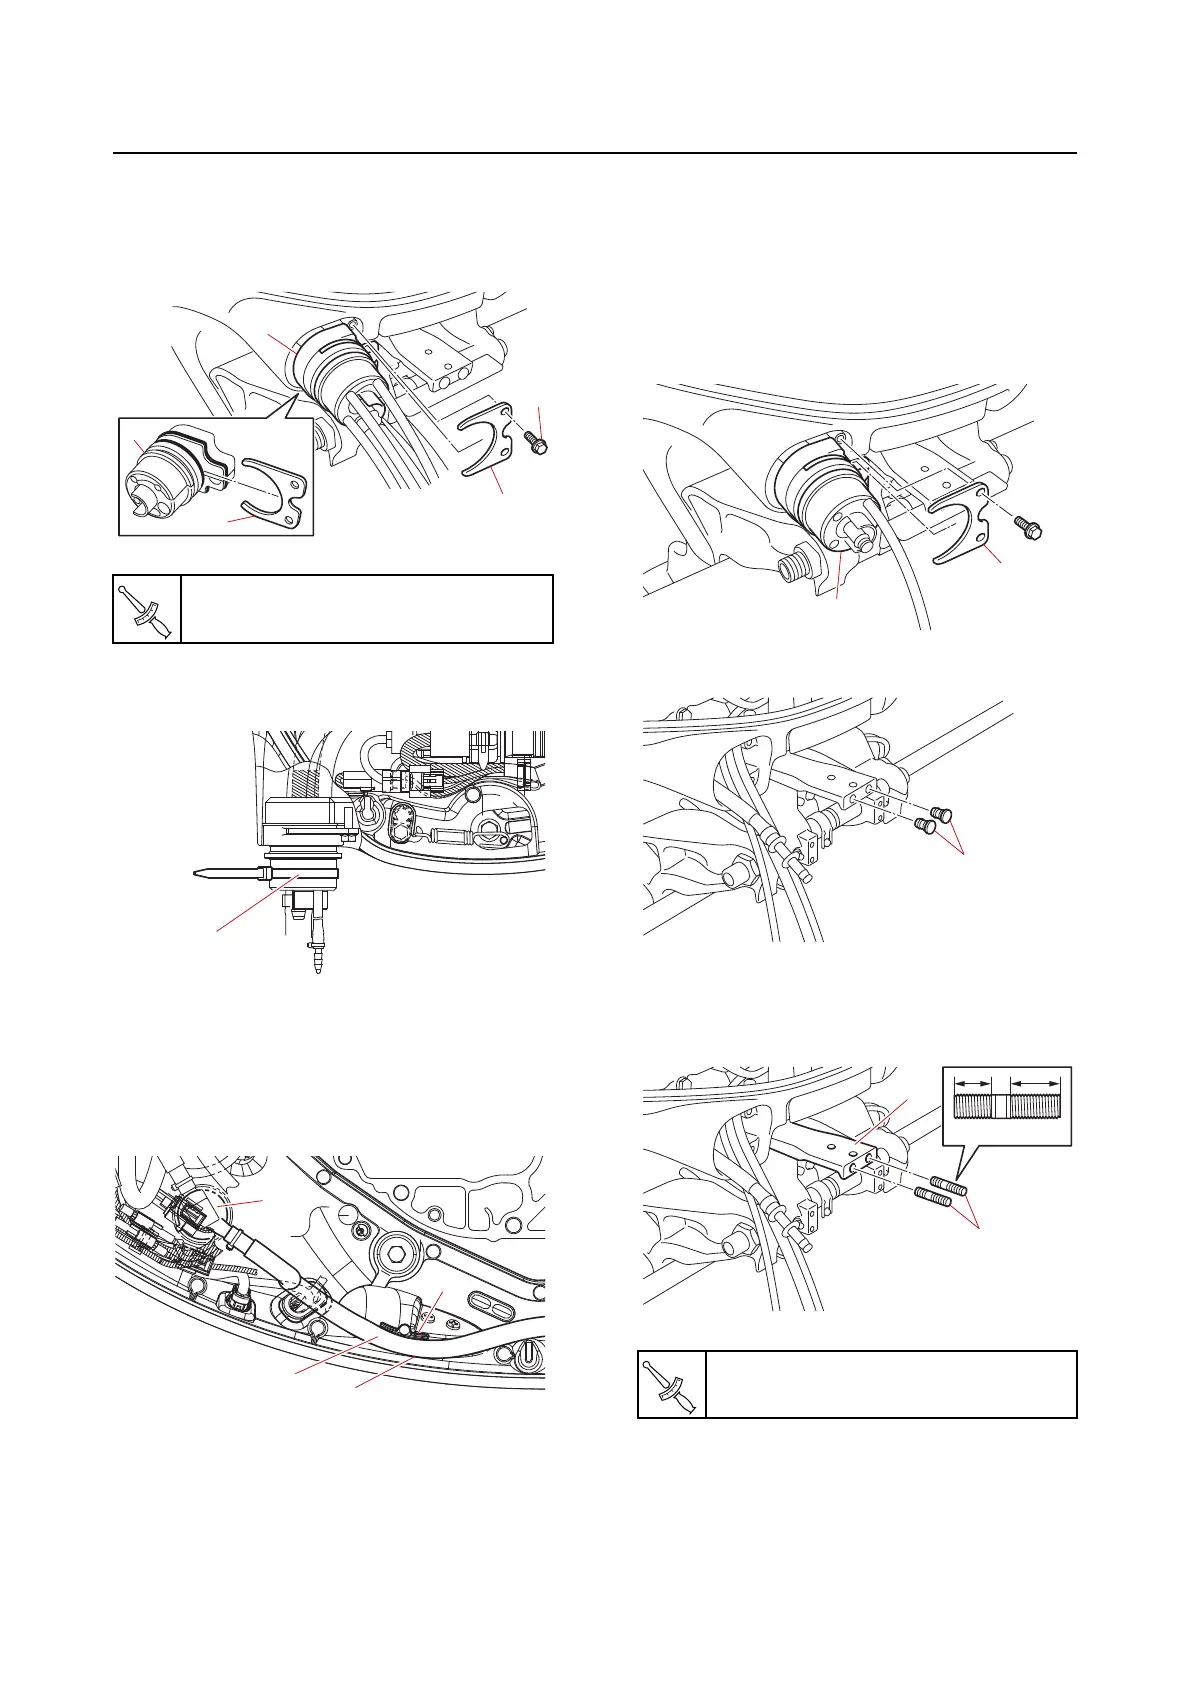
c. Install the rigging grommet “1” along
with the grommet holder “2”, and then
tighten the grommet holder bolts “3” to
the specified torque.
d. Fasten the rigging grommet using the
plastic tie “1”.
e. After installing the rigging grommet,
pull
the fuel hose “1” to the fuel filter
assembly “2” side, and then route the
loose portion between the bottom rib
“a” and the inner wall “b”.
Tiller handle (tiller handle model)
Installing the tiller handle
1. Install:
• Tiller handle
a. Remove the grommet holder “1” from
the rigging g
rommet “2”, and then re-
move the rigging grommet “2”.
b. Remove the plugs “1”.
c. Install the stud bolts “1” to the steering
arm “2”, and then tighten them to
the
specified torque.
d. Move the shift lever to the N position.
Grommet holder bolt “3”
10 N·m (1.0 kgf·m, 7.4 lb·ft)
1
1
2
2
3
1
a
b
1
2
Stud bolt “1”
20 N·m (2.0 kgf·m, 15 lb·ft)
1
2
1
1
2