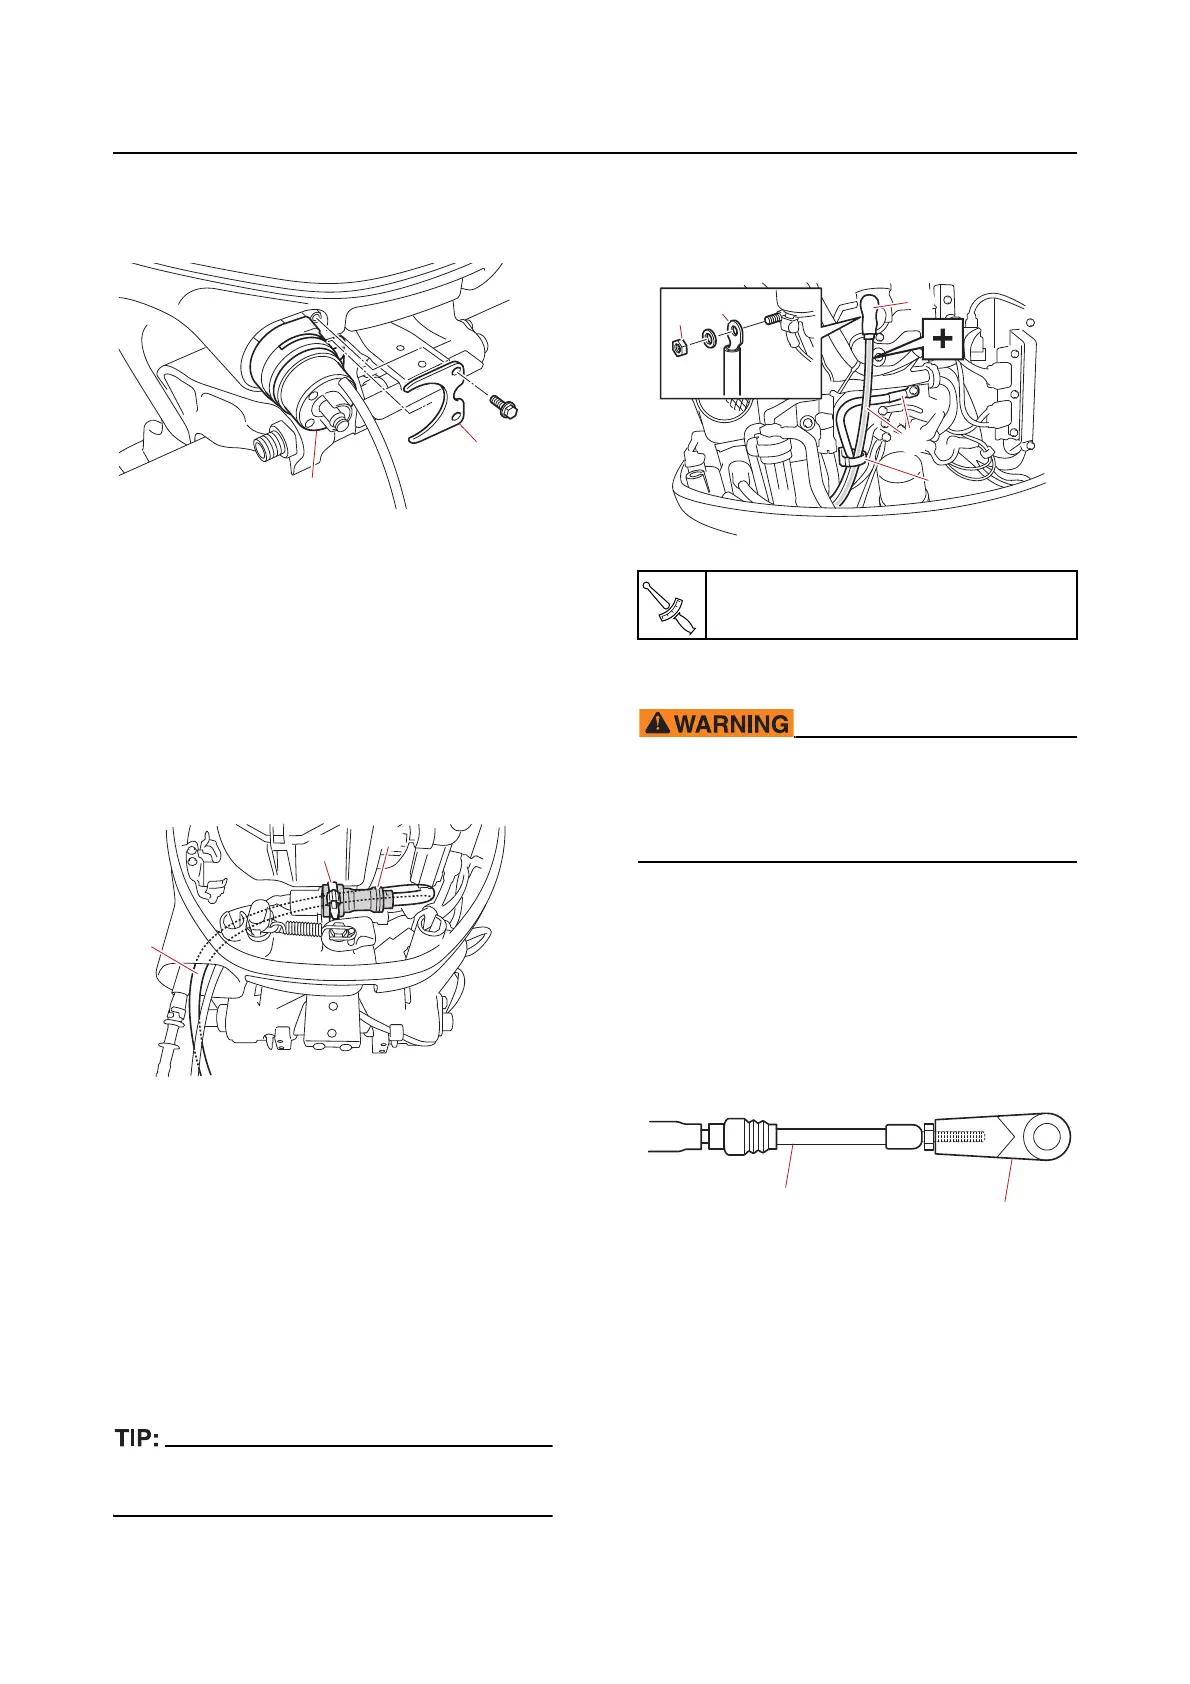
Rigging grommet mounting
3-5
1. Remove:
• Grommet holder “1”
• Rigging gro
mmet “2”
Installing the main wire harness
1. Install:
• Main wire harness
a. Route the main wire harness “1”
through the bottom cowling.
See “Bot-
tom cowling” (5-9).
b. Connect the main wire harness cou-
pler (10-pin) “a”, and then secure it us-
ing the holder “2”.
Installing the battery cable
1. Install:
• Battery cable
a. Route the battery cable “1” through the
bottom cowling. See “Bottom cowling”
(5-9).
b. Connect the positive and negative ter-
minals of the battery cable “1”, and
then tighten
the positive battery cable
nut “2” to the specified torque.
The positive battery cable is marked with red
tape and “+” marks.
c. Install the rubber cap “3”.
d. Fasten the battery cable “1” using the
holder “4”.
Installing the shift cable
Always perform the cable adjustment in ad-
vance, following the procedures in the in-
struction accompanied with remote control
box.
1. Install:
• Shift cable
a. Fully screw in the shift cable joint “1” to
the shift cable “2”.
b. Move the remote control lever or shift
lever to the N position.
c. Disengage the cable clamp “1” from
the bracket “2”. See “Cable clamp”
(2-14).
1
2
Positive battery cable nut “2”
9 N·m (0.9 kgf·m, 6.6 lb·ft)
1
1
2
3
4
1
2