Flywheel magneto and timing belt
7-14
2. Tighten:
• Driven sprocket bolt “1”
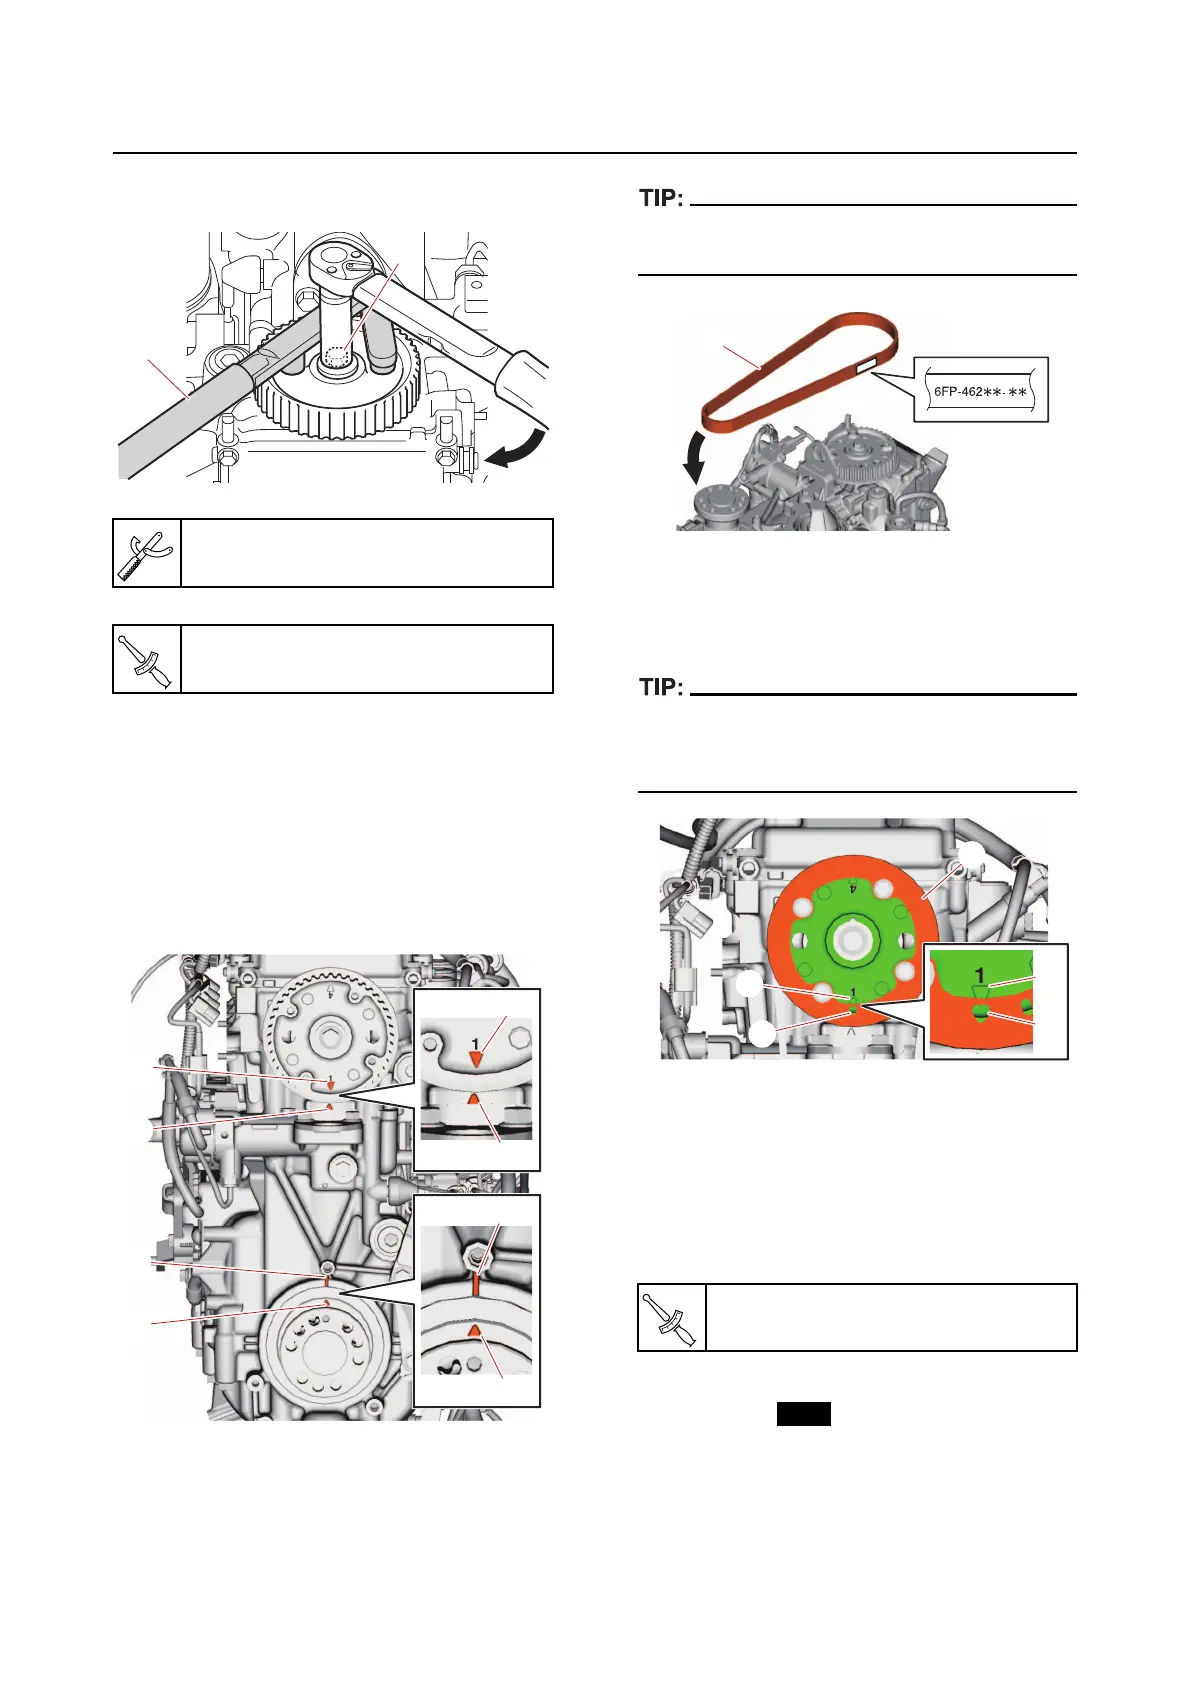
3. Install:
• Timing belt
a. Check that the “1 △ ” mark “a” on the
driven sprocket is aligned with the “ △ ”
mark “b” on the cylinder head, and that
the “ △ ” mark “c” on the crankshaft is
aligned with the protrusion “d” on the
cylinder block.
b. Install the timing belt “1”.
Be careful not to install the timing belt with the
part number upside down.
4. Install:
• Washer “1”
• Bolt
Install the washer “1” so that the hole “a” is
aligned with the “1 △ ” mark “b” on the driven
sprocket.
Installing the stator assembly
1. Install:
• Bracke
t
• Bracke
t bolt
• Pulser coil
• Pulser coil bolt
2. Install:
• Plastic tie (to the pulser coil)
• Clamp
(to the pulser coil)
• Stator assembly
• Stator assembly bolt
• Holder
Flywheel holder “2”
90890-06522
Driven sprocket bolt “1”
38 N·m (3.8 kgf·m, 28 lb·ft)
1
2
a
b
d
c
a
b
d
c
Pulser coil bolt
3.9 N·m (0.39 kgf·m, 2.9 lb·ft)
1
a
1
b
a
b