Clamp bracket and swivel bracket
9-29
Checking the clamp bracket anode
1. Check:
• Anode
Eroded (1/2 or more) Replace.
There is grease, oil, or scales Clean.
Do not apply grease, oil, or paint to the an-
ode.
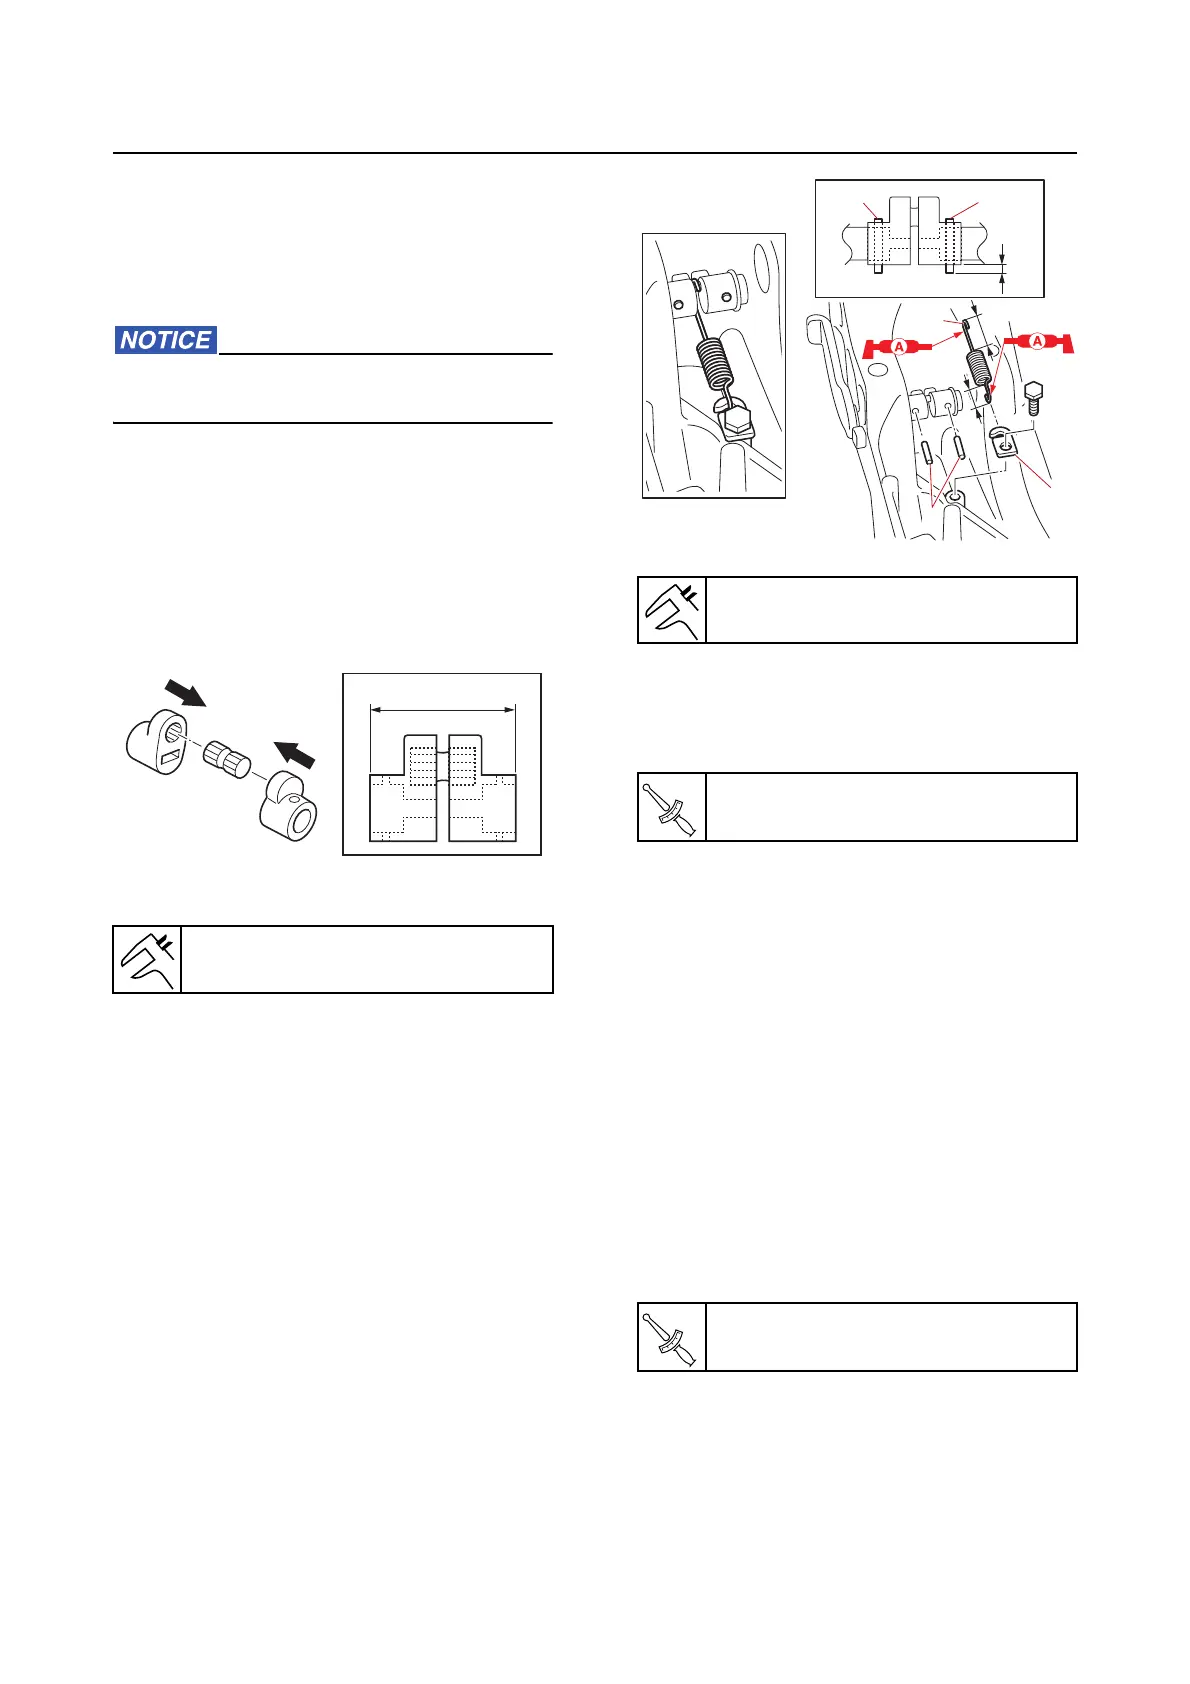
Installing the clamp bracket
1. Assemble:
• Pin
• Distance collar
a. Assemble the distance collar assem-
bly.
2. Install:
• Bus
hing
• Distance collar assembly
• Tilt stop lever
3. Install:
• Pin
“1”
• Hook “2”
• Hook b
olt
• Spring “3”
4. Install:
• Trim sensor
• Trim sensor screw
5. Install:
• Bushing
• Washer
• Clamp
bracket
• Through tube
• Bolt (to the through tu
be)
• Self-locking nut (temporarily tighten)
• Plate
• Plate bolt
• Anode
• Ground lead (to the anode
)
• Bolt (to the anode)
6. Tighten:
• Self-locking nut
7. Install:
• Clamp
• Ground lead
• Ground lead screw
• Grease nipple
Distance “a”
30.3–30.6 mm (1.19–1.20 in)
Distance “a”
2.5–3.5 mm (0.10–0.14 in)
Trim sensor screw
2.3 N·m (0.23 kgf·m, 1.7 lb·ft)
Self-locking nut
23 N·m (2.3 kgf·m, 17 lb·ft)
3
1
2
11
a