PTT motor
9-34
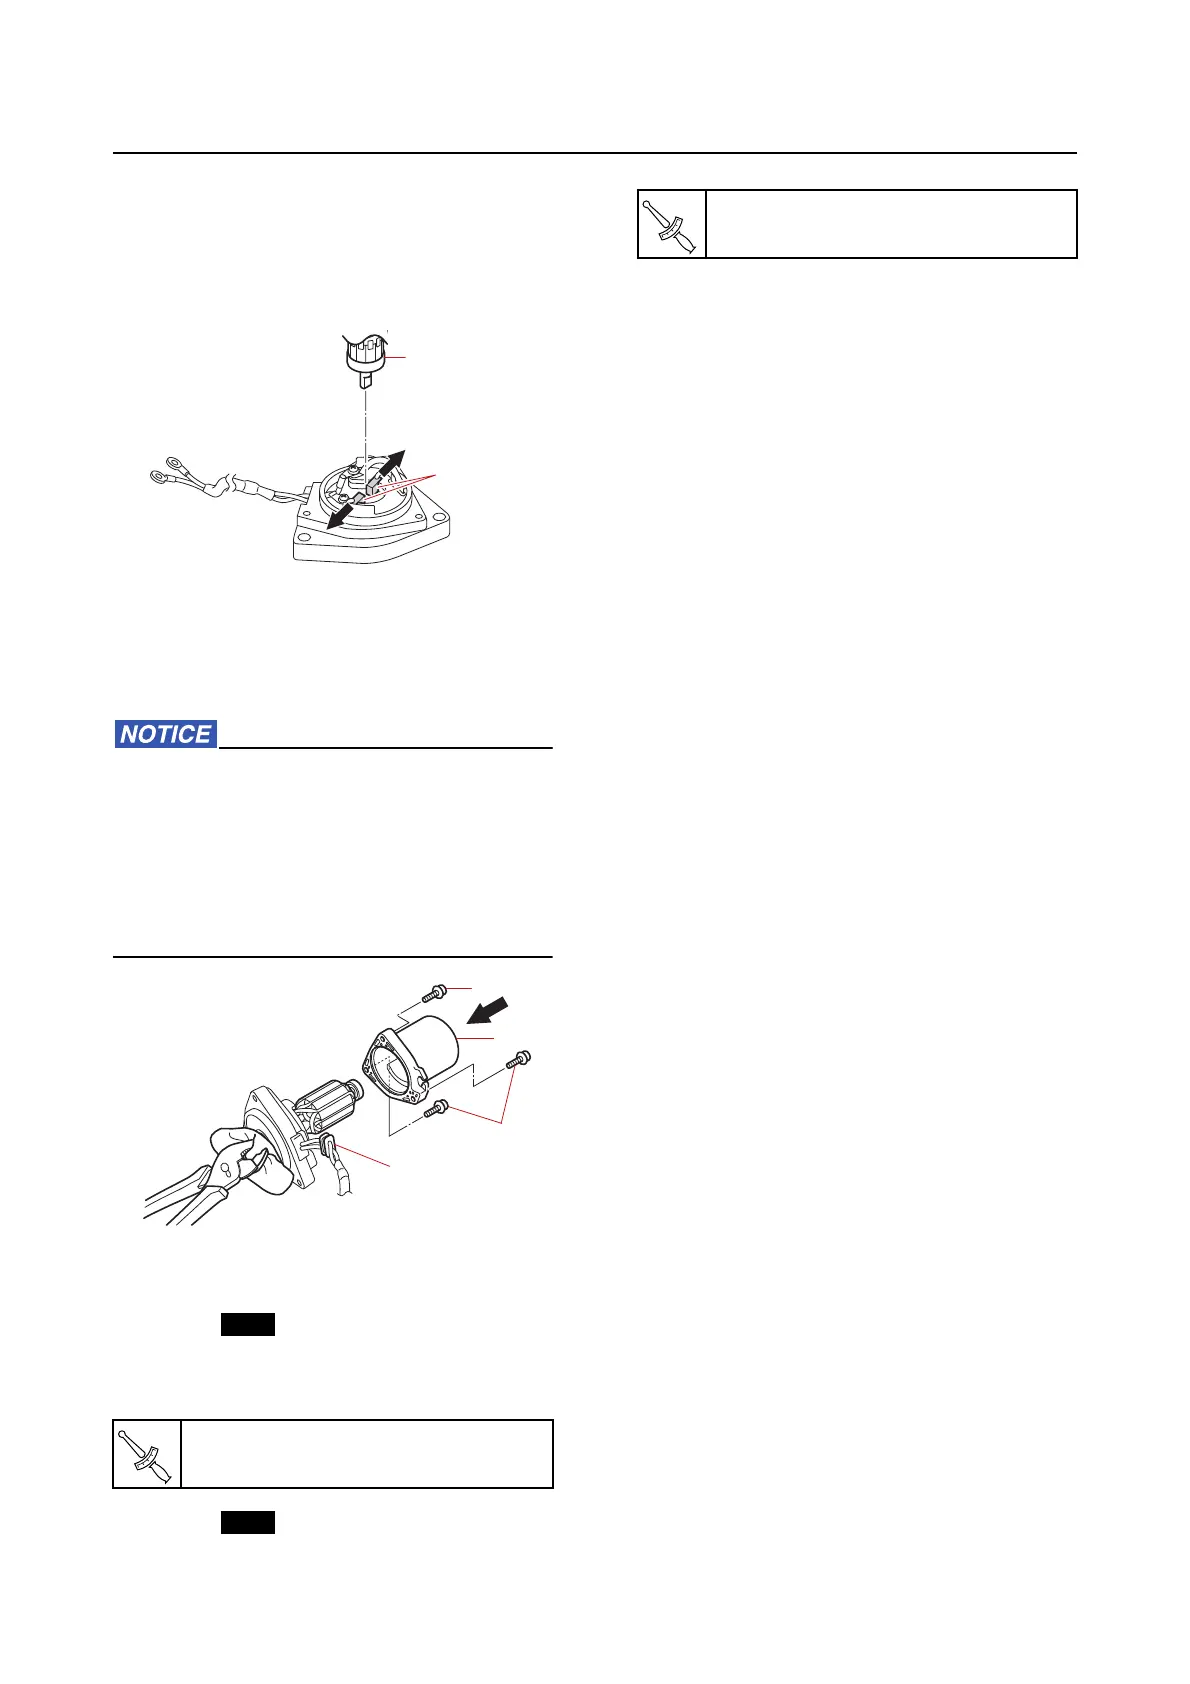
3. Install:
• Armature
a. Push the brushes “1” into the brush
holder, and
then install the armature
“2”.
4. Install:
• Stator “1”
• Sc
rew “2”
• Rubber cap “3”
When removing or installing the armature
along with the motor base assembly, se-
cure the end of the armature shaft using a
pair of
pliers. Otherwise, the armature
could separate from the motor base assem-
bly due to the magnetic force of the stator
and damage the brushes.
Installing the PTT motor
1. Install:
• O-ring
• PTT motor ass
embly
• PTT motor mo
unting bolt
• O-ring
• Res
ervoir cap
PTT motor mounting bolt
7 N·m (0.7 kgf·m, 5.2 lb·ft)
Reservoir cap
7 N·m (0.7 kgf·m, 5.2 lb·ft)