Measurement Examples Example 1: Standard CW Power Measurements
ML2437A/38A OM/PM PN: 10585-00001 Rev. P 7-5
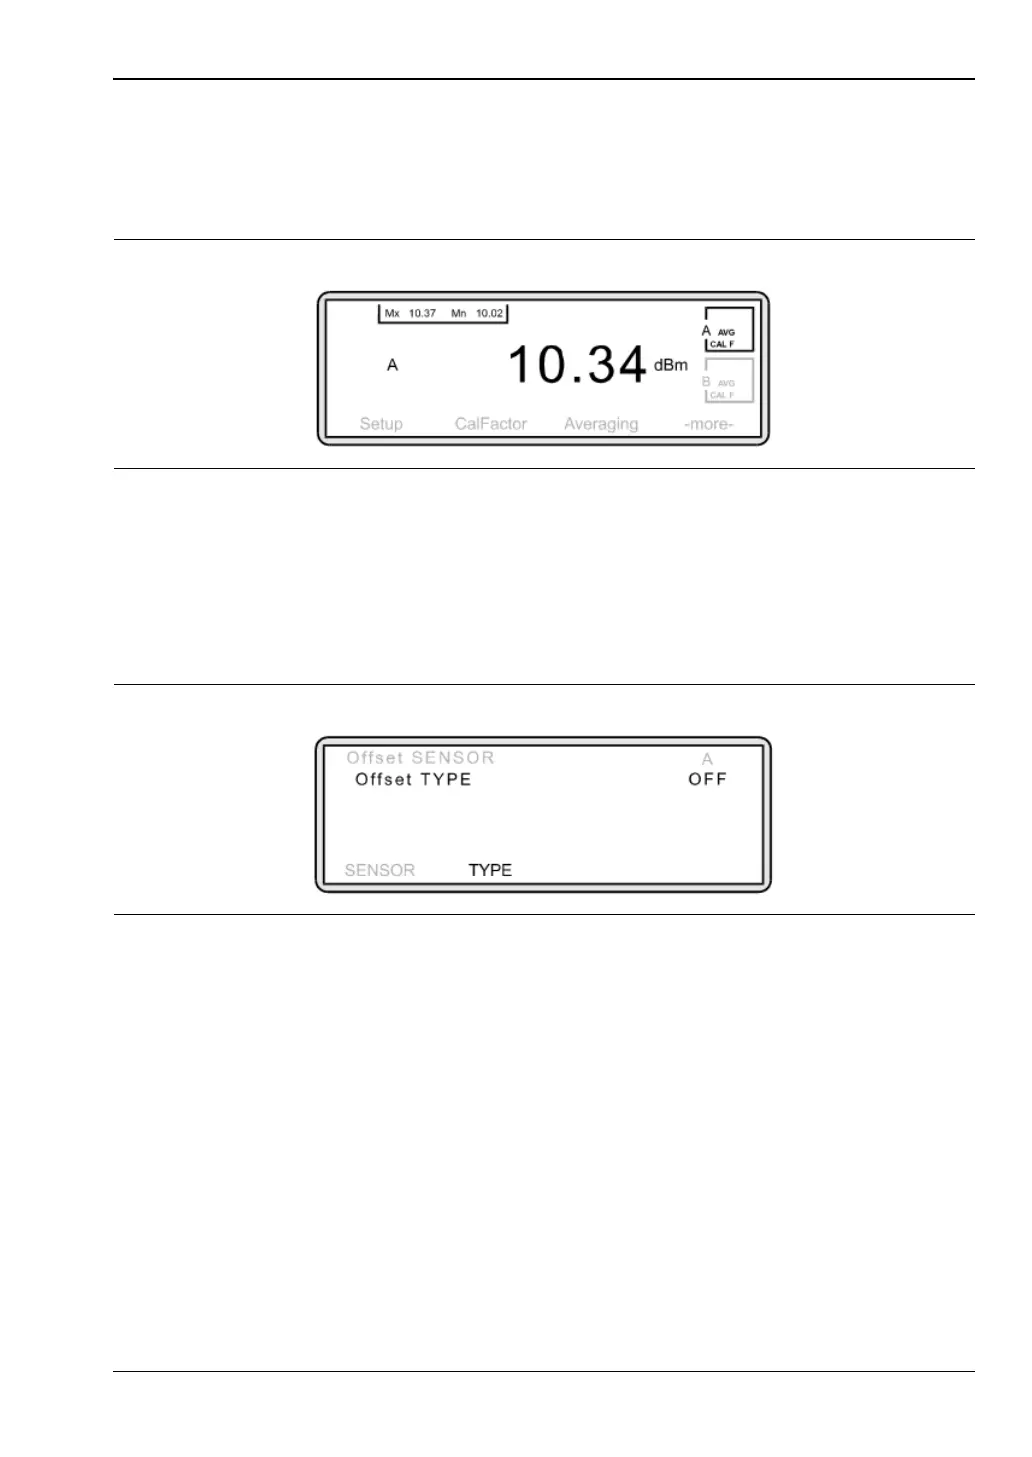
You will notice the new line “RESET tracked min/max.” The Min/Max feature can be
reset to record a new time frame at any point — just select [RESET] from the Channel
Set Up options. To return to the Measurement screen, press any hard key.
The Measurement screen now displays a minimum and maximum range.
8. Correcting for the effects of an Attenuator or Coupler.
Offset values can be either specified in dB or can be obtained from five different
Frequency-against-dB Offset Tables. To enter an offset value press [Sensor]
> [-more-]
[Offset].
The Sensor Offset screen is displayed.
To apply an offset, press [TYPE]. Toggle this setting until the offset you require is
displayed (see below).
Fixed Offset: If you require a fixed offset, press [TYPE] until “Fixed” is displayed. The
soft keys at the bottom of the screen will now change. Press [VALUE] and using the
keypad, input the dB value of the offset. Press [ENTER].
Offset from Table: Tables enable an offset to be applied that is frequency dependent.
The table must be entered into the memory of the meter before it can be applied. See
the Miscellaneous Features section of this guide for further information.
Figure 7-8.
Figure 7-9.