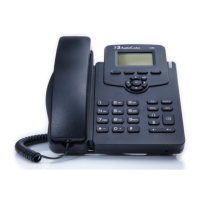
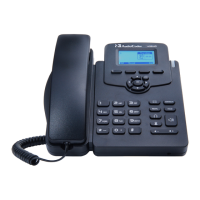
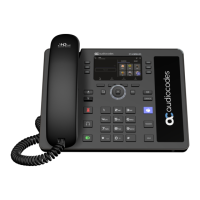
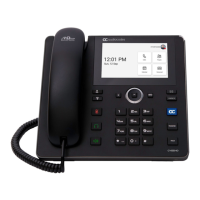
400HD Series IP Phones
Administrator's Manual 286 Document #: LTRT-11950
A.3 Genesys SIP Server for Contact Centers
This section shows system administrators how to quickly set up AudioCodes' IP phones to
operate with a Genesys SIP Server in a Genesys contact center.
A.3.1 Using DHCP to Auto Provision Phones
After connecting the LAN ports of your phones to the IP network and then connecting the
phones to the power supply, the phones will by default send a request to the Genesys
contact center's network server which will then automatically allocate an IP address and
send configuration information to each phone.
Make sure that the DHCP (Dynamic Host Configuration Protocol) options in your contact
center's DHCP server are correctly configured (see Section 10.2).
A.3.2 Verifying Firmware Version
After automatic provisioning, make sure the phone's firmware version is correct.
To verify firmware version:
Navigate to the Firmware Status screen in the phone's LCD (MENU key > Status >
Firmware Status).
A.3.3 Accessing a Phone's Web Interface
Use a standard Web browser such as Microsoft Internet Explorer to access any phone's Web
interface. Use the phone's IP address as the URL.
To obtain the phone's IP address:
Access the Network Status screen in the phone's LCD (MENU key > Status > Network
Status) and navigate down to IP Address:
To access the phone's Web interface:
1. Open the Web browser and in the URL address field enter the phone's IP address (for
example, http://10.22.13.118 or https://10.22.13.118):
The Web login window opens.
Note: The default User Name and Password are admin and 1234 respectively.
2. Alternatively, if your DHCP and DNS servers are synchronized, you can access the
phone Web browser using the following method:
http://<Phone Model>-<MAC Address>.<Domain Name>
E.g. http://440hd-001122334455.corp.YourCompany.com
3. Enter the User Name and Password, and then click OK.

 Loading...