Version 2.6 197 May 1
MP-202 Telephone Adapter 13. Advanced Settings
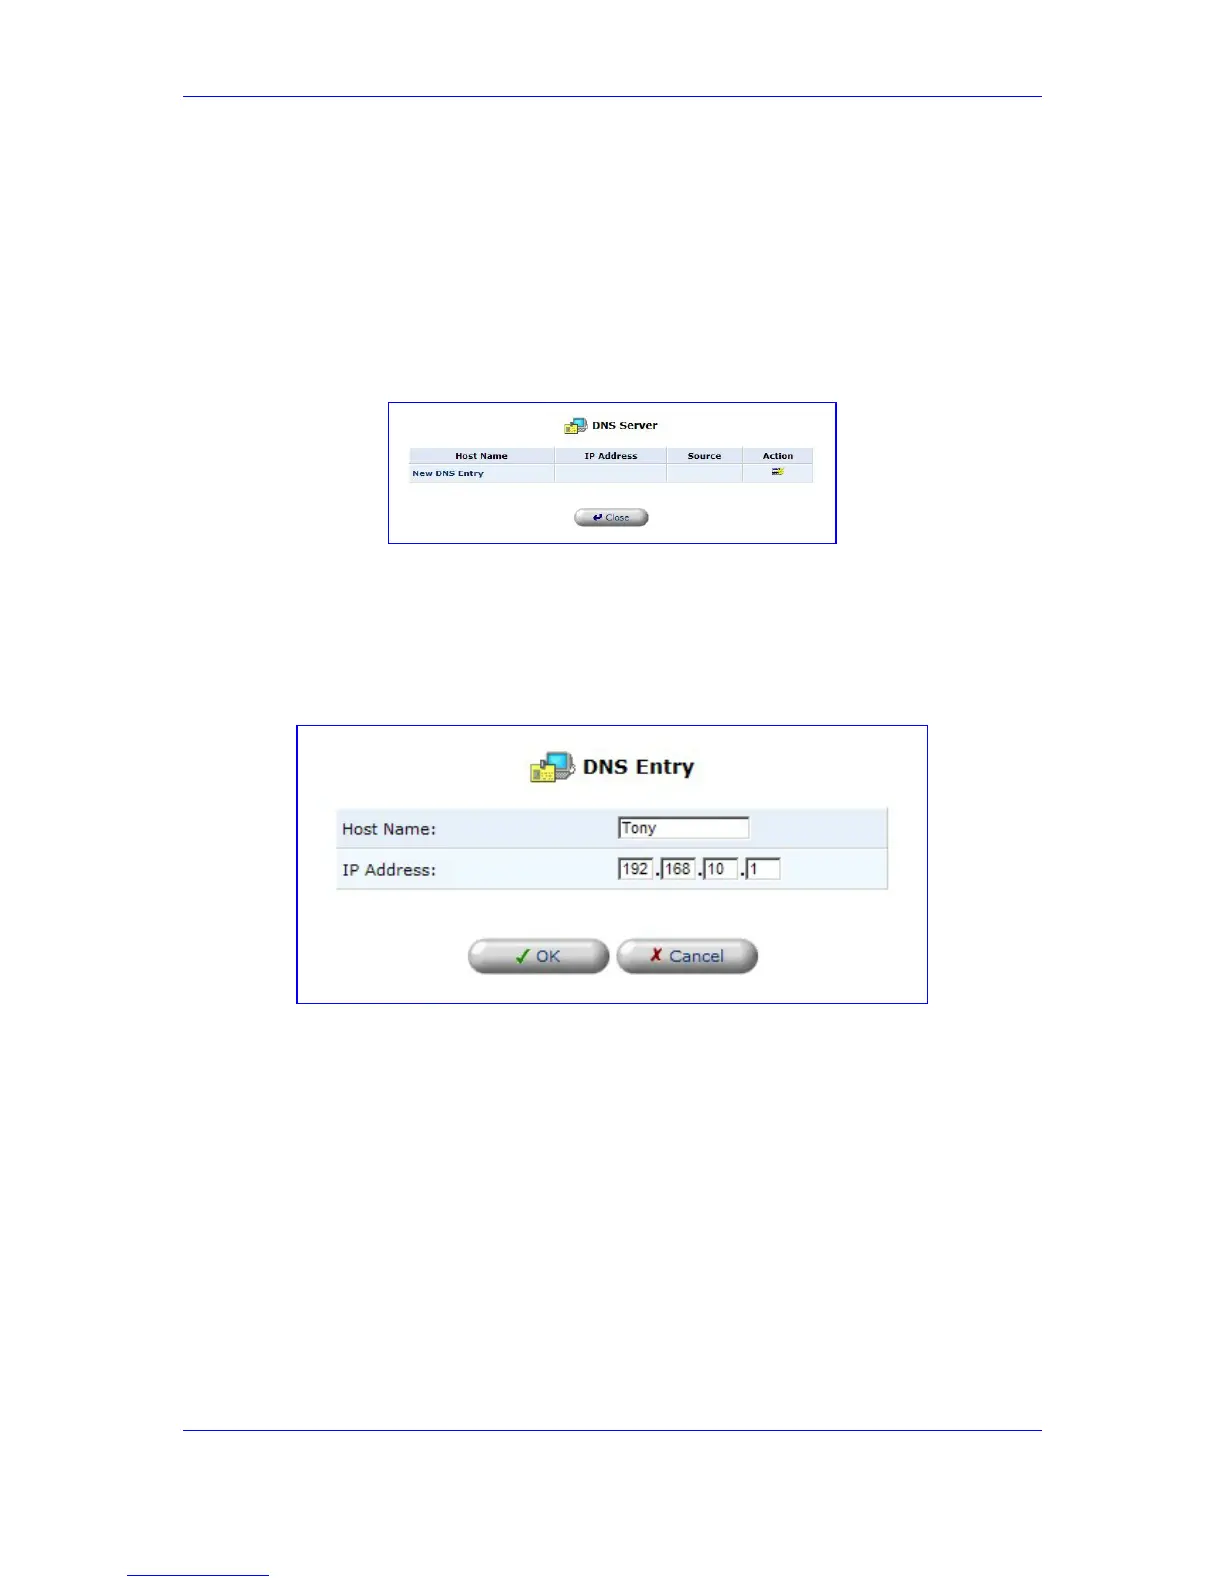
13.20.1 Viewing and Modifying the DNS Table
¾ To view the list of computers stored in the DNS table:
Click the icon 'DNS Server' in the 'Advanced' screen of the Web-based Management;
the DNS table is displayed (refer to the figure).
Figure 13-38: DNS Server
¾ To add a new entry to the list:
1. Click the link 'New DNS Entry'; the 'DNS Entry' screen opens (refer to the figure).
Figure 13-39: DNS Entry
2. Enter the computer's host name and IP address.
3. Click 'OK' to save your changes.
¾ To edit the host name or IP address of an entry:
1. Click the 'Edit' button under column 'Action'; the 'DNS Entry' screen opens.
2. If the host was manually added to the DNS Table, you can modify its host name
and/or IP address. If it wasn't, you can only modify its host name.
3. Click 'OK' to save your changes.
¾ To remove a host from the DNS table:
Click 'Delete' under column 'Action'; the entry is removed from the table.