Advanced Guide
>
Troubleshooting
> General Notes (Fax Driver)
T005
General Notes (Fax Driver)
This fax driver is subject to the following restrictions. Keep the following points in mind when using the
fax driver.
The fax driver may not work correctly when sending a Microsoft Excel 2002 document as a fax
with the Allow A4/Letter Paper Resizing option checked in Microsoft Excel 2002. Follow the
instructions below to solve the problem:
1. Click Options... from the Tools menu.
2. Uncheck the Allow A4/Letter Paper Resizing option on the International tab.
If you use a network compatible printer, the following message appears to stop sending if you
send a fax from your computer to a printer on the network when someone else is sending from
another computer:
"The fax transmission was unsuccessful. Check the followings and send your fax again:
- cable connections
- printer status
- recipient information
- recipient's fax line is not busy
- (when connected to the network) fax is not being sent from other computer"
If you assign the fax driver to the Bluetooth port, you cannot send a fax from the computer.
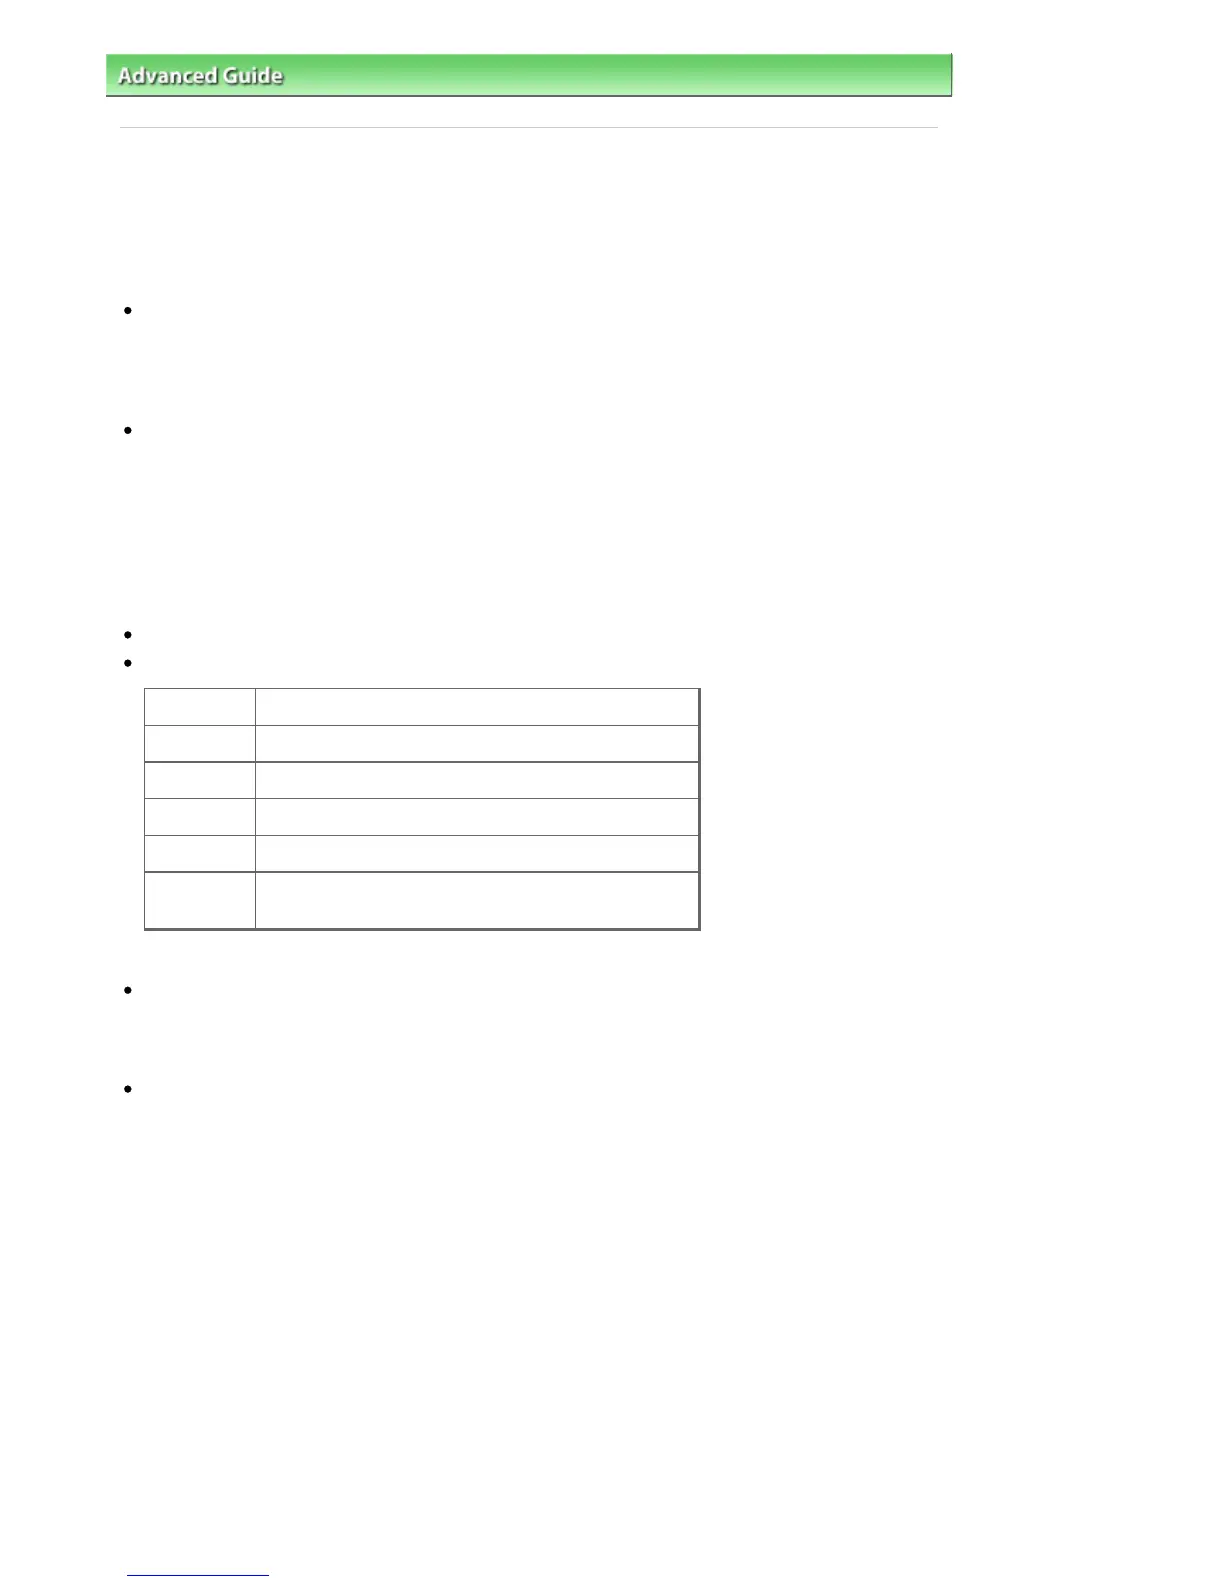
You can use the following characters for Fax Number:
Character Explanation
0 - 9 * #
For use in telephone and fax numbers.
, p
To place a pause between numbers.
P
To place a pause at the end of a sequence of numbers.
T
Numbers after the T will be sent as a tone signal.
+ - ( ), space
To make the number easier to read.
You cannot insert a space at the front of a number.
*You cannot use ".", "R", "M", or "E".
You can enter the following number of characters in Recipient Name and Fax Number.
Recipient Name: Up to 16 characters
Fax Number: Up to 60 characters
* The number of characters you can enter differs in some regions.
The fax driver does not work correctly if you uncheck the Enable printer pooling option on the Port
tab of the Canon XXX series FAX Properties dialog box (where "XXX" is the model name).
Check that the option is checked by following the instructions below:
Windows 7:
1. From the Start menu, select Control Panel > Hardware and Sound > Devices and Printers.
2. Right-click the icon of Canon XXX series FAX (where "XXX" is the model name) and click Printer
Properties.
The printer properties dialog box opens.
3. Click the Port tab.
Check that the Enable printer pooling option is checked.
Windows Vista:
1. From the Start menu, select Control Panel > Hardware and Sound > Printers.
2. Right-click the icon of Canon XXX series FAX (where "XXX" is the model name) and click Properties.
The printer properties dialog box opens.
3. Click the Port tab.
Check that the Enable printer pooling option is checked.
Windows XP:
1. From the Start menu, select Control Panel > Printers and Other Hardware > Printers and Faxes.
2. Right-click the icon of Canon XXX series FAX (where "XXX" is the model name) and click Properties.
The printer properties dialog box opens.
3. Click the Port tab.
Seite 892 von 922 SeitenGeneral Notes (Fax Driver)