Chapter 1
| Initial Switch Configuration
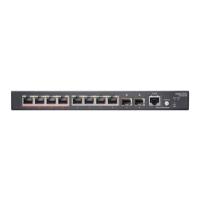
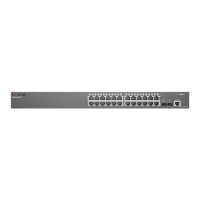
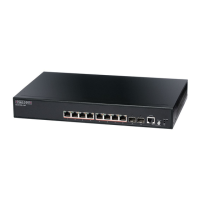
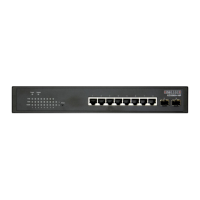
Connecting to the Switch
– 42 –
◆
Filter packets using Access Control Lists (ACLs)
◆
Configure up to 4094 IEEE 802.1Q VLANs
◆
Enable GVRP automatic VLAN registration
◆
Configure IP routing for unicast traffic
◆
Configure IGMP multicast filtering
◆
Upload and download system firmware or configuration files via HTTP (using
the web interface) or FTP/SFTP/TFTP (using the command line or web interface)
◆
Configure Spanning Tree parameters
◆
Configure Class of Service (CoS) priority queuing
◆
Configure static or LACP trunks (up to 8)
◆
Enable port mirroring
◆
Set storm control on any port for excessive broadcast, multicast, or unknown
unicast traffic
◆
Display system information and statistics
Connecting to the
Console Port
The switch provides an RS-232 serial port that enables a connection to a PC or
terminal for monitoring and configuring the switch. A null-modem console cable is
provided with the switch.
Attach a VT100-compatible terminal, or a PC running a terminal emulation program
to the switch. You can use the console cable provided with this package, or use a
null-modem cable that complies with the wiring assignments shown in the
Installation Guide.
To connect a terminal to the console port, complete the following steps:
1.
Connect the console cable to the serial port on a terminal, or a PC running
terminal emulation software, and tighten the captive retaining screws on the
DB-9 connector.
2.
Connect the other end of the cable to the RS-45 serial port on the switch.
3.
Make sure the terminal emulation software is set as follows:
■
Select the appropriate serial port (COM port 1 or COM port 2).
■
Set the baud rate to 115200 bps.
■
Set the data format to 8 data bits, 1 stop bit, and no parity.
■
Set flow control to none.
■
Set the emulation mode to VT100.
■
When using HyperTerminal, select Terminal keys, not Windows keys.
 Loading...