214683 433 Revision A
Installing a new auger finger:
Figure 5.75: Auger Finger Hole
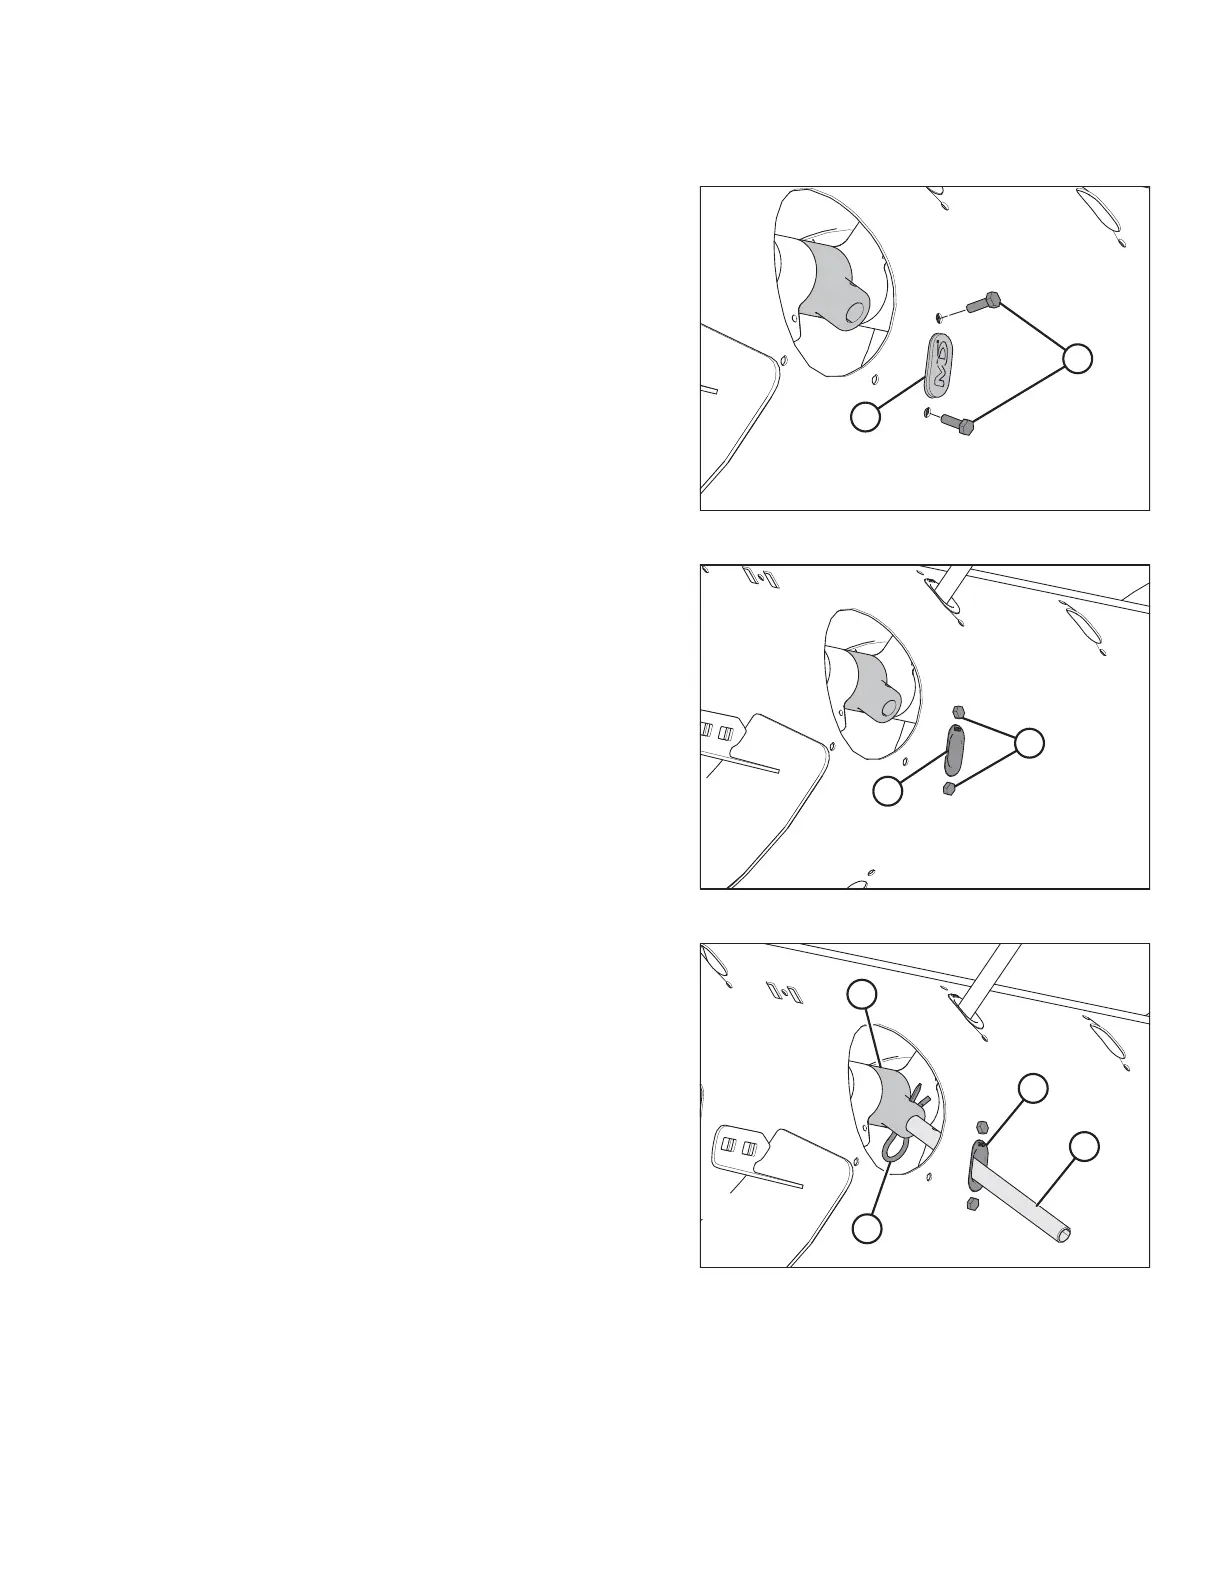
7. Remove the two bolts (B), tee nuts, and plug (A).
Figure 5.76: Auger Finger Hole
8. Coat bolts (A) with medium-strength threadlocker
(Loctite
®
243 or equivalent), and then insert the plastic
finger guide (B) from inside the auger and secure it with
bolts and tee nuts. Torque bolts to 8.5 Nm (75 lbf∙in).
NOTE:
When installing additional fingers, ensure you install an
equal number on each side of the auger.
Figure 5.77: Auger Finger
9. From inside the auger, insert the new auger finger (B)
through the plastic guide (D).
10. Insert the finger (B) into finger holder (C) and secure
with hairpin (A).
NOTE:
Note the orientation of the hairpin (A). The round part
should face the direction of auger rotation; the formed
side (that is, the S-shaped side) must face the chain
drive side of the auger.
MAINTENANCE AND SERVICING