214683 431 Revision A
Installing Feed Auger Fingers
DANGER
To avoid bodily injury or death from unexpected start-up or fall of a raised machine, always stop engine
and remove key before leaving the operator’s seat, and always engage safety props before going under
the machine for any reason.
NOTE:
Not all parts needed for this procedure are included in this kit, and depending on the original configuration of the
feed auger, additional parts may need to be ordered. Refer to 4.1 Float Module Feed Auger Configurations, page
307 to see which parts are available.
1. Raise the reel.
2. Shut down the combine, and remove the ignition key.
3. Engage the reel safety props.
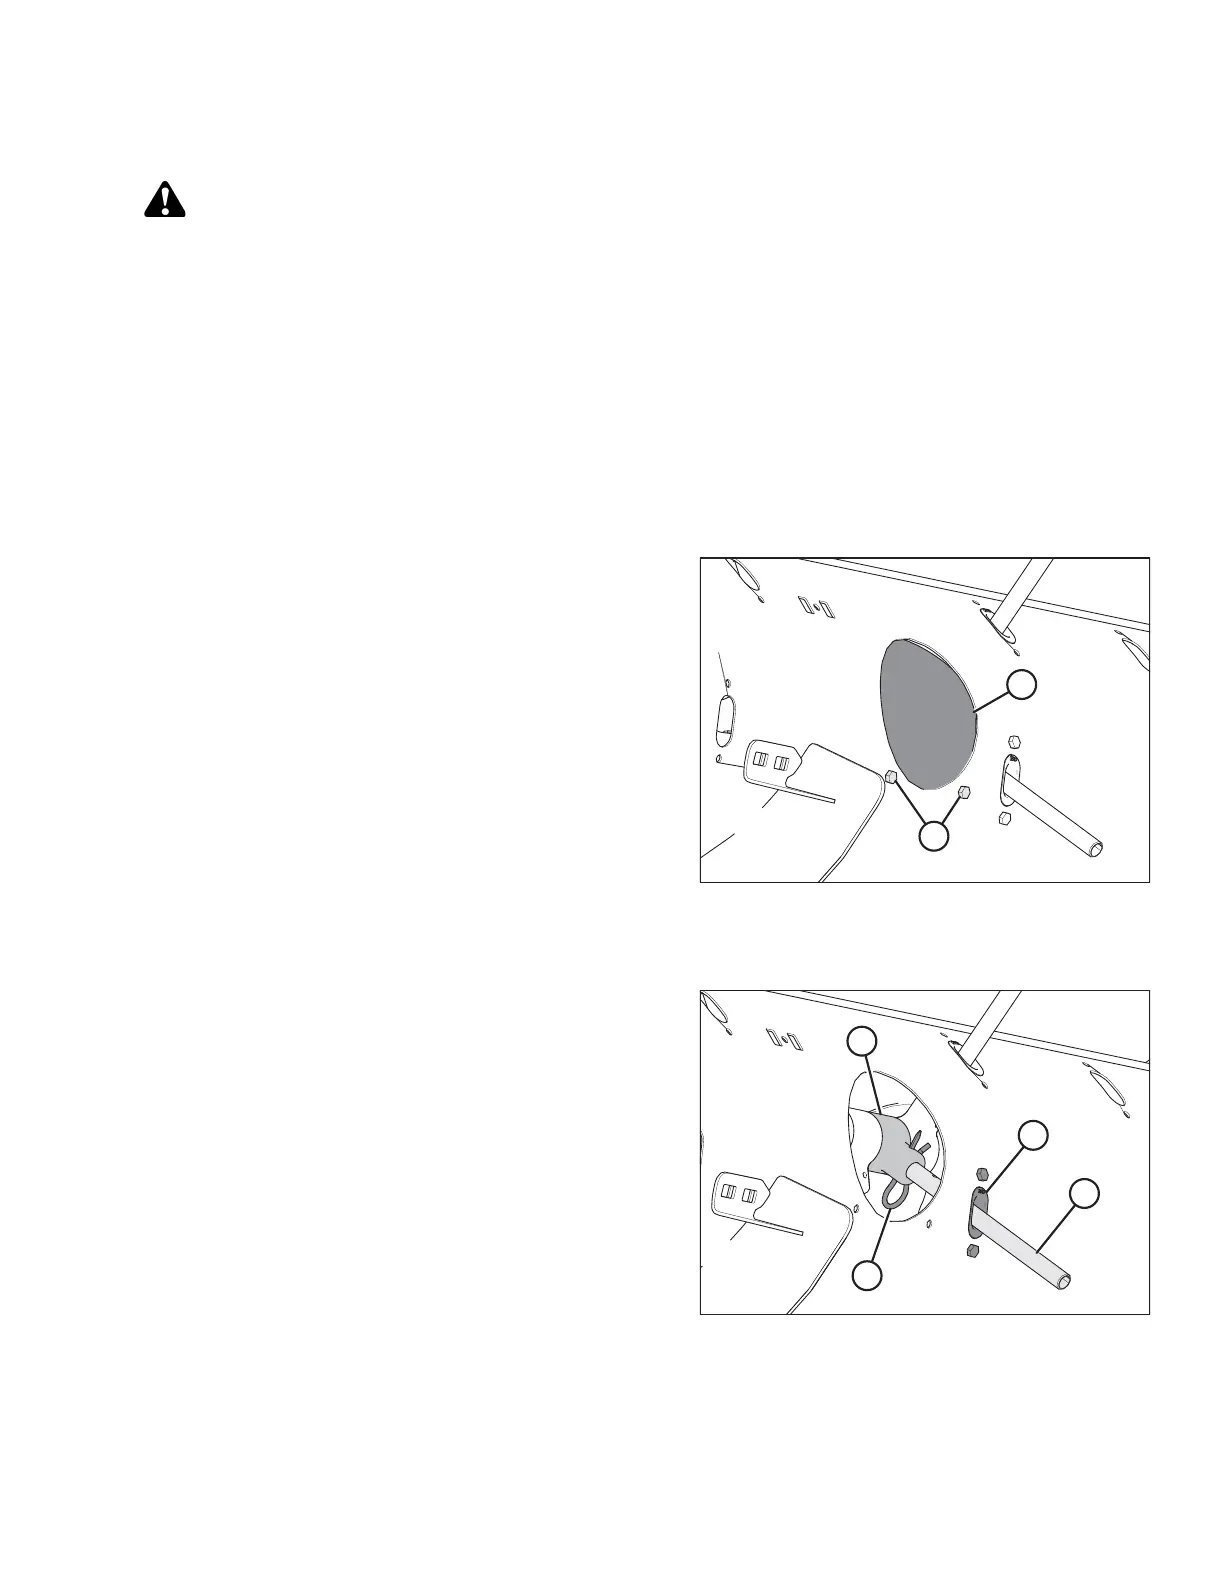
Figure 5.72: Access Hole Cover
4. Remove bolts (A) and access cover (B) from the access
cutout closest to the finger that needs to be installed or
replaced.
If you are replacing an existing auger finger, refer to
Step 5, page 431, otherwise proceed to Step 7, page
433 for installation instructions for new auger fingers.
Removing an existing auger finger:
Figure 5.73: Auger Finger
5. Remove the hairpin (A), pull the finger (B) out of the
bushing (C) from inside the auger, and remove the
finger from the auger by pulling it through the plastic
guide (D).
If you are replacing the plastic finger guide before
installing the auger finger, refer to Step 6, page 432,
otherwise refer to Step 9, page 433.
MAINTENANCE AND SERVICING