214683 318 Revision A
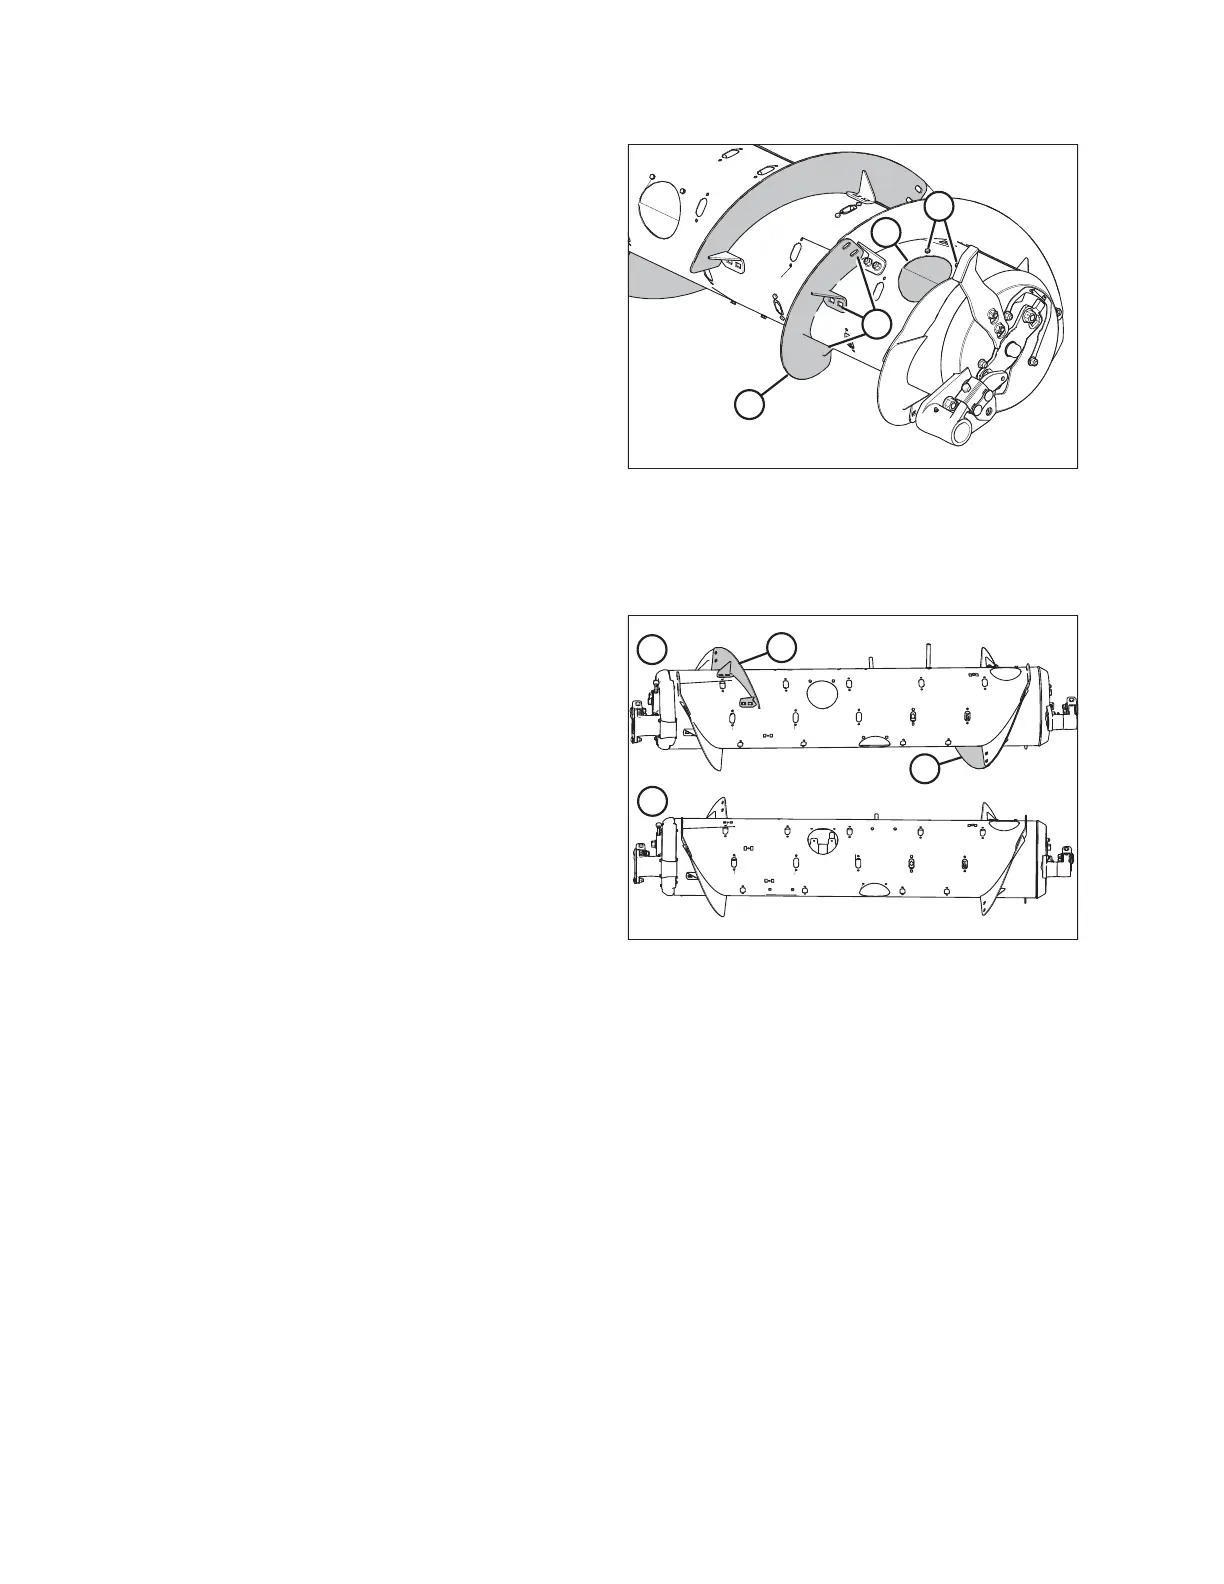
Figure 4.21: Ultra Narrow Configuration
(Right Side)
2. Remove bolts (A) and access cover (B). Retain for
reassembly.
NOTE:
Some parts are removed from the illustration for clarity.
3. Remove hardware from location (C), and remove
bolt-on flighting (D) from feed auger.
4. Repeat procedure for the remaining three inboard
flightings.
5. Install additional auger fingers. A total of 18 fingers are
recommended for this configuration. Refer to Installing
Feed Auger Fingers, page 431 for instructions.
4.1.5 Converting from Medium Configuration to Wide Configuration
Figure 4.22: Auger Configurations (Rear View)
1 - Medium Configuration 2 - Wide Configuration
The Medium and Wide auger configurations are shown at
right. When converting from the Medium configuration to the
Wide configuration, you will need to remove existing
flightings (A) from auger and add auger fingers.
Four flighting plugs (MD #213084), M6 hex head bolts
(MD #252703), and M6 tee nuts (MD #197263) are needed
to cover exposed flighting mounting holes after the flightings
are removed. These parts can be ordered from a MacDon
Dealer.
1. If necessary to improve access and ease installation, remove float module from combine. For instructions, refer
to 4 Header Attachment/Detachment, page 307.
NOTE:
Some parts have been removed from the illustrations for clarity.
HEADER ATTACHMENT/DETACHMENT