Crankcase
7-62
5. Install:
• Pis
ton
a. Apply engine oil to the side of the pis-
ton, piston rings, and cylinder wall,
and then install the
piston so that the
mark “a” on the piston crown is facing
toward the flywheel magneto end of
the crankshaft.
6. Install:
• Crankshaft journal
bearing “1” (into the cyl-
inder block “2”)
Install the crankshaft journal bearings “1” in
their original positions.
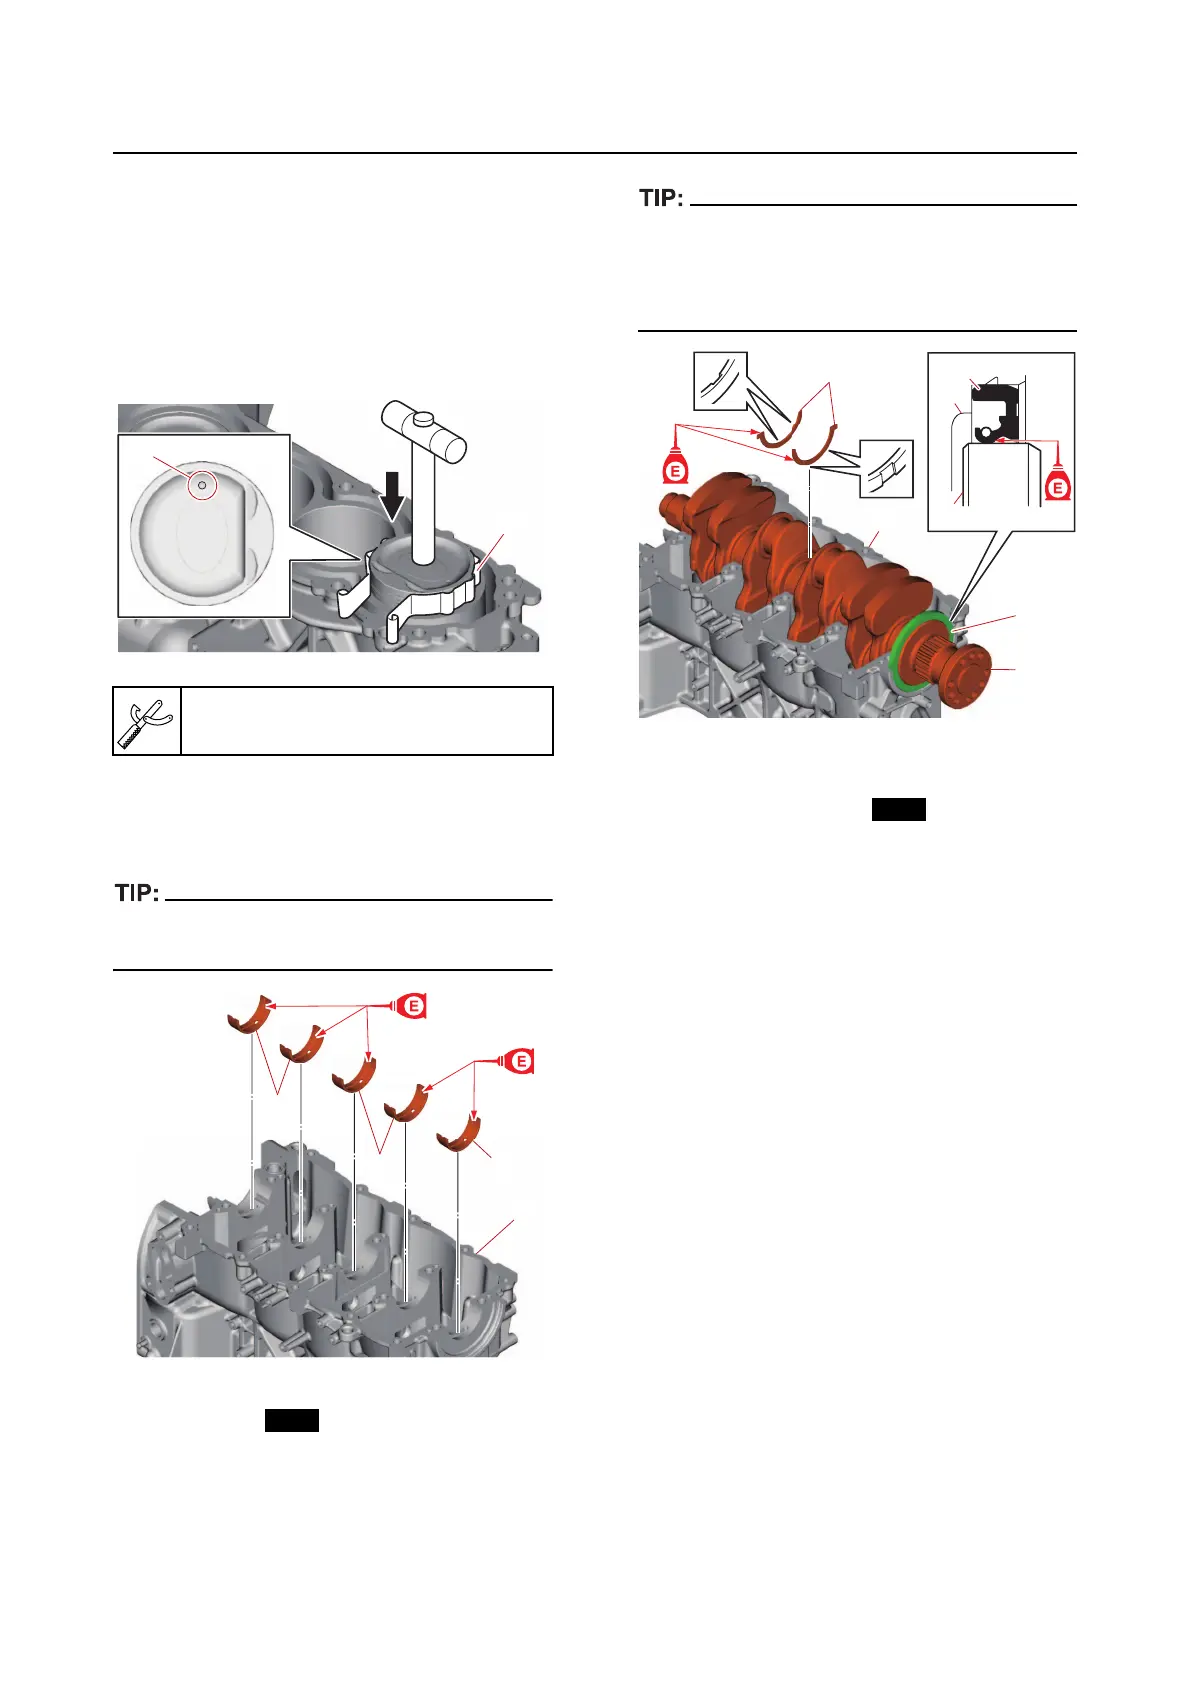
7. Install:
• Oil seal “1” (into the crankshaft “2”)
• Crankshaft “2” (into the cylinder block
“4”)
• Thrust bearing “3” (into
the cylinder block
“4”)
• Make sure that each thrust bearing is in-
stalled with its notches facing outward.
• Slide the thrust bea
ring between the crank-
shaft and the cylinder block.
8. Install:
• Connecting
rod cap
• Connecting
rod bolt
a. Install the connecting rod caps “1” to
the piston
and connecting rod assem-
blies, and then tighten new connecting
ro
d bolts “2” to the specified torques in
2 stages.
Piston slider “1”
90890-06530
1
a
1
1
1
2