ADOBE AFTER EFFECTS 7.0
User Guide
433
Animated Ripple effect
Adjust the following controls for the Ripple effect:
Radius Controls the distance the ripples travel from the center point. The Radius value is a percentage of the image
size. If the center of the ripple is the center of the layer and the radius is set to 100, the ripples travel to the edge of
the image. A value of 0 produces no ripples. Like ripples in water, ripples in the layer become smaller as they travel
farther from the center.
To create a single-wave ripple, set Radius to 100, Wave Width between 90 and 100, and Wave Height as desired.
Center Of Ripple Specifies the center of the effect.
Type Of Conversion Specifies how the ripples are created. Asymmetric produces more realistic-looking ripples;
asymmetric ripples include lateral motion and produce more distortion. Symmetric produces motion that travels
only outward from the center point; symmetric ripples produce less distortion.
Wave Speed Sets the speed at which the ripples travel outward from the center point. When you specify a wave
speed, the ripples are automatically animated at a constant speed (without keyframes) across the time range. A
negative value makes the ripples move toward the center, and a value of 0 produces no movement. To vary wave
speed over time, set this control to 0, and then create a keyframe for the Ripple Phase property of the layer.
Wave Width Specifies the distance, in pixels, between wave peaks. Higher values produce long, undulating ripples,
and low values produce many small ripples.
Wave Height Specifies the height of the ripple wave. Taller waves produce greater distortion.
Ripple Phase Specifies the point along the waveform at which a wave cycle begins. The default value of 0 degrees
starts the wave at the midpoint of its downward slope; 90 degrees starts it at the lowest point in the trough; 180
degrees starts it at the midpoint of the upward slope, and so on.
Smear effect
UsingtheSmeareffect,youdefineanareawithinanimageandthenmovethatareatoanewlocation,stretching,or
smearing, the surrounding part of the image with it. Use masks to define the area you want to distort.
This effect works with 8-bpc and 16-bpc color.
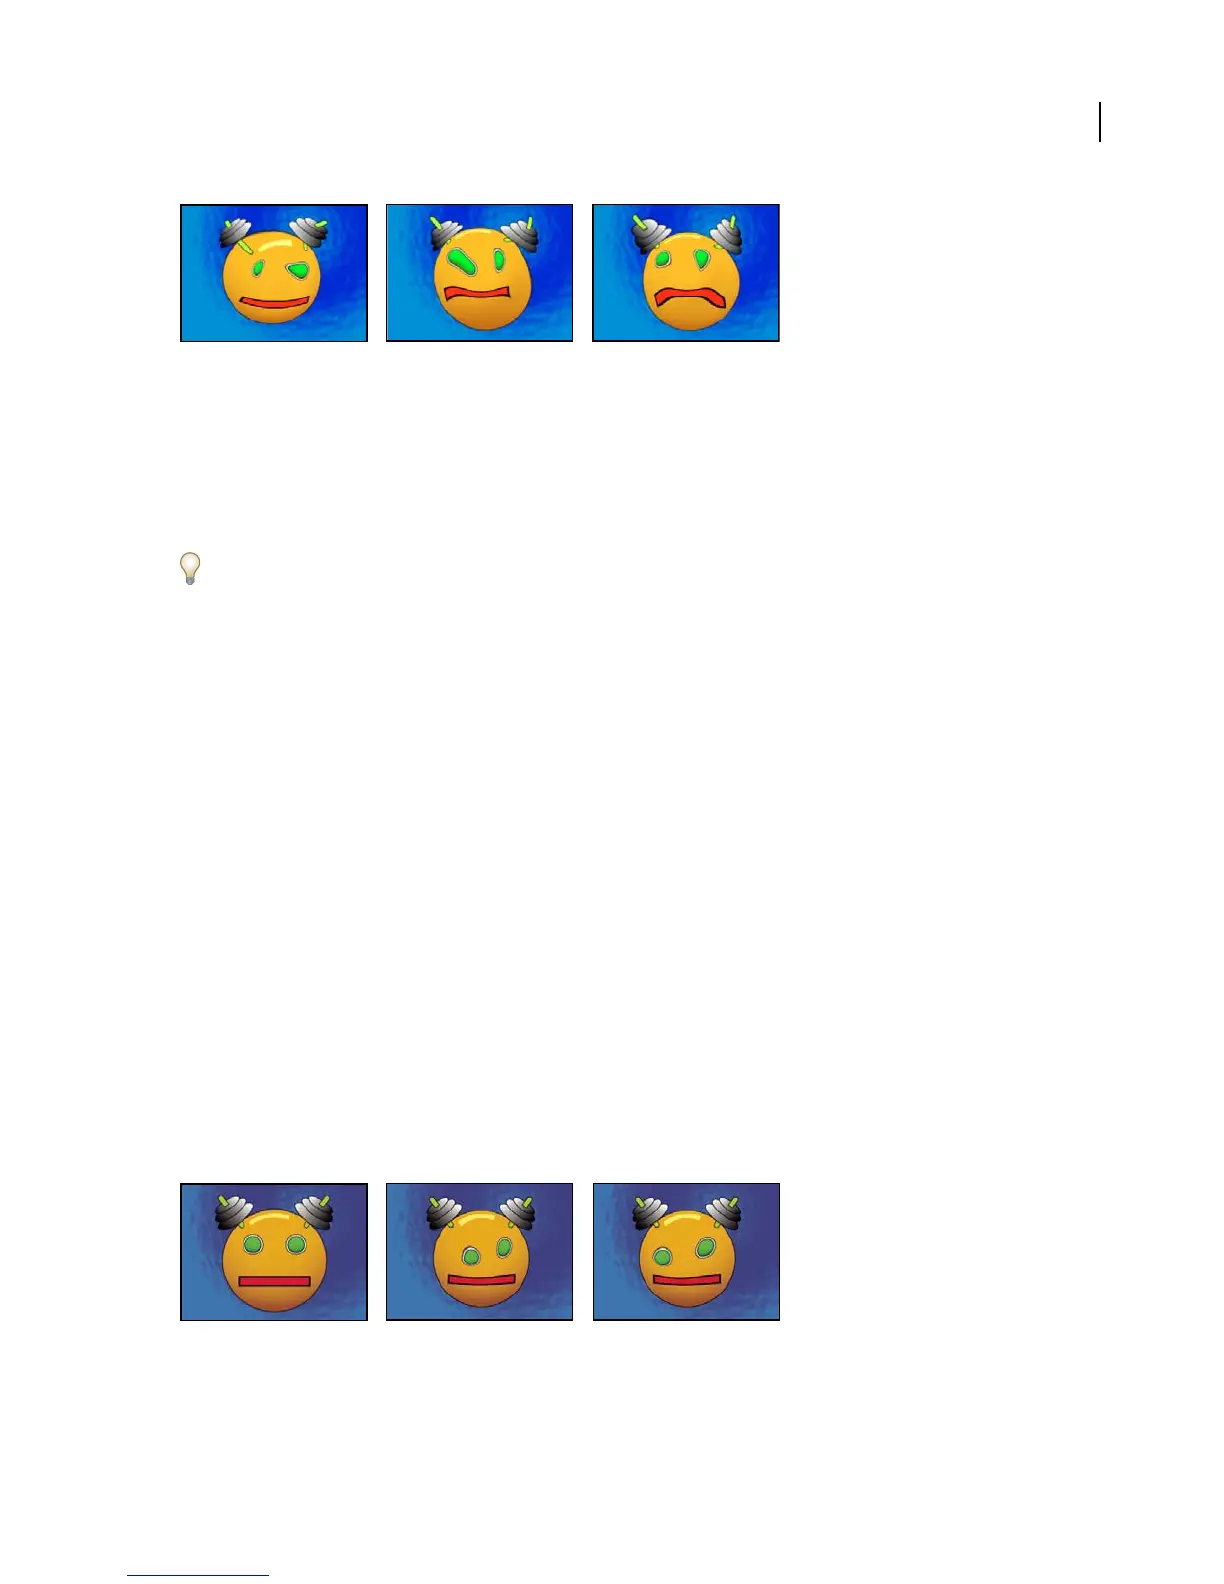
Original (left) and with variations of Smear applied (center and right)