ADOBE AFTER EFFECTS 7.0
User Guide
413
• Matching Mode Specifies whether a pixel is close to the Matching Color. Use Matching Mode if Matching
Tolerance doesn’t increase the selection in the desired areas. In general, use RGB for high-contrast graphics and
Chroma for photographic images.
Masking Specifies the pixels you want to change using the luminance or alpha channel of another layer. Mask Layer
specifies the layer you want to use for your mask. Masking Mode specifies the Mask Layer property to use.
Composite Over Layer Specifieswhetheryouwanttoseeonlytheselectedpixelsortheselectedpixelsontopofthe
original layer (the default).
Blend With Original Specifies the relative percentages of the original layer and the affected layer that you see. Use
this control to fade out the Colorama effect.
Curves effect
The Curves effect adjusts the tonal range of an image. You can also use Levels to do this, but Curves gives you more
control. Instead of making the adjustments using just three controls (highlights, shadows, and midtones) as Levels
does, Curves can adjust any point along the input scale while keeping up to 15 other values constant.
This effect works with 8-bpc, 16-bpc, and 32-bpc color.
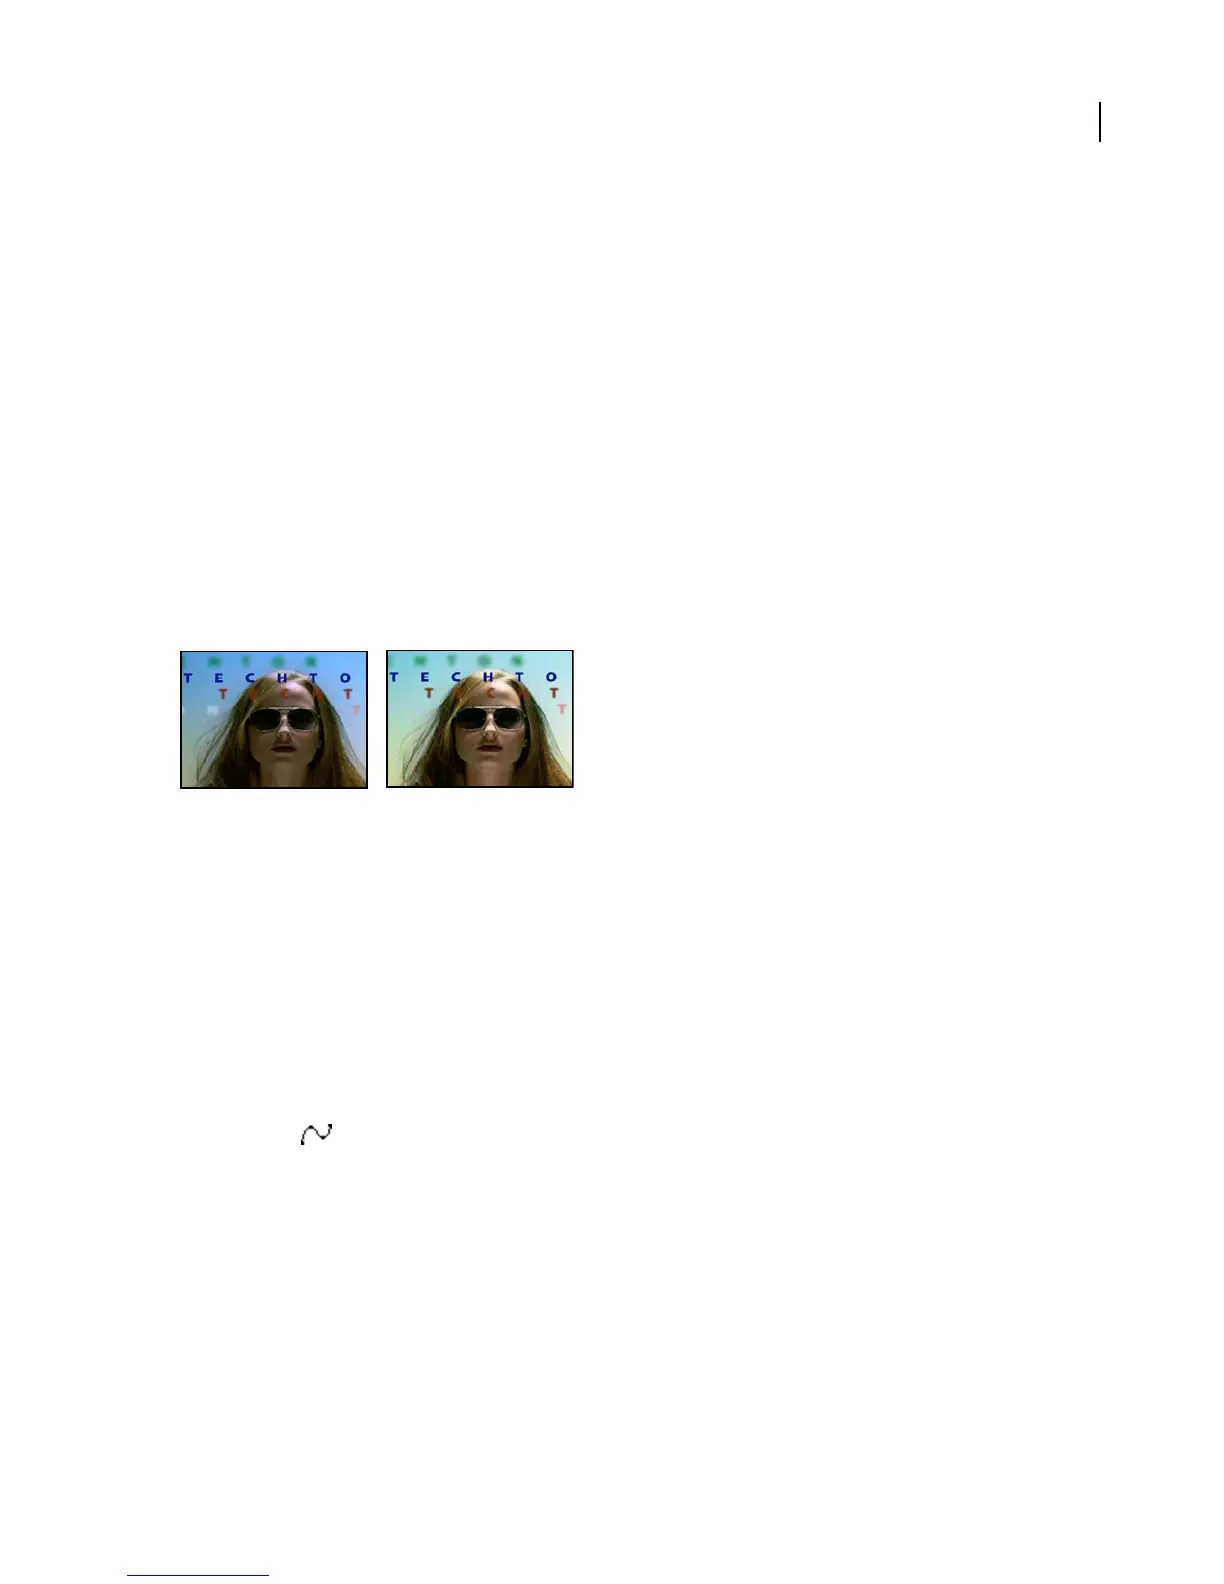
Original (left), and with effect applied (right)
When you apply the Curves effect, After Effects displays a graph in the Effect Controls panel that you use to specify
a curve.
The horizontal axis of the graph represents the original brightness values of the pixels (input levels); the vertical axis
represents the new brightness values (output levels). In the default diagonal line, all pixels have identical input and
output values. Curves displays brightness values from 0 to 255 (8 bit) or 32768 (16 bit), with shadows (0) on the left.
To use the Curves effect
1
Choose Effect > Color Correction > Curves.
2 If the image has more than one color channel, choose the channel you want to adjust from the Channel menu.
RGB alters all channels using a single curve.
3 Select Bezier .
4 Click the part of the curve you want to adjust.
5 Click any points on the curve that you want to remain fixed. For example, if you want to adjust the midtones while
minimizing the effect on the highlights and shadows, click the quarter and three-quarter points on the curve. You
can add up to 14 points to the curve, locking those values.
6 To remove a fixed point, drag it off the graph.
7 Adjust the curve by dragging it.