ADOBE AFTER EFFECTS 7.0
User Guide
332
Feature and search region moving through footage
5. Using rotation track points
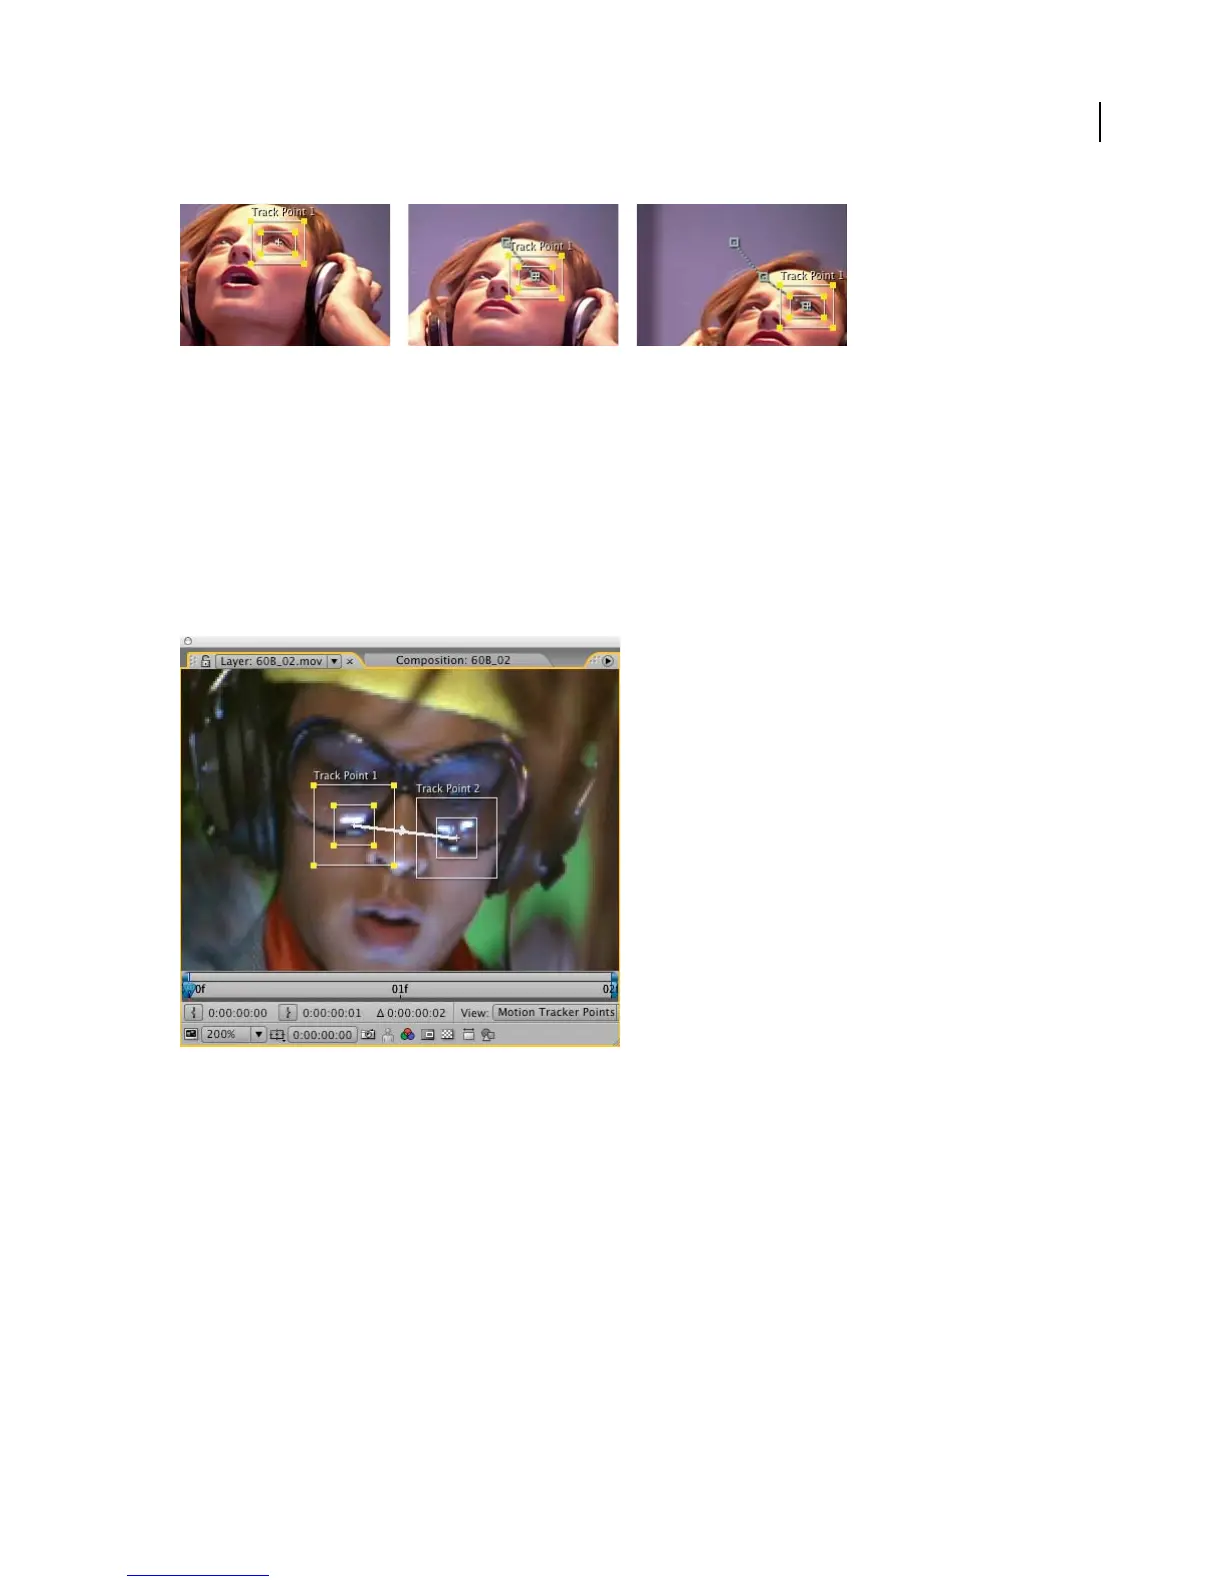
In addition to tracking the position of a feature, you can also track its rotation. You can apply rotation values to
another layer or to stabilize the same layer. When you select the Rotation option, After Effects displays two feature
and search regions. A line connects the two attach points that lie at the center of each feature region. An arrow points
from the first attach point to the second.
Ifpossible,bothfeatureregionsshouldbeonthesameobject,oratleasttheyshouldbothbeonobjectsthatarethe
same distance from the camera. The first feature region (on the left by default) represents the base of the tracking.
The farther apart the regions, the more accurate the calculations and the better the result.
Layer panel showing the feature region and search region for tracking rotation with two track points
After Effects calculates rotation by measuring the change of angle between the first and second attach point from
one frame to the next.When you apply the tracking data to the target, After Effects creates rotation keyframes.
6. Positioning the attach point
The placement of the attach point determines the placement of your target footage, image, or effect control point.
The default position is in the center of the feature region. You can move the attach point as necessary. While most
times you’ll want your target to be centered exactly on the feature region, there may be times when you need to offset
the target from the source of the movement or times when the point of attachment is not the best feature to track.