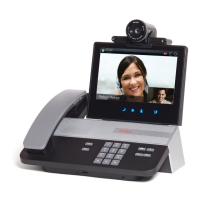
Configuring Avaya CU360 for VLAN tagging
About this task
If your network is divided into subnetworks to limit the range of broadcasts, known as VLANs, and
the network components support IEEE 802.1Q, you can assign a VLAN ID to tag Avaya CU360 to
a specific subnetwork.
This configuration is available only on the Avaya CU360 endpoint.
Before you begin
Ensure that your network components support IEEE 802.1Q.
Important:
If the components do not support IEEE 802.1Q, and if you enable this feature, Avaya CU360
will not get an IP address.
Procedure
1. Click on the navigation bar.
Avaya CU360 displays the desktop.
2. Click .
3. Click Settings.
Avaya CU360 displays the Settings window.
4. Click More.
Avaya CU360 displays the Wireless & networks window.
5. Click Ethernet.
Avaya CU360 displays the Ethernet window.
6. Click 802.1Q (VLAN).
Avaya CU360 displays the Ethernet 802.1Q (VLAN) window.
7. Configure the following fields:
• Enable: Select Yes.
• VLAN ID: The VLAN ID between 0 and 10.
• VLAN Name: vlan. You cannot modify this name.
8. Click Save.
Configuring Avaya CU360 for VLAN tagging
October 2022 Installing and Administering Avaya Collaboration Unit CU360 85
Comments on this document? infodev@avaya.com

 Loading...


