● Only models with PoE ports support this function.
● Do not connect the PoE port with a switch, otherwise it will cause connection failure.
● This function is enabled by default, and the IP segment start from 10.1.1.1, we recommend
that you use the default setting.
● When connecting to a third-party IPC, make sure that the IPC supports Onvif protocol and
DHCP is enabled.
Step 1 Select
Main Menu
>
Network
>
Switch
.
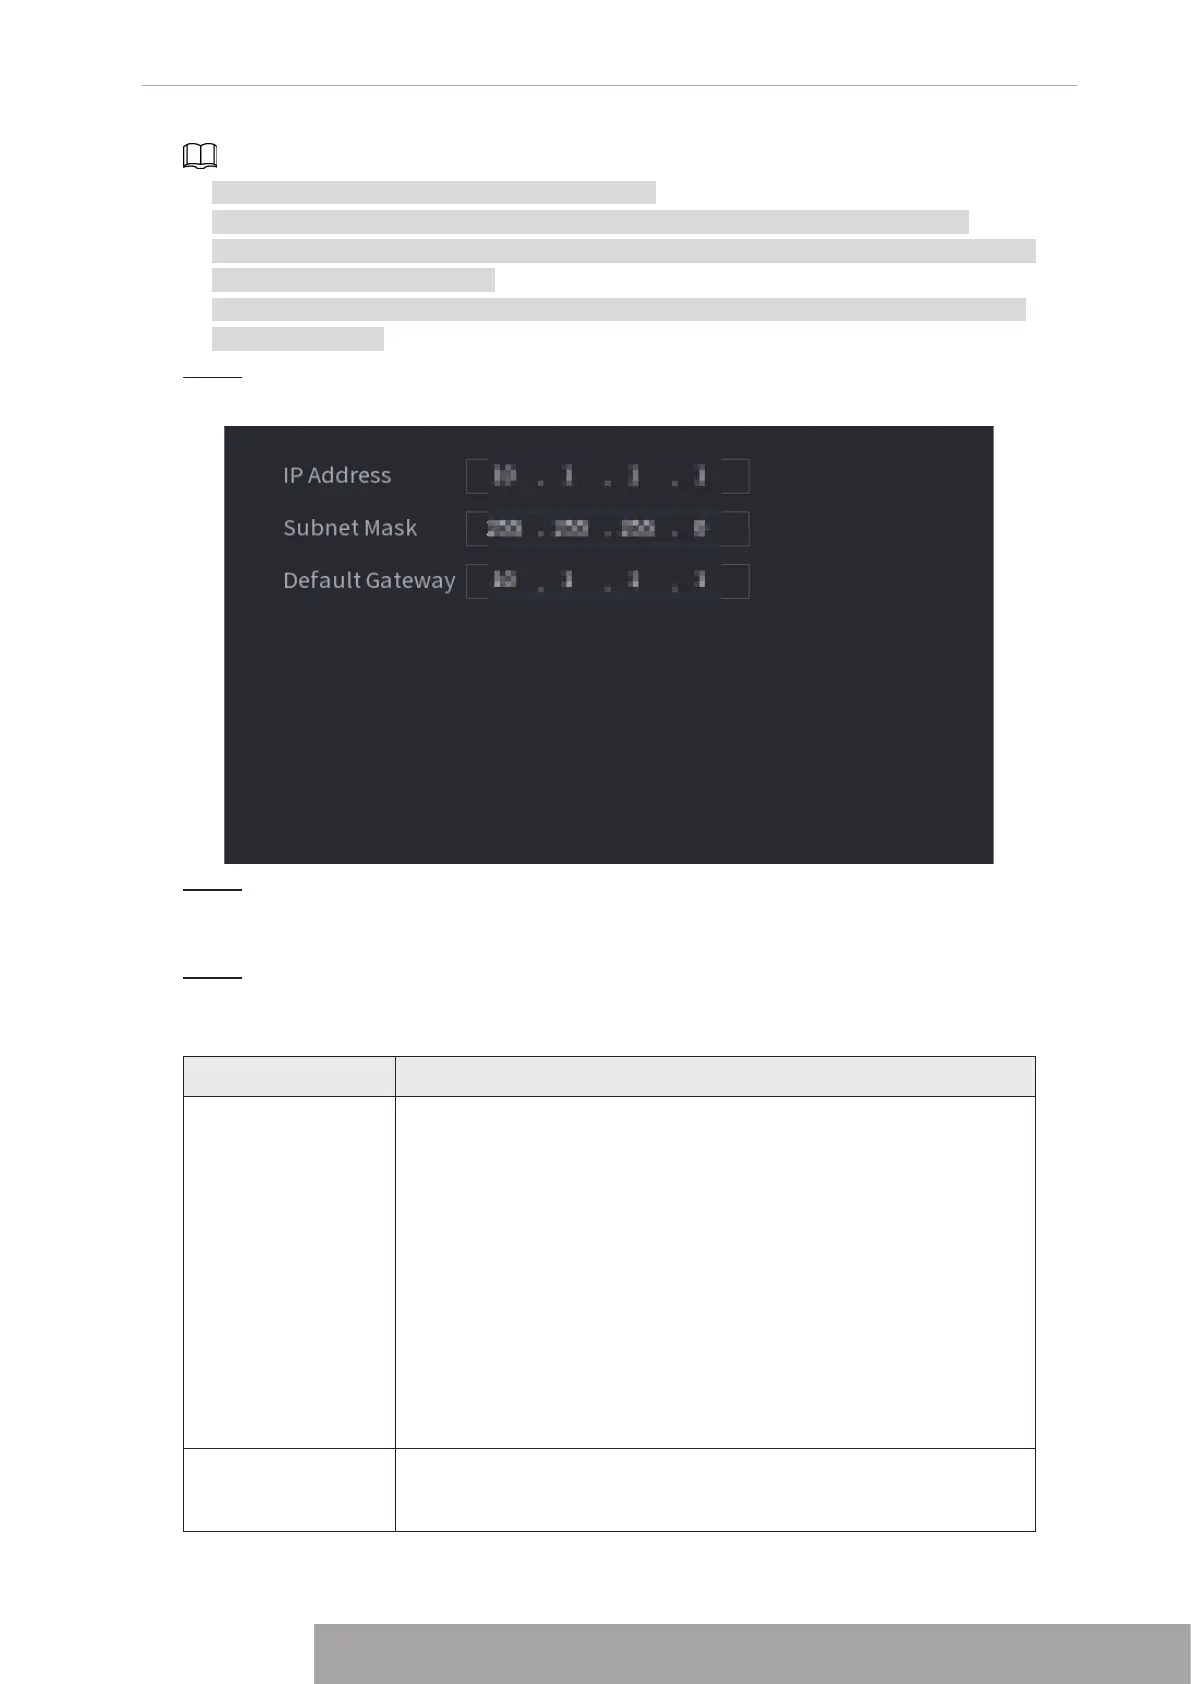
Figure 4-240
Step 2 Set the values of
IP Address
,
Subnet Mask
and
Default Gateway
.
Do not set the value of
IP Address
to the same network segment with the NVR, we
recommend that you use the default setting.
Step 3 Click
Apply
.
PoE Port Description
Table 4-78
PoE Status Description
Connect to PoE port
When an IPC is connected to the PoE port, the system automatically
assigns the IP address to the IPC according to the set IP segment.
The NVR will try the method of
arp ping
to assign the IP address. If
DHCP is enabled on the NVR, the NVR will use DHCP to assign the
IP address.
● When IP address is successfully set, the system will broadcast
though
Switch
. If there is a response from the IPC, it means the
connection is successful, and the NVR will log in with the IPC.
You can find the corresponding channel being occupied and
there is an PoE icon at the upper-left corner.
● You can also view PoE status such as channel number and PoE
port number in
Main Menu
>
CAMERA
>
Camera List
>
Added
Device
Disconnect PoE port
When an IPC is disconnected form PoE port, you will find the
information of
Failed to find network host
on the
Live View
interface.
Copyright © NSS Sp. z o.o.
235 User‘s Manual