GE HEALTHCARE
DIRECTION 5394141, REVISION 5 LOGIQ™ P5 SEVICE MANUAL
8-124 Section 8-3 - Software Loading Procedure
8-3-5-2 Image Management Guide (cont’d)
Importing Data
To import an exam(s) to another Ultrasound system:
1.) At the other Ultrasound system, insert the CD-ROM/DVD.
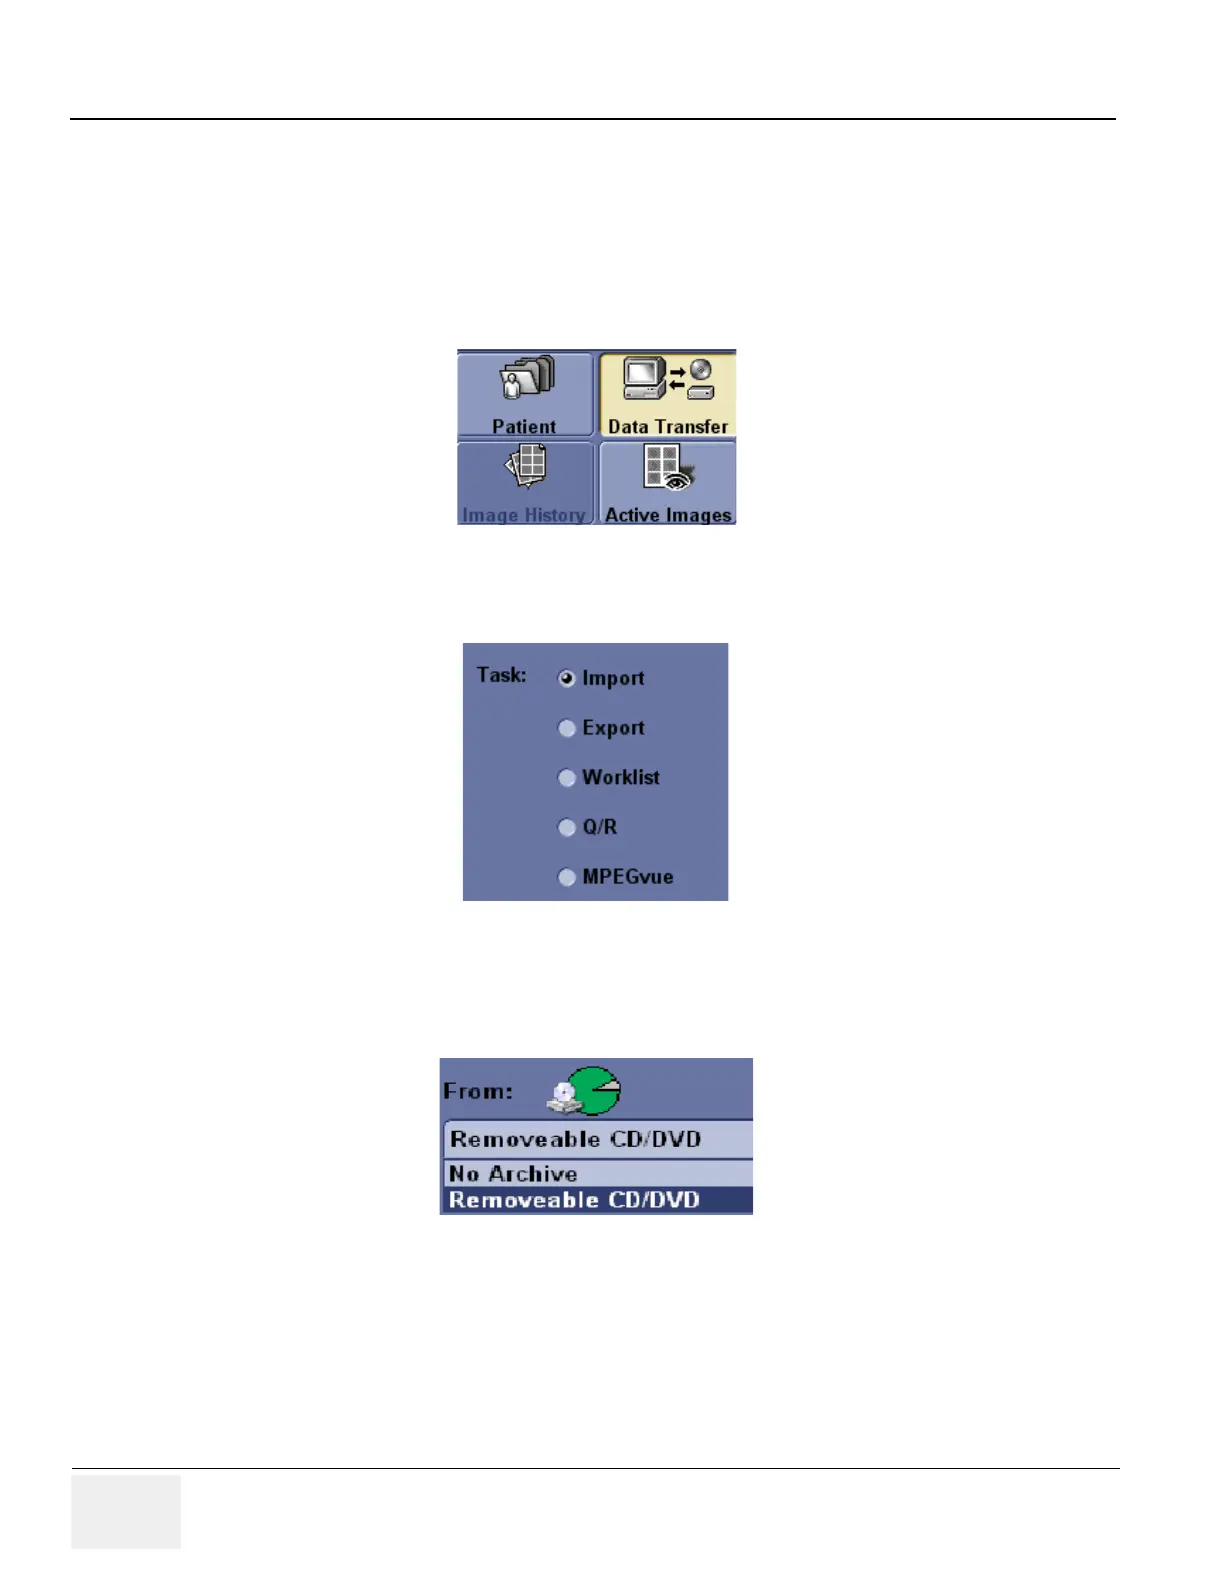
2.) Press Patient. Press Exam Data Transfer (located at the upper, left-hand corner of the Patient
menu).
3.) Select Import task Button.
4.) The [TO] combo box is not active. It displays Local Archive. The [FROM] combo box is active.
Select the type of removable media CD/DVD Rom. Then please wait until the patient list is
visible.
5.) The Patient menu just shows the patients available for import from the removable media you
just loaded onto the system.
6.) Select the patients to be imported.
7.) Once you have selected all of the patients to import, press Transfer Button.
8.) Please wait for the patient information to be copied to this Ultrasound system. Progress bar
appears while the import is taking place.
Figure 8-165 Exam Data Transfer
Figure 8-166 Task button
Figure 8-167 From

 Loading...


