All YTO
Removal
1. If the analyzer is an Option 002, remove the Tracking Generator before proceeding.
2. Place the analyzer top-side-down on the work bench.
3. Use a
5/16
inch wrench to remove
W56/FL2/W57
(as a unit).
4. Disconnect W38 at the All Assembly.
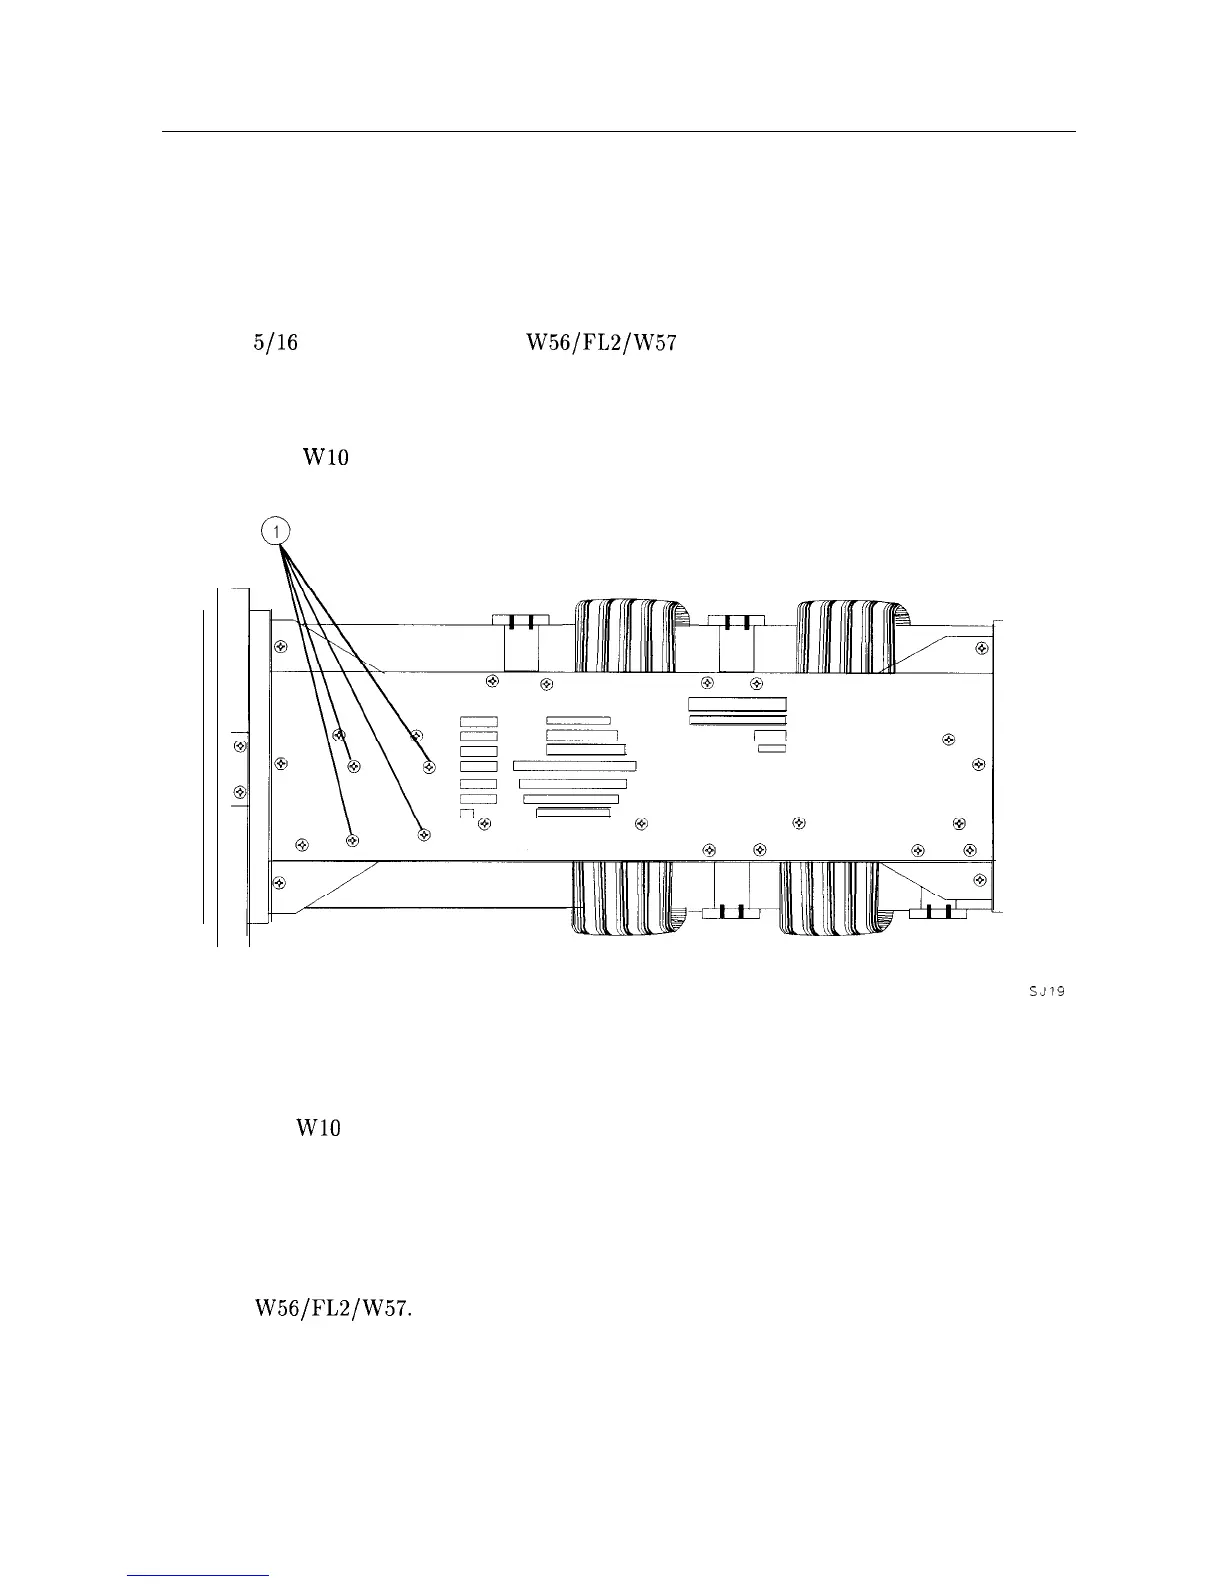
5. Remove the All mounting screws (1) shown in Figure 3-18.
6. Disconnect
WlO from All.
SJ19
Figure 3-18. A11 Mounting Screws
Replacement
1. Reconnect WlO to All.
2. Place the All Assembly in the analyzer.
3. Secure the All Assembly to the right-side frame using the four screws (1) removed in
“Removal” step 5.
4. Connect W38 to All.
5. Install
W56/FL2/W57.
Ensure that all of the connections are tight.
6. If the analyzer is an Option 002, install the Tracking Generator.
3-32 Assembly Replacement