Procedure 9. Al4 and Al5 Assemblies
Removal
1. Remove the analyzer’s cover as described in Procedure 1, “Analyzer Cover.”
2. Place the analyzer on its right side frame.
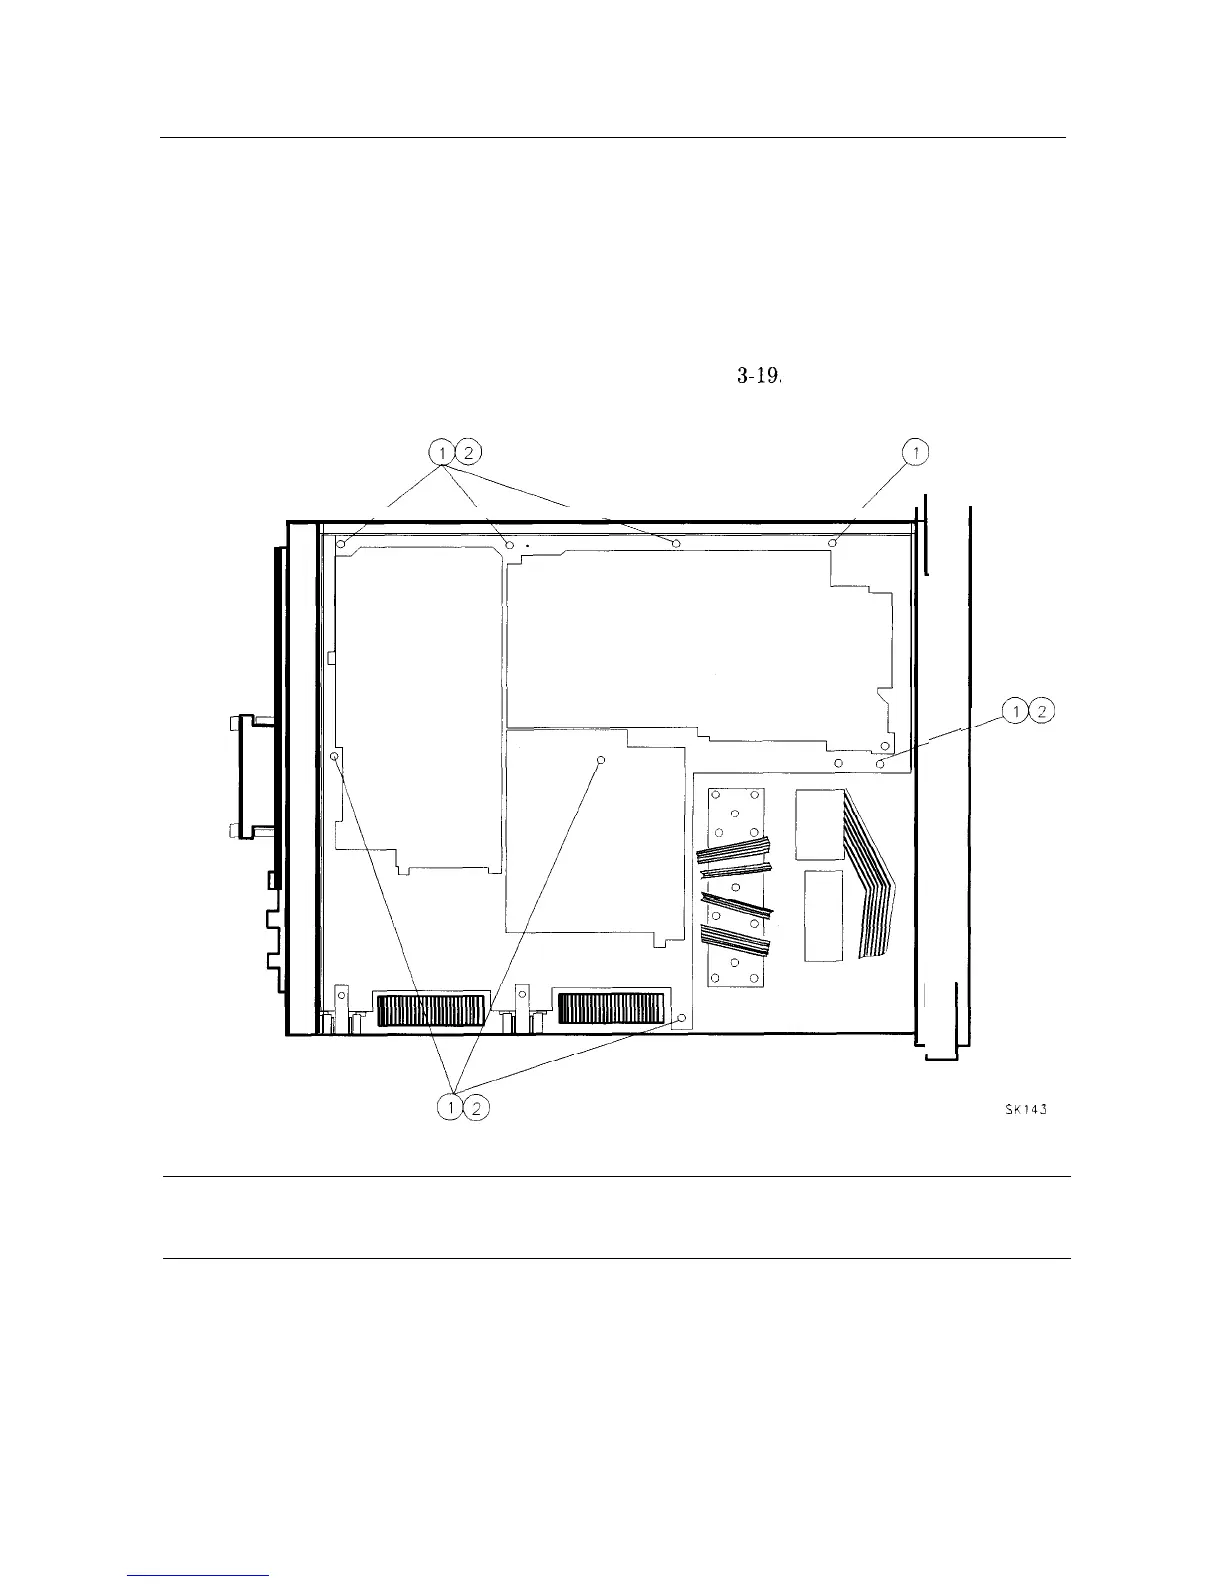
3. Remove the eight screws and washers holding the Al4 and Al5 assemblies to the bottom of
the analyzer. These screws are labeled 1 and 2 in Figure
3-19.
A
/./
P
1
1
/
r
SK143
Figure 3-19. Al4 and Al5 Assembly Removal
Caution
Washers are not captive. Loose washers in instrument may cause internal
damage.
3-34 Assembly Replacement