EasyManuals Logo

Lexmark CX310 Service Manual

Lexmark CX310
430 pages
To Next Page IconTo Next Page
To Previous Page IconTo Previous Page
Page #245 background imageLoading...
Page #245 background image
Low Insertion Force (LIF) connector
This FRU contains a Low Insertion Force (LIF) connector. Read the instructions before proceeding.
Warning—Potential Damage: When installing a cable into an LIF connector, care must be taken to avoid bending the
edges of the cables and damaging the contacts on the cables.
Inserting a cable into the LIF connector
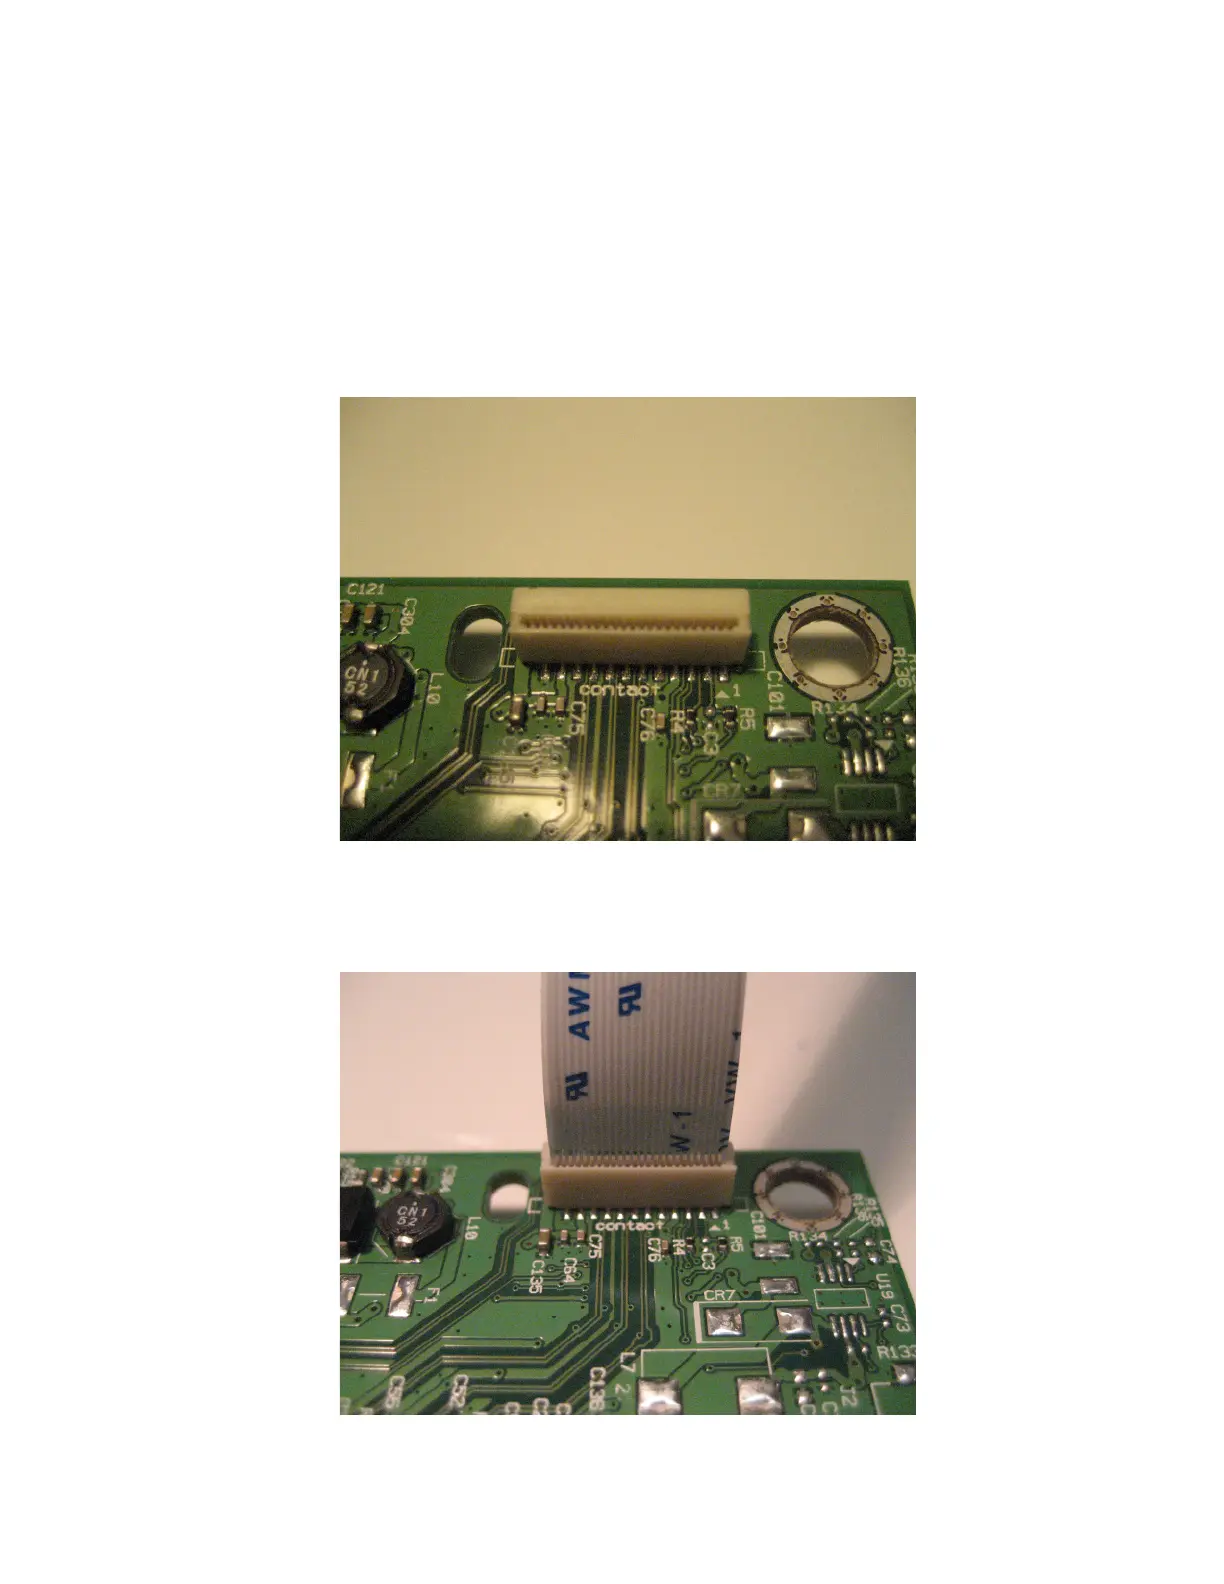
1 Looking at the connector, take note on which side the contacts are located. Many boards will have the word
“contacts” stamped on them to indicate which side of the LIF has the contacts. When looking at the board, take
note that the contacts from the board to the connector are located on the side of the connector with the contacts.
2 Insert the cable squarely into the connector.
Note: Verify that the cable is installed straight into the connector. If the cable is not installed properly, then
intermittent failures could occur.
7527
Repair information
245

Table of Contents

Other manuals for Lexmark CX310

Questions and Answers:

Question and Answer IconNeed help?

Do you have a question about the Lexmark CX310 and is the answer not in the manual?

Lexmark CX310 Specifications

General IconGeneral
Print TechnologyLaser
Scan TechnologyCIS
Scan ResolutionUp to 600 x 600 dpi
Duplex PrintingManual
Display2.4-inch color LCD
Processor Speed800 MHz
Standard Memory256 MB
Fax Speed33.6 Kbps
Operating System CompatibilityWindows, Mac OS, Linux
Print ResolutionUp to 600 x 600 dpi
ConnectivityUSB, Ethernet
Standard Paper Input250 sheets
Scanner TypeFlatbed, ADF
Fax Resolution300 x 300 dpi
Paper Capacity250 sheets
Network ConnectivityEthernet
Copy SpeedUp to 22 cpm (black), Up to 18 cpm (color)

Related product manuals