Front middle cover removal
1 Open the front cover.
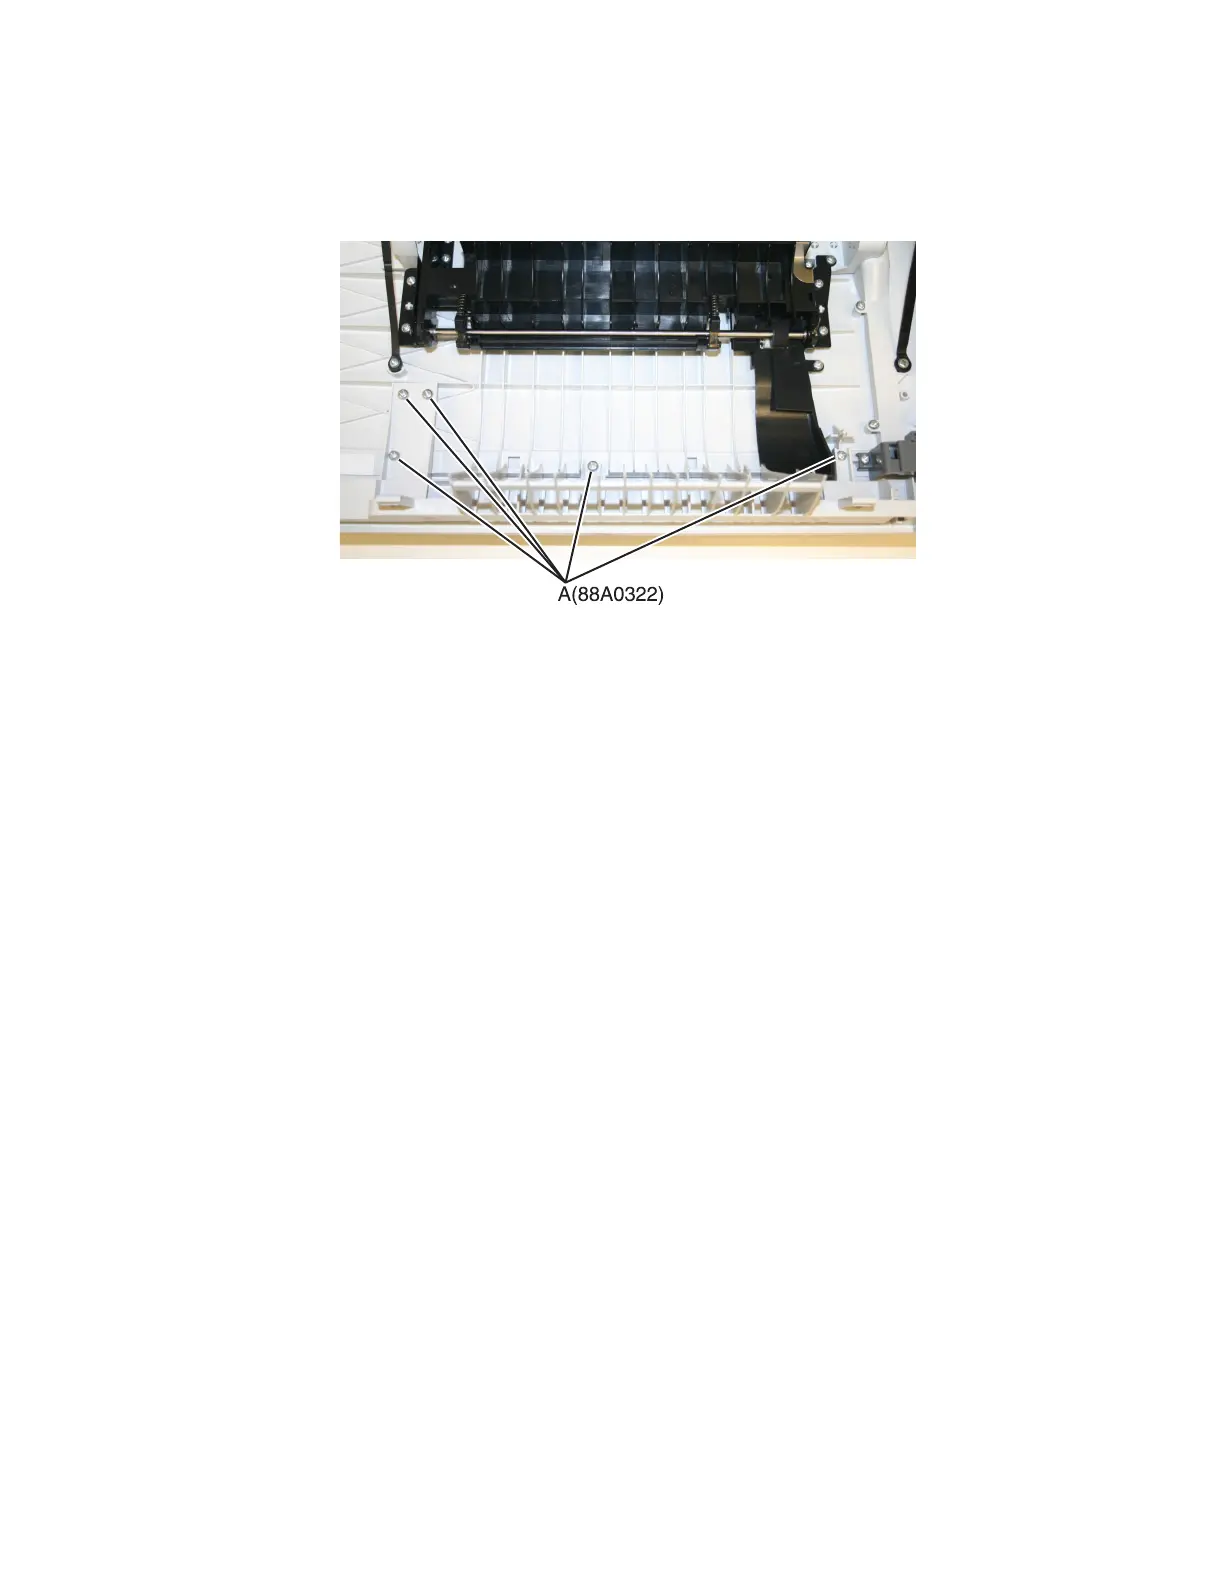
2 Remove the five screws (A) attaching the front middle cover to the lower front cover.
3 Pull the front middle cover away from the front cover to remove.
Front logo cover removal
1 Grasp the front logo.
Note: A flat-tipped screw may have to be used at the outer edges on the CX510. This cover part does not give
access to any other part and therefore does not need to be removed except for replacement.
2 Sharply pull the front logo.
Operator panel bezel removal
1 Lift the flatbed scanner on the right side.
2 Lift the bezel away from the operator panel, and remove.
Note: The picture below shows the bezel removal for the CX310 and CX410 models. The bezel for CX510 models
is removed the same way.
7527
Repair information
275