EasyManuals Logo

Lexmark CX310 Service Manual

Lexmark CX310
430 pages
To Next Page IconTo Next Page
To Previous Page IconTo Previous Page
Page #267 background imageLoading...
Page #267 background image
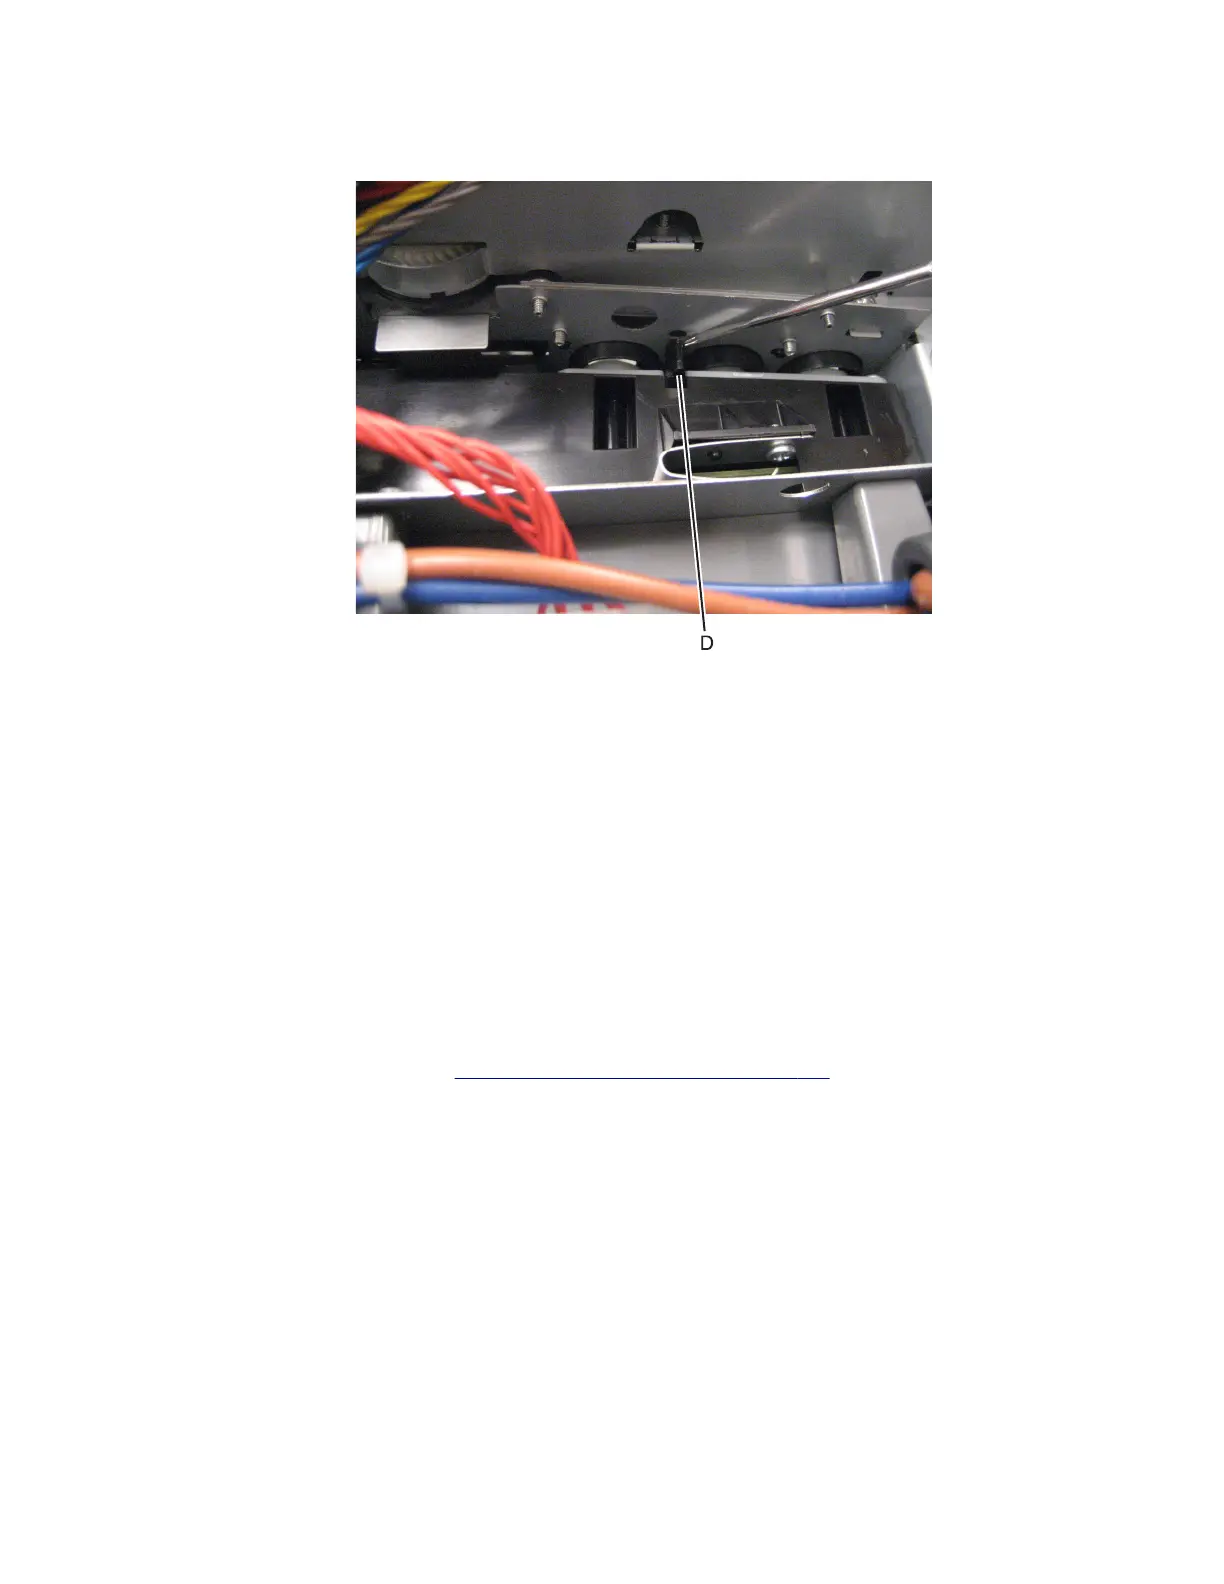
c Check the position of the card at the left side of the printer. The small vertical post (D) in the endcap has to be
positioned in the hole above it, as show below.
d Install the new cable, making sure the connector to the board is locked into position.
Note: Reinstall the screw to hold the HVPS to the right side of the printer.
Imaging unit (IU) removal
Note: The imaging unit is a customer replacement unit and is not a FRU.
Note: The imaging unit contains:
Photoconductor unit
Developer units
To remove only the photoconductor, remove the entire imaging unit, remove the developer units, place the original
developer units in the new photoconductor, and reinstall the imaging unit. When you replace the imaging kit, you are
replacing both the photoconductor and the developer units.
1 Remove the waste toner bottle. See “Waste toner bottle removal” on page 271.
2 Remove the toner cartridges.
7527
Repair information
267

Table of Contents

Other manuals for Lexmark CX310

Questions and Answers:

Question and Answer IconNeed help?

Do you have a question about the Lexmark CX310 and is the answer not in the manual?

Lexmark CX310 Specifications

General IconGeneral
Print TechnologyLaser
Scan TechnologyCIS
Scan ResolutionUp to 600 x 600 dpi
Duplex PrintingManual
Display2.4-inch color LCD
Processor Speed800 MHz
Standard Memory256 MB
Fax Speed33.6 Kbps
Operating System CompatibilityWindows, Mac OS, Linux
Print ResolutionUp to 600 x 600 dpi
ConnectivityUSB, Ethernet
Standard Paper Input250 sheets
Scanner TypeFlatbed, ADF
Fax Resolution300 x 300 dpi
Paper Capacity250 sheets
Network ConnectivityEthernet
Copy SpeedUp to 22 cpm (black), Up to 18 cpm (color)

Related product manuals