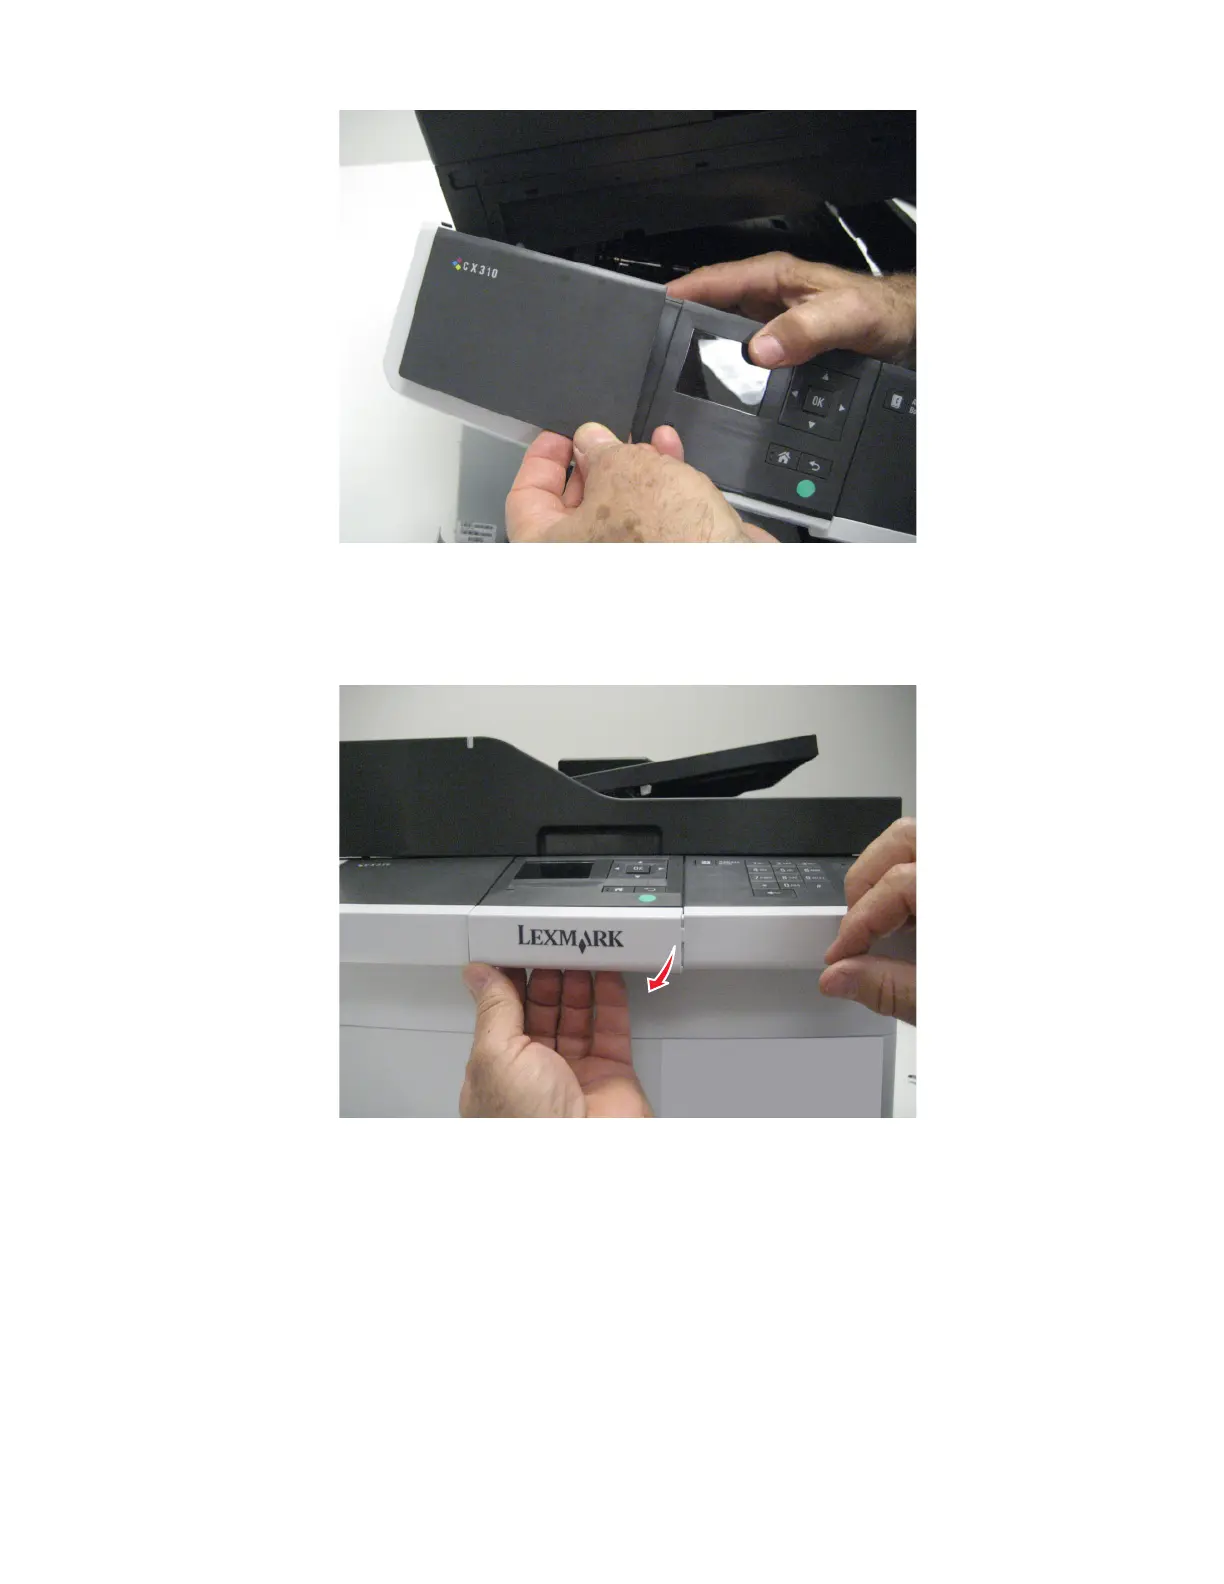
Operator panel logo plate removal
1 Pull the logo plate forward from the bottom to pop it loose from the operator panel.
2 Remove the operator panel logo plate.
Note: The CX510 bezel is larger and requires a higher force to remove. It does not need to be removed except for
replacement.
Operator panel removal (for CX310 and CX410 models only)
Installation warning: Replace one of the following components, and perform a POR before replacing a second
component. Never replace both of the components without performing a POR after installing each one, or the
printer may be rendered inoperable:
7527
Repair information
276