2 Remove the top cover sheet feed.
Right scanner cover removal
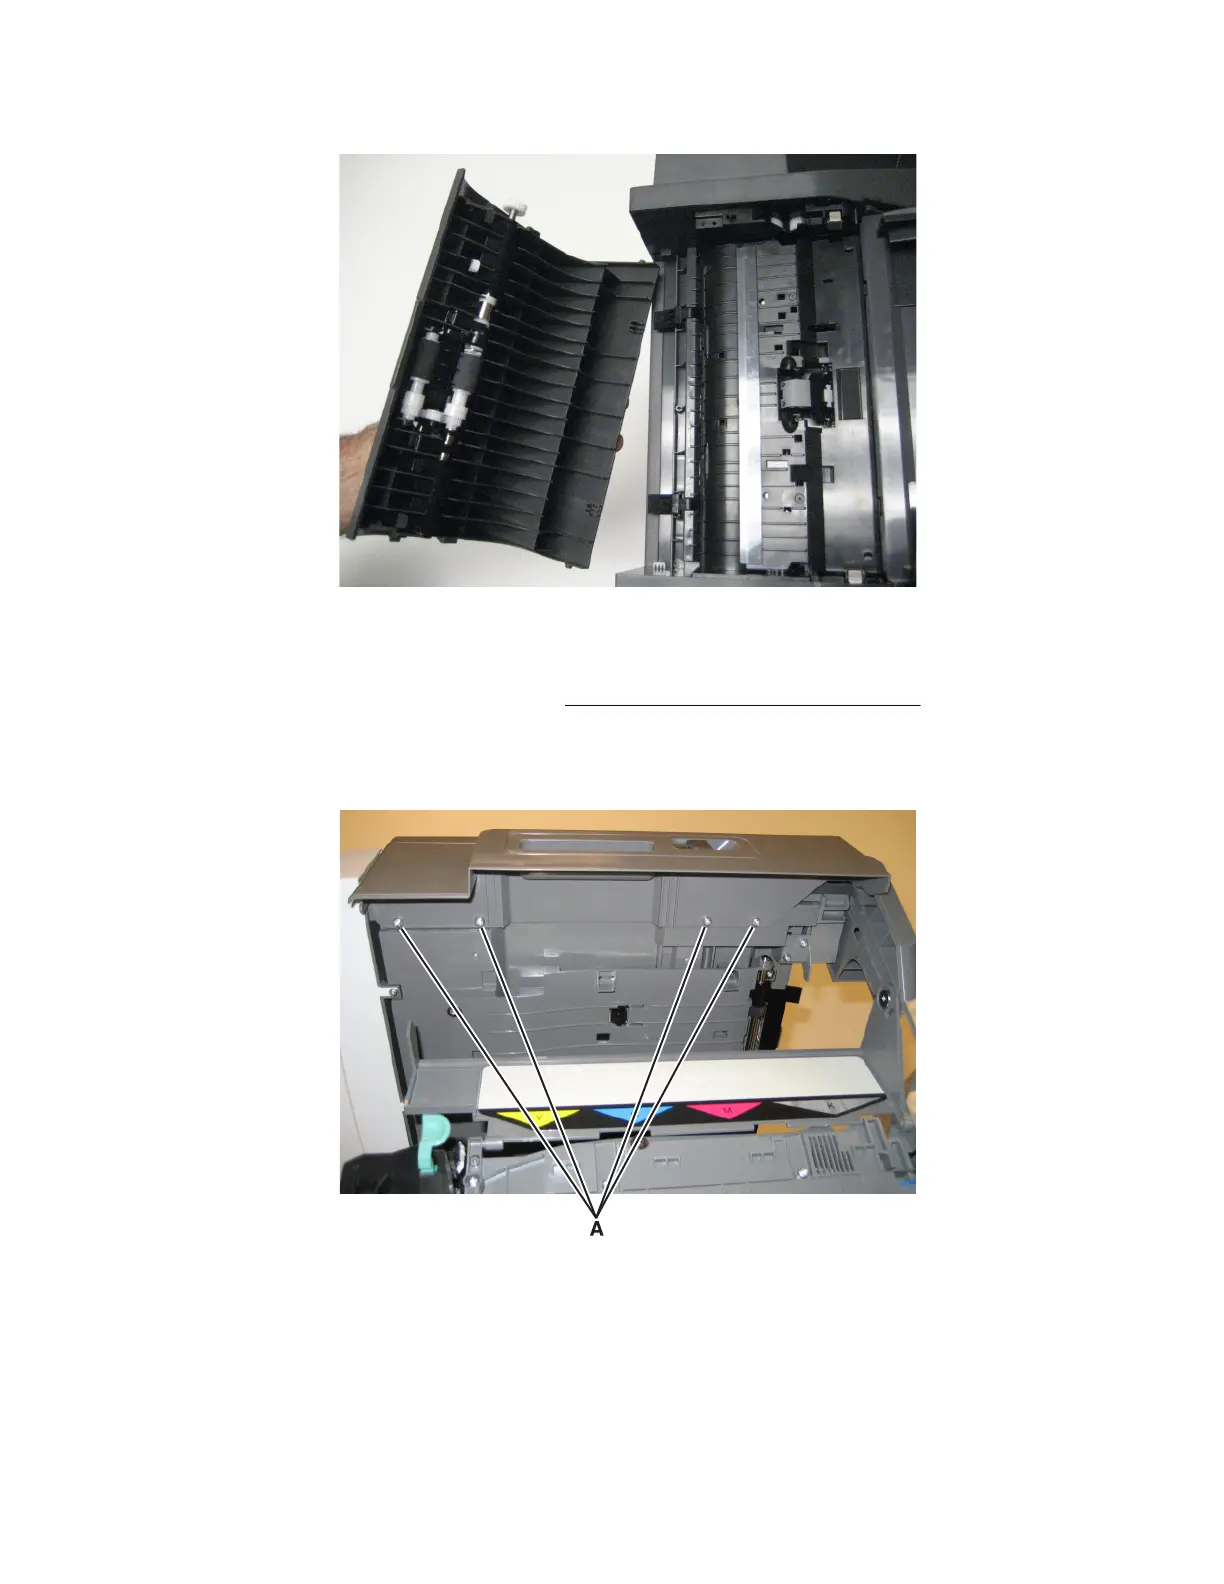
1 Remove the imaging unit in the print engine. See “Imaging unit (IU) removal” on page 267.
2 Raise the scanner assembly to the up position, and lock in place.
3 Remove the four screws (A) securing the right scanner cover to the flatbed unit.
7527
Repair information
331