EasyManuals Logo

Lexmark CX310 Service Manual

Lexmark CX310
430 pages
To Next Page IconTo Next Page
To Previous Page IconTo Previous Page
Page #292 background imageLoading...
Page #292 background image
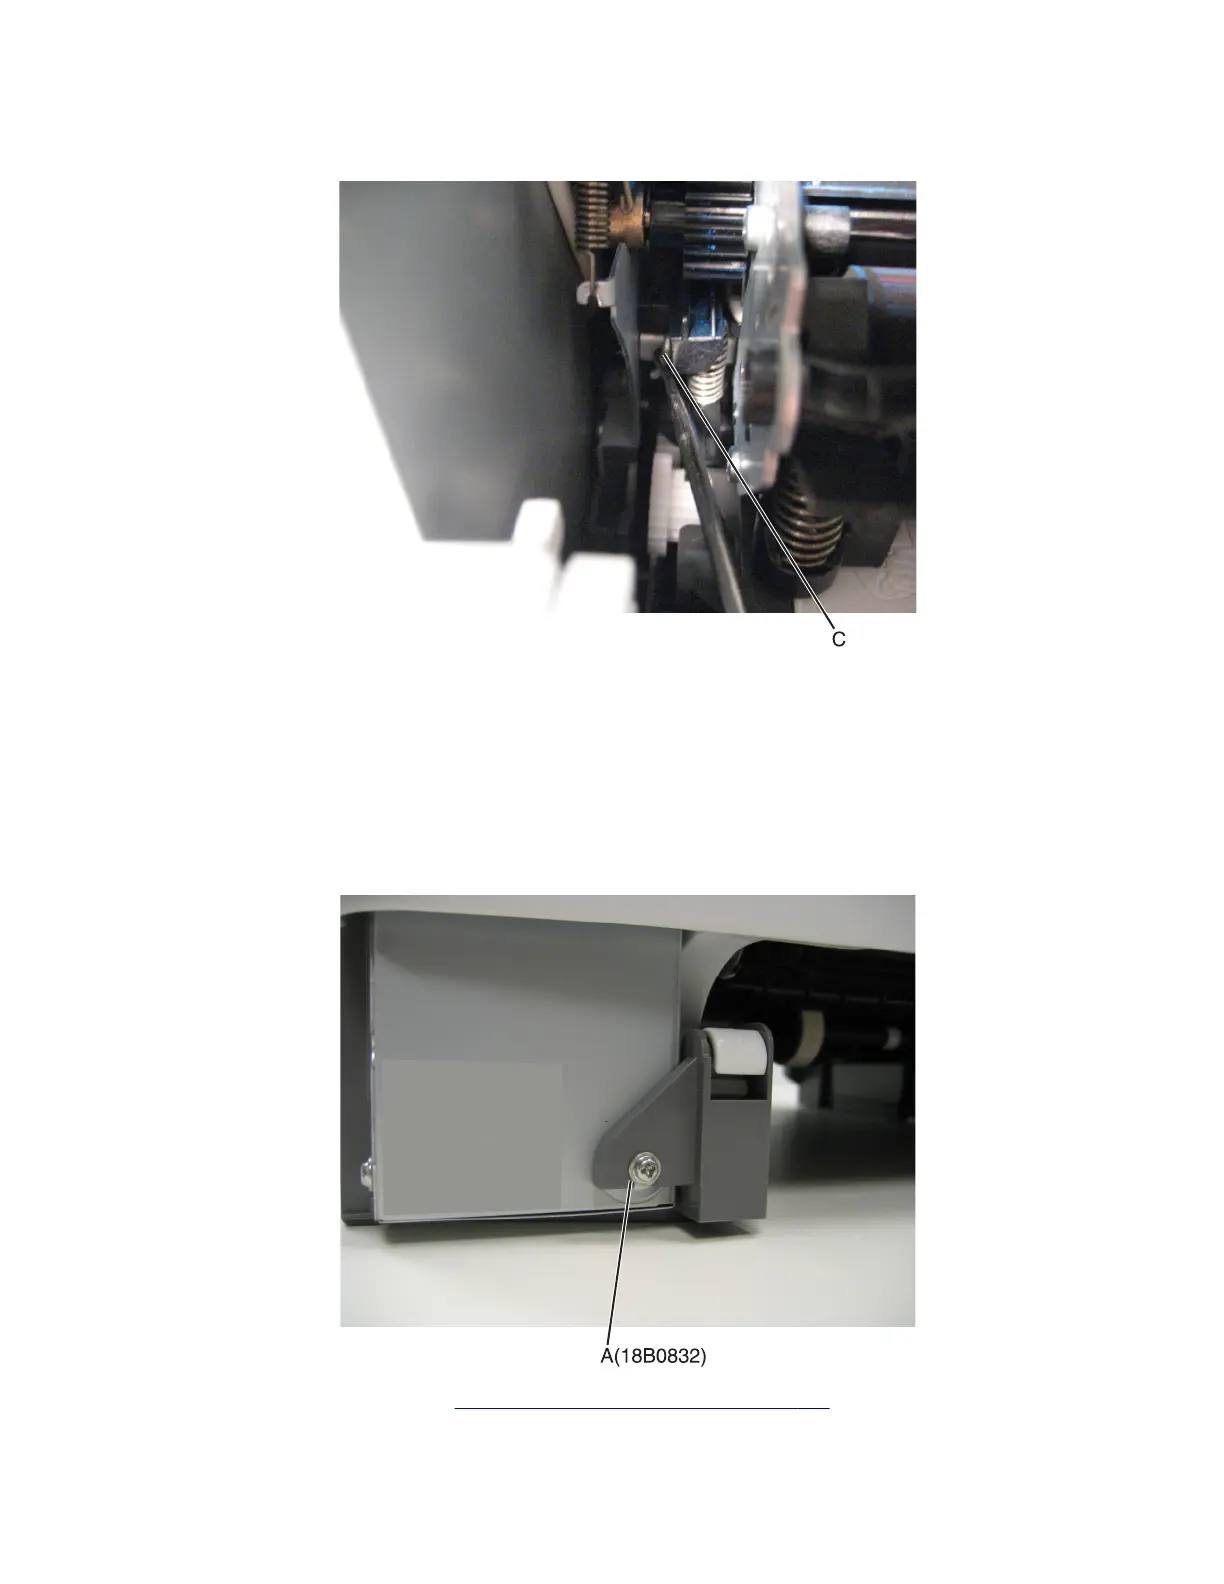
7 Rotate the release lever (C) in a counterclockwise direction with a springhook or needlenose pliers to decouple the
transfer module while pulling the transfer module toward the front.
8 Hold the release lever as you pull out the transfer module for the first four inches (100 mm), but a quick, firm pull
should overcome the latch at this point.
Lower left frame removal
Note: The right and left lower frames are in the same FRU.
1 Remove the media tray, and remove the screw (A) from the front.
2 Remove the waste toner bottle. See “Waste toner bottle removal” on page 271.
7527
Repair information
292

Table of Contents

Other manuals for Lexmark CX310

Questions and Answers:

Question and Answer IconNeed help?

Do you have a question about the Lexmark CX310 and is the answer not in the manual?

Lexmark CX310 Specifications

General IconGeneral
Print TechnologyLaser
Scan TechnologyCIS
Scan ResolutionUp to 600 x 600 dpi
Duplex PrintingManual
Display2.4-inch color LCD
Processor Speed800 MHz
Standard Memory256 MB
Fax Speed33.6 Kbps
Operating System CompatibilityWindows, Mac OS, Linux
Print ResolutionUp to 600 x 600 dpi
ConnectivityUSB, Ethernet
Standard Paper Input250 sheets
Scanner TypeFlatbed, ADF
Fax Resolution300 x 300 dpi
Paper Capacity250 sheets
Network ConnectivityEthernet
Copy SpeedUp to 22 cpm (black), Up to 18 cpm (color)

Related product manuals