3 Remove the imaging unit. See “Imaging unit (IU) removal” on page 267.
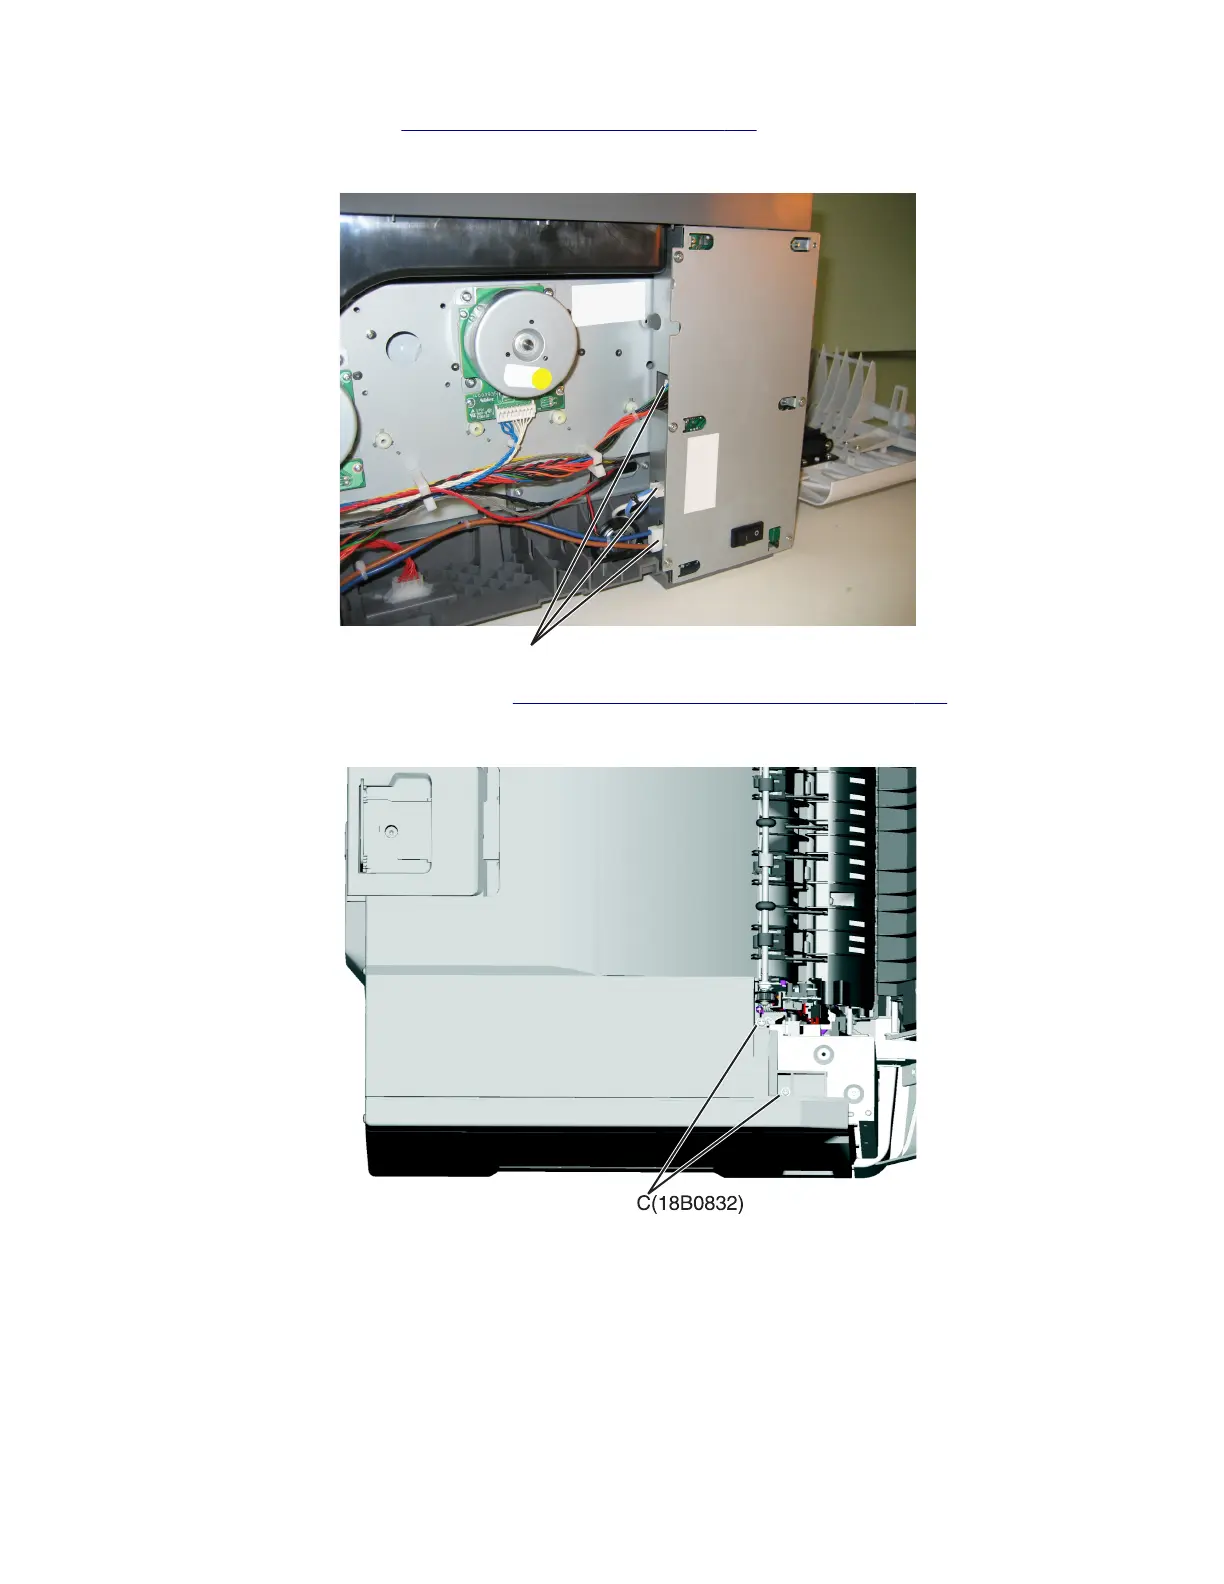
4 Disconnect the three cables (B) from the LVPS.
B
5 Remove the flatbed scanner assembly. See “Flatbed scanner assembly removal” on page 333.
6 Remove the two top screws (C) near the front holding the top cover to the LVPS shield.
7 Position the fuser cable (D) so that it can be pulled through from the front of the printer, and guide the cable through
to the front.
Warning—Potential Damage: Be careful not to damage the cable by pulling too hard or cutting the cable
insulation.
7527
Repair information
293