EasyManuals Logo

Lexmark CX310 Service Manual

Lexmark CX310
430 pages
To Next Page IconTo Next Page
To Previous Page IconTo Previous Page
Page #60 background imageLoading...
Page #60 background image
Actions Yes No
Step 5
Turn the printer on, and check the values at JBIN1:
Pin 4: 0 V dc (+5 V dc during cycle)
Pin 5: +0 V dc (unblocked), +3.3 V dc (blocked)
Pin 6: Ground
Are the values correct?
Replace the fuser exit
sensor. See
“Fuser exit
sensor removal” on
page 254.
Replace the controller
board. See
“Controller
board removal” on
page 309.
203 paper jams
[x]page jam, clear standard bin [203.xx]
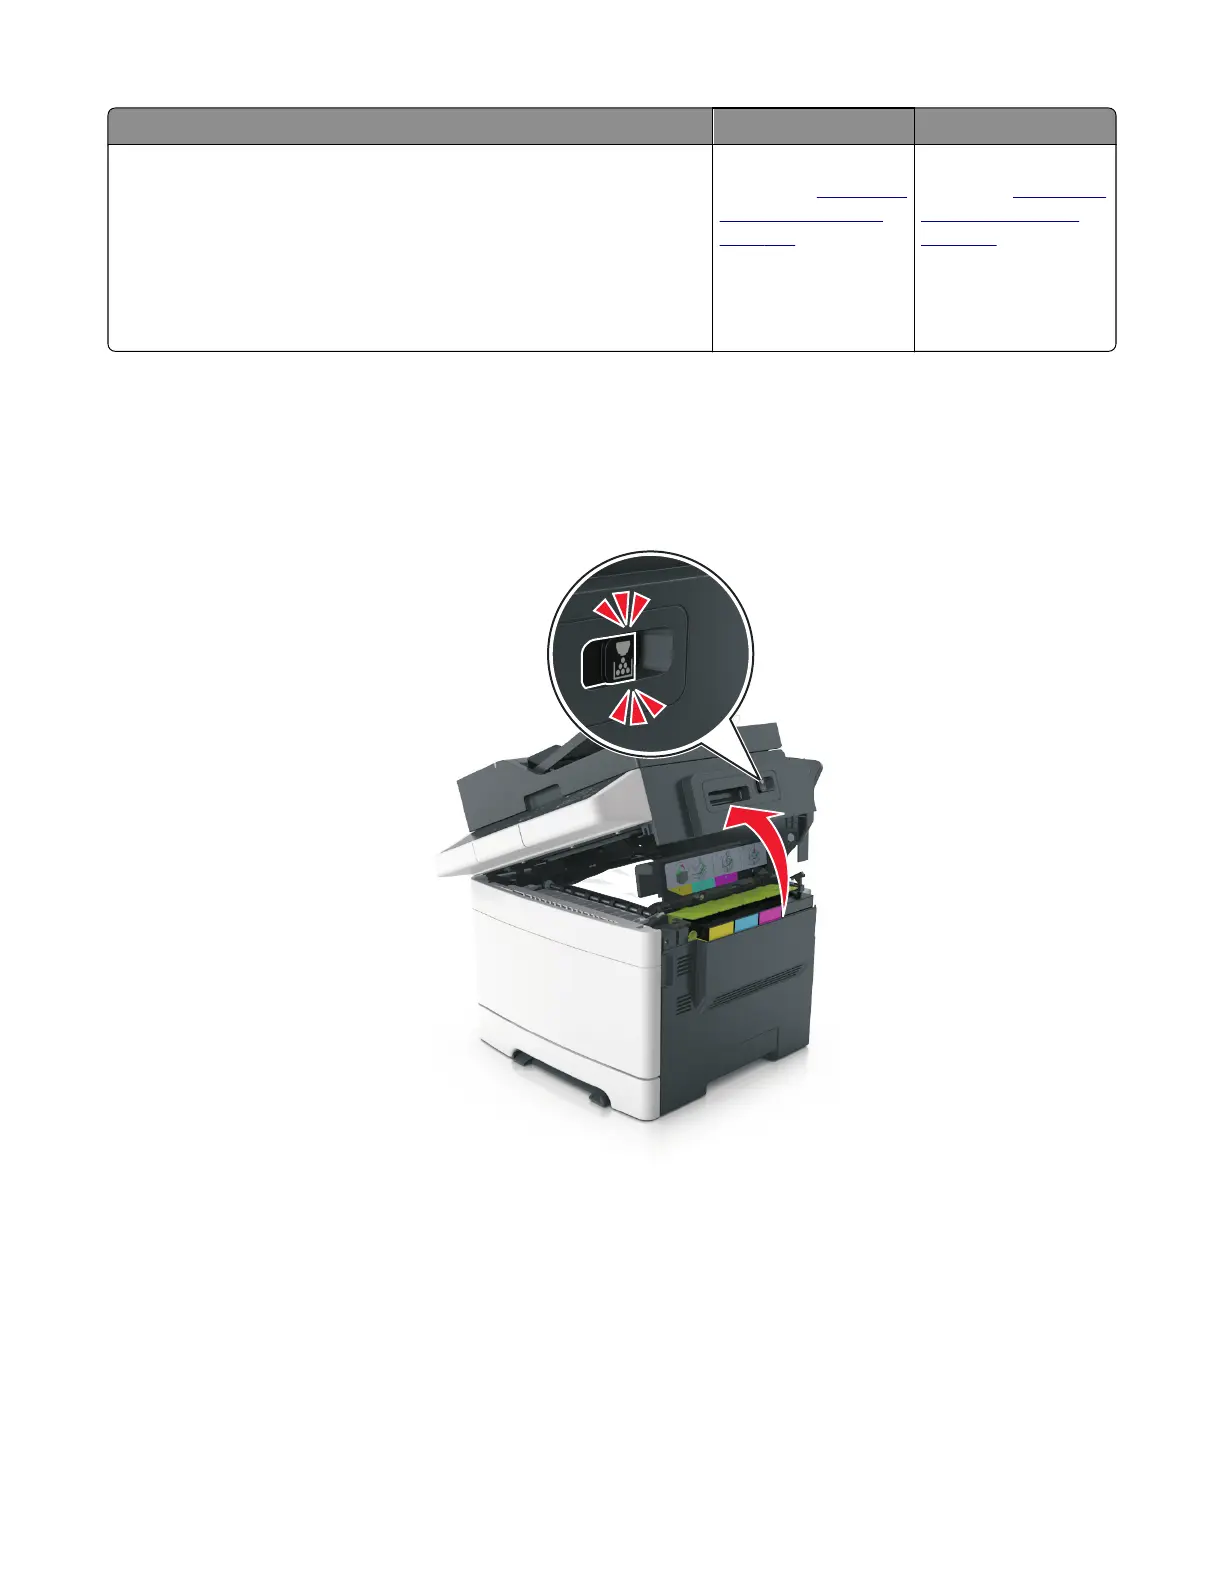
1 Open the top door.
2 Firmly grasp the jammed paper on each side, and then gently pull it out.
Note: Make sure all paper fragments are removed.
7527
Diagnostic information
60

Table of Contents

Other manuals for Lexmark CX310

Questions and Answers:

Question and Answer IconNeed help?

Do you have a question about the Lexmark CX310 and is the answer not in the manual?

Lexmark CX310 Specifications

General IconGeneral
Print TechnologyLaser
Scan TechnologyCIS
Scan ResolutionUp to 600 x 600 dpi
Duplex PrintingManual
Display2.4-inch color LCD
Processor Speed800 MHz
Standard Memory256 MB
Fax Speed33.6 Kbps
Operating System CompatibilityWindows, Mac OS, Linux
Print ResolutionUp to 600 x 600 dpi
ConnectivityUSB, Ethernet
Standard Paper Input250 sheets
Scanner TypeFlatbed, ADF
Fax Resolution300 x 300 dpi
Paper Capacity250 sheets
Network ConnectivityEthernet
Copy SpeedUp to 22 cpm (black), Up to 18 cpm (color)

Related product manuals