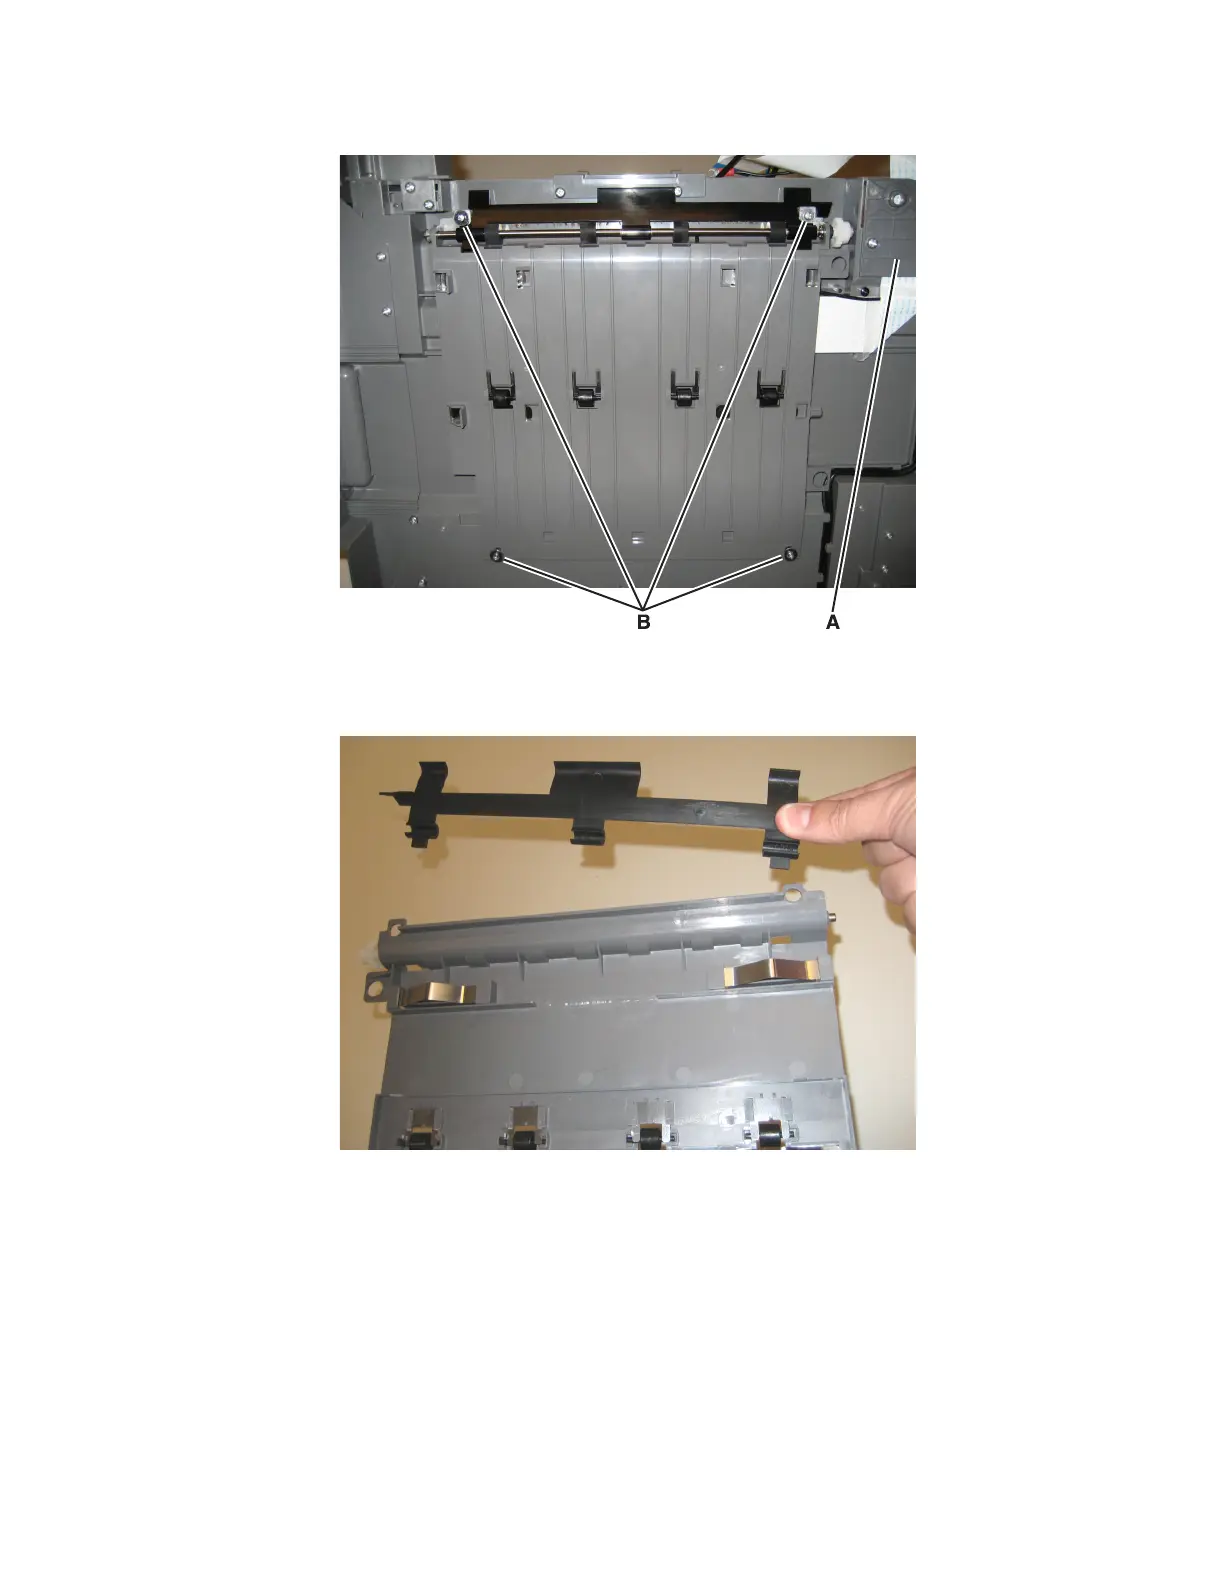
3 Remove the cable cover plate (A).
4 Remove the four screws (B) securing the redrive to the flatbed unit.
5 Remove the bin full sensor flag located on the rear shaft.
Note: Using a short (under 90mm long) #2 Phillips screwdriver, the redrive unit can be replaced by disconnecting the
AIO link at the flatbed and lifting the flatbed just enough to access the left side screws. Be careful to not stress the
cables in the left rear hinge.
7527
Repair information
325