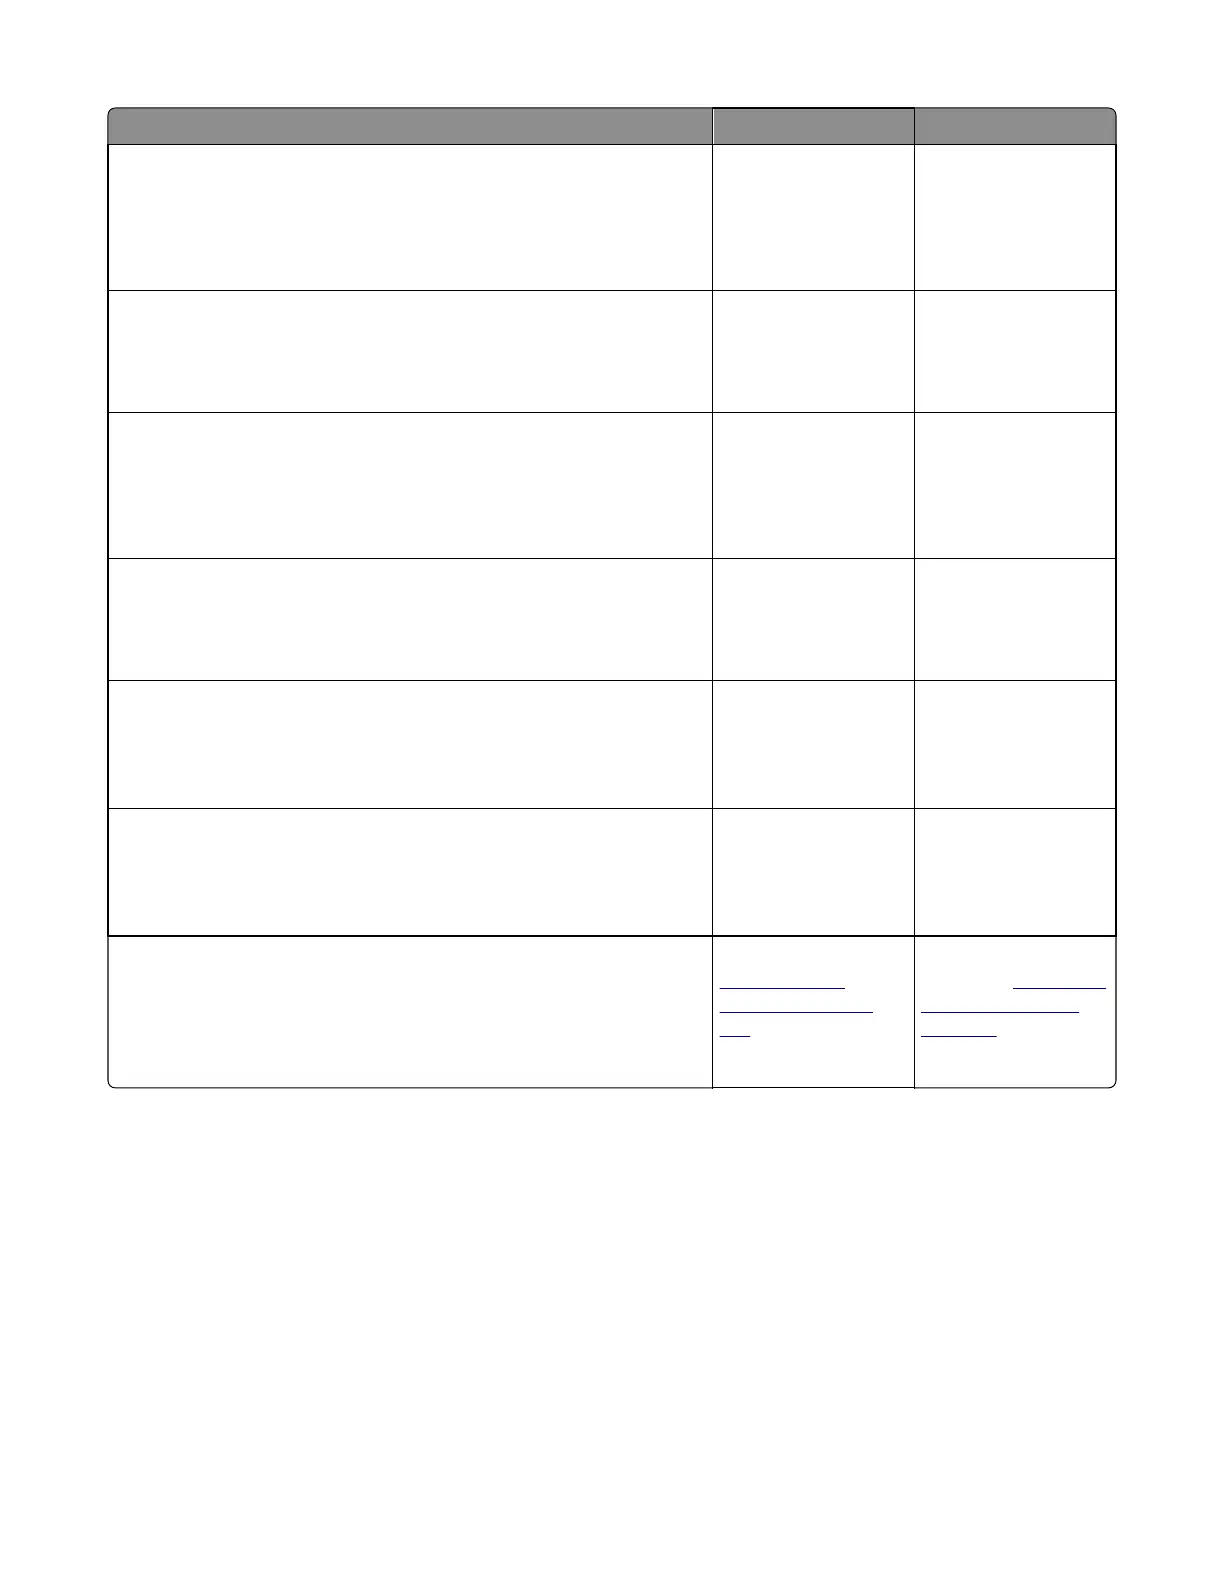
Actions Yes No
Step 4
On the bottom of the ADF cover, inspect the ADF cover closed sensor
actuator.
Does it move freely?
Go to step 6. Go to step 5.
Step 5
Fix the actuator so it moves freely.
Does this fix the problem?
Issue resolved. Go to step 6.
Step 6
Remove the ADF rear cover and inspect the ADF cover closed sensor for
dirt and debris.
Is there dirt and debris present?
Go to step 7. Go to step 8.
Step 7
Clean the dirt and debris from the sensor.
Does this fix the issue?
Issue resolved. Go to step 8.
Step 8
Inspect the connections on the ADF relay card in the ADF.
Are all the connections properly connected?
Go to step 9. Secure all the
connections.
Step 9
Check the ADF cable for continuity.
Is there continuity?
Go to step 10. Replace the ADF cable.
Step 10
Check for signals or voltages from JADF1 on the controller board. Pin 11
and 12 should measure +24VDC. Pin 5 should measure +14VDC.
Are there signals or voltages present?
Replace the ADF. See
“ADF assembly
removal” on page
326.
Replace the controller
board. See
“Controller
board removal” on
page 309.
7527
Diagnostic information
75