Dimmer effects and effect theory
Let's begin with some of the more basic effects. Select fixture 1 thru 10.
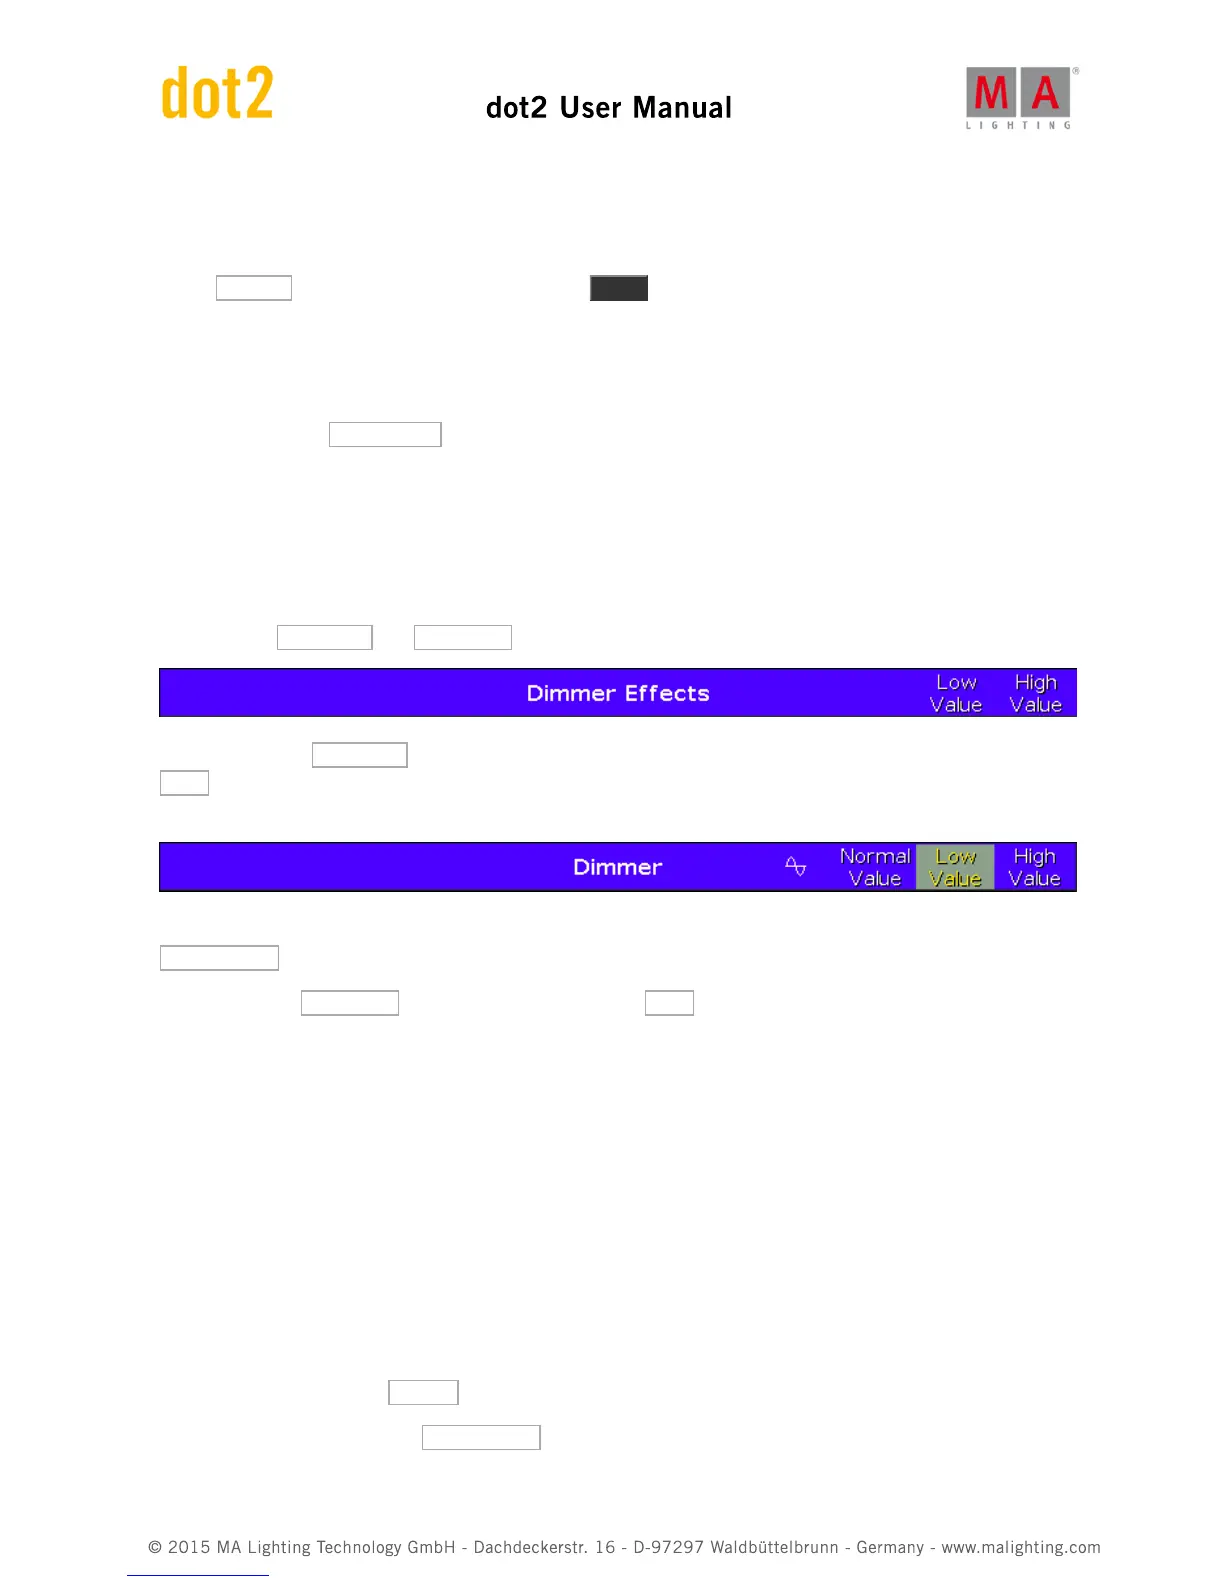
Select Dimmer in the Preset Type Bar and press the Effect key.
This opens the Dimmer Effect view. Here you have a selection of possible effects for the dimmer attribute. The left
side of the screen shows you the possible effects and the right side is different tools like "Shuffle selection" and all
the aligns.
Tap the effect called Soft Dimmer and look at the Fixture view. This have given us a moving sinus curve effect on
our ten fixtures. It goes from 0% to 100% percent.
Effects are the transition from one value to the other. It always moves between two values - and only two. We can
control how it should get from one value to the other, we can control the speed and whether they should all to this
at the same point on time or if they should be spread out.
Let's examine some of these settings. Let's begin with the two values. In the blue effect title bar you'll find two
buttons called Low Value and High Value . These are used to access and change those values.
Press where it says Low Value . This gives you the standard look for the dimmer value. Tap the button called
25% . Notice how this changes the lowest value in the Fixture view. Notice that the Dimmer title bar is now also
blue and there are two extra buttons in this view:
The left most button is a small sine curve. This doesn't change because we change the effect type. The
Normal Value button will take you back to controlling the normal value. We will examine what this means later.
Tap where it says High Value and then change the value to 75% . Now we have limited the effect to only run
from 25% to 75%. That's the High and Low values. Now tap the Sinus Icon. This takes us back to the effect view.
We could also have set the Low and High Values using the left encoder.
Try to turn encoder number 2. This changes the speed of the effect.
The third encoder controls something called Phase. This is what we call the spreading of the fixtures over the time
of the effect loop. Try to press the encoder and set the value to 0. Now all ten fixtures are doing the same in the
same. They are in other words at the same time in the effect loop phase. Even if you now turn the encoder, then
nothing really seems to happen. This is because all the fixtures are still at the same point in the loop, we are just
mowing where in the loop. If we want to remake the effect to what it was before, then we need spread the fixture
throughout the loop. This loop is also often described as a circle. That's why the phase is a degree. There are 360
degrees in a circle so if we want to spread all the fixtures evenly through the loop then they need to have a phase
from 0 to 360 degrees. Because of mathematics (a bit too complex to begin to explain here). Press the encoder
and select the button called 0..-360 . And we are back.
Before moving on please tap the Hard Dimmer . This gives us a chaser style dimmer effect. The right most encoder
have control over something called width and Softness. Try to turn it. A small width gives you less fixtures on at the