Pathway Technical Reference Manual
Proprietary 94 of 190
8.5 Add \ Edit Departments
The department list can be managed from the utility menu. It is possible to add, edit or
remove departments as needed. It is not possible to remove a department if there are patients
associated with it.
Department management is enabled according to the authorization level of
the current user. For further information, refer to section 10.1.6
1. From the menu bar select Utilities and then Department.
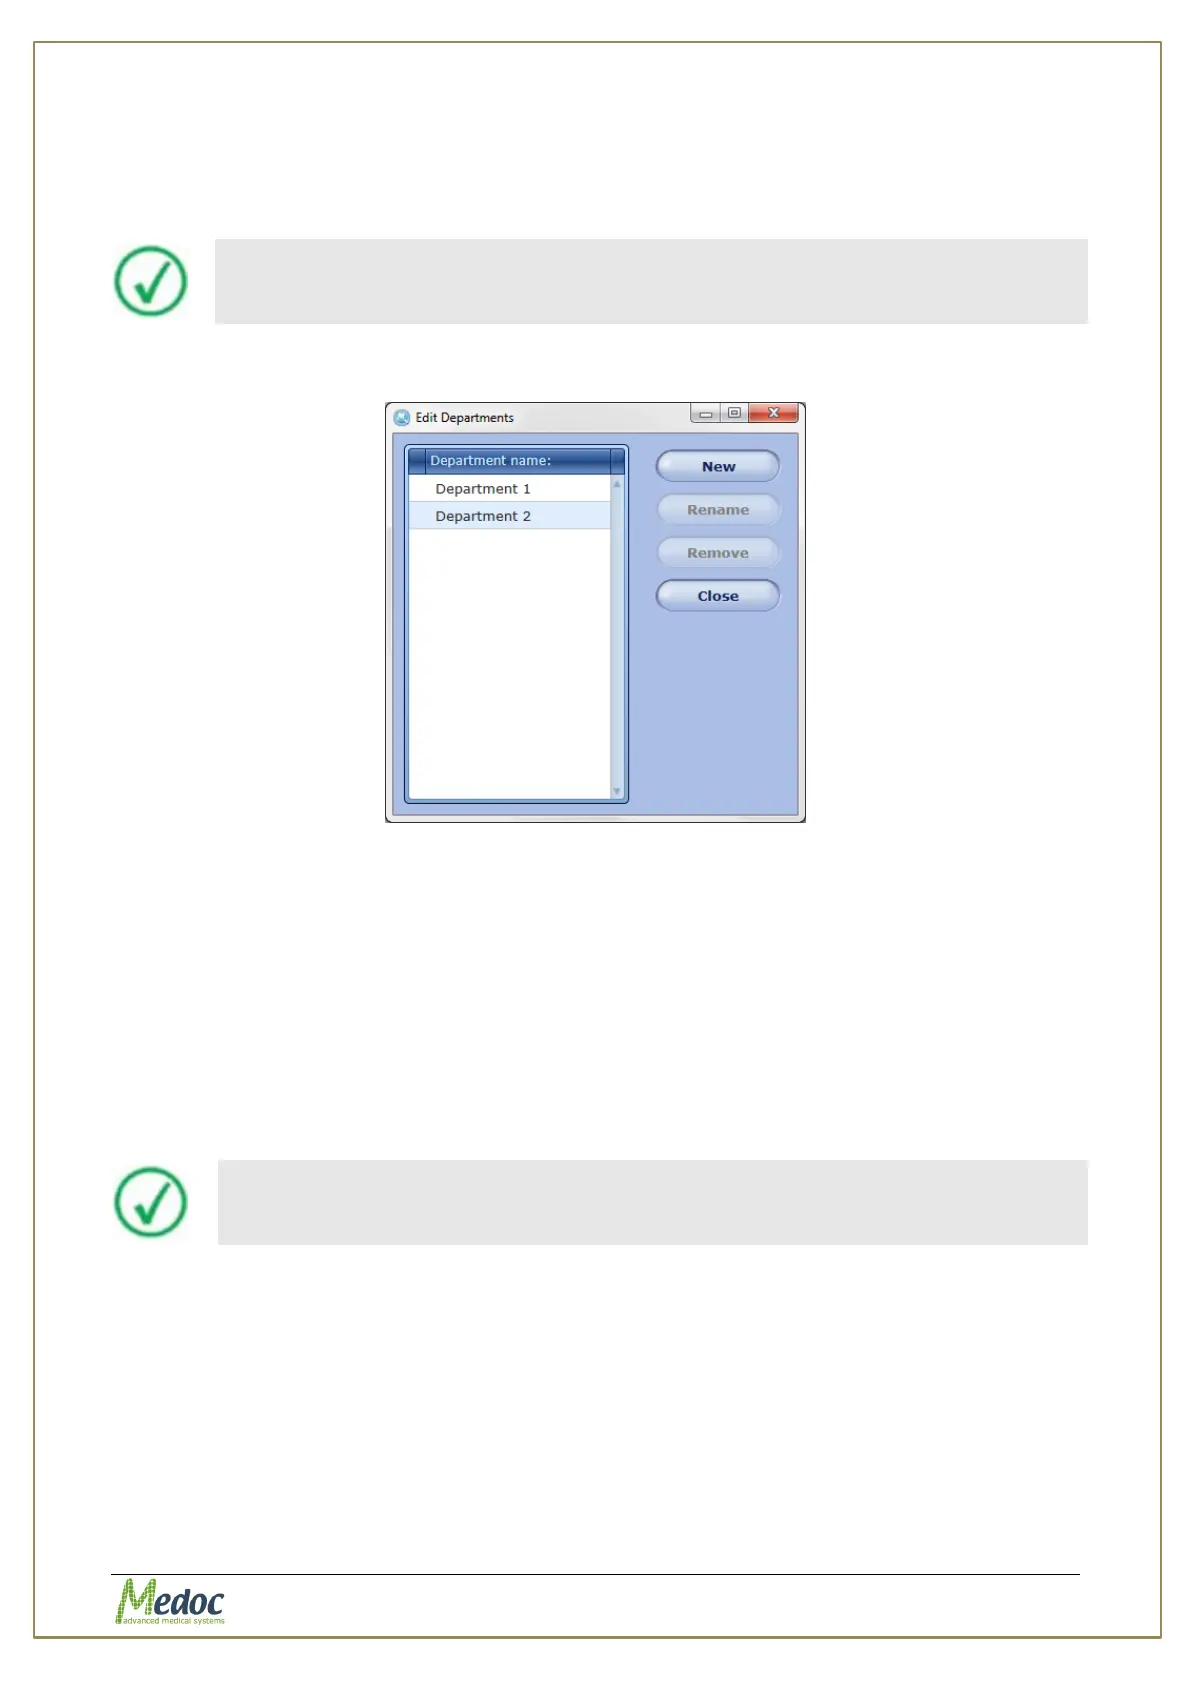
The Edit departments menu is displayed:
Figure 56: Edit Department Menu
2. To add a new department, click the New button; then, type the department name.
3. To rename a department, select the required department; then click the Rename button.
4. To remove a department, select the required department; then click the Remove button.
At the prompt click the OK button.
5. To close the dialog, click the Close button.
8.6 Import / Export Patient Records
Patient details can be exported and saved for backup or imported into another Pathway
system. The export format uses a secure and unique format that can be accessed by Medoc
Main Station software only.
Importing and / or exporting patient data between different software
versions may result in compatibility errors and loss of data. Check
database compatibility before proceeding.
8.6.1 Export Patient Records
In order to export programs follow the procedure below:
1. Open the patient list in the Patients screen.
2. Select the patient records to export. Multiple selection is possible by holding down the
Shift or Ctrl and Shift buttons on the keyboard
3. From the menu bar select File and then Export.
4. Enter a file name for the exported patient records and select the save location.
5. Click the Save button.
The selected patient records are saved to the selected location under the selected name.