10. Open the mold.
11. Check the machine has been locked out / tagged out. Refer to the
controller and machine manufacturer’s documentation for procedures.
12. Install and torque the cavity plate mounting screws. Torque to required
specications. Refer to assembly drawings for required torque settings.
13. Install hoses if required.
14. Remove latches from both sides of the mold.
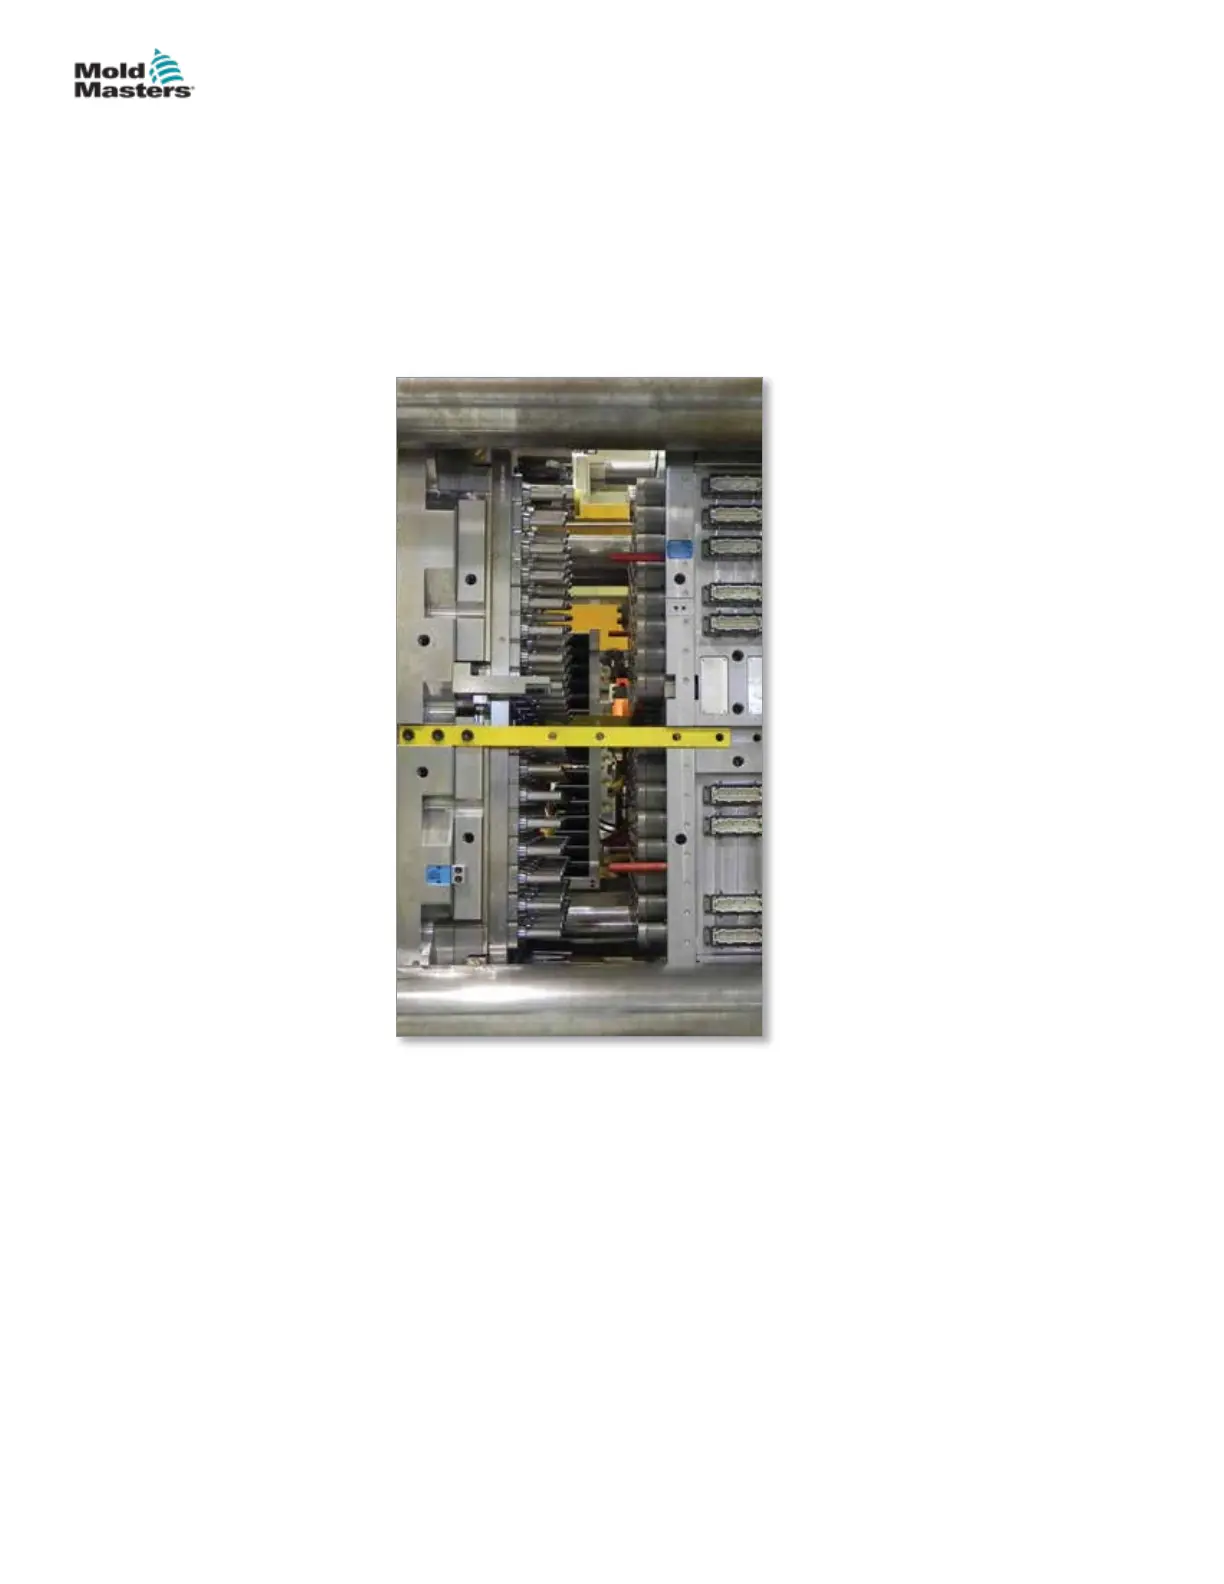
Latch the Cavity Plate to the Manifold Plate - continued
15-23MAINTENANCE
Hot Runner User Manual
© 2020 Mold-Masters (2007) Limited. All Rights Reserved.