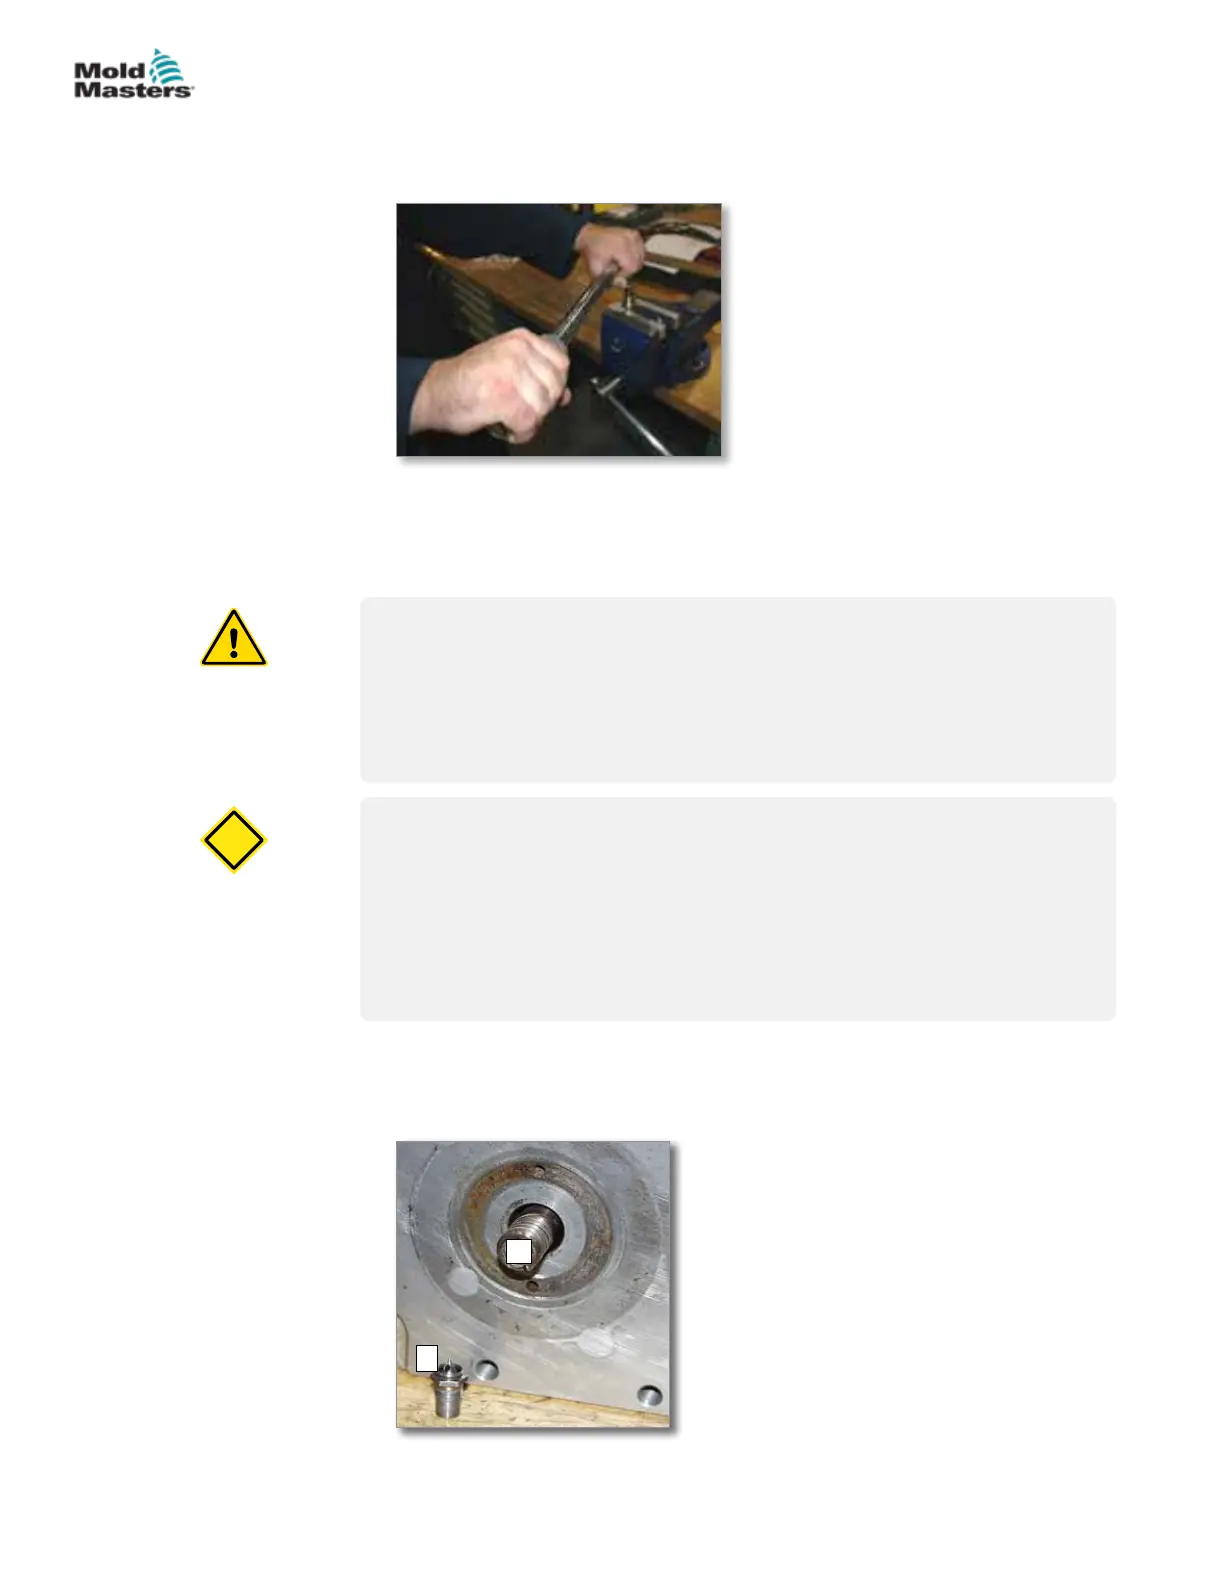
4. While the nozzle is still hot, apply a loosening pressure to the gate using
the socket to remove the seal.
5. Turn o the controller and wait for 5 minutes.
6. Remove the gate seals.
15.5.3 Gate Seal Replacement
WARNING
Ensure nozzles have cooled to room temperature. Failure to do so may
cause serious injury.
High temperature on the nozzle. Wear safety clothing such as heat-
resistant coat and heat-resistant gloves. Failure to do so may cause serious
injury.
CAUTION
It is critical that seal surface is perfectly clean. Failure to clean properly may
result in nozzle and seal damage and leakage.
Any anti-seize compound that enters the internal runner must be removed
to prevent contamination of melt.
Failure to torque the gate seals at processing temperatures may result in
leakage.
CAUTION
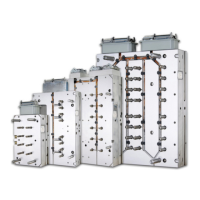
1. Clean the nozzle, especially the thread and runner.
2. Clean all residual plastic from the threads and counter bore of the gate
seal.
A
A
Figure 15-8 (A) Cleaning location
Gate Seal Removal - continued
15-14
© 2020 Mold-Masters (2007) Limited. All Rights Reserved.
MAINTENANCE
Hot Runner User Manual