26 July 2002 PROCESS CONTROL
6-17
Detailed
Descriptions
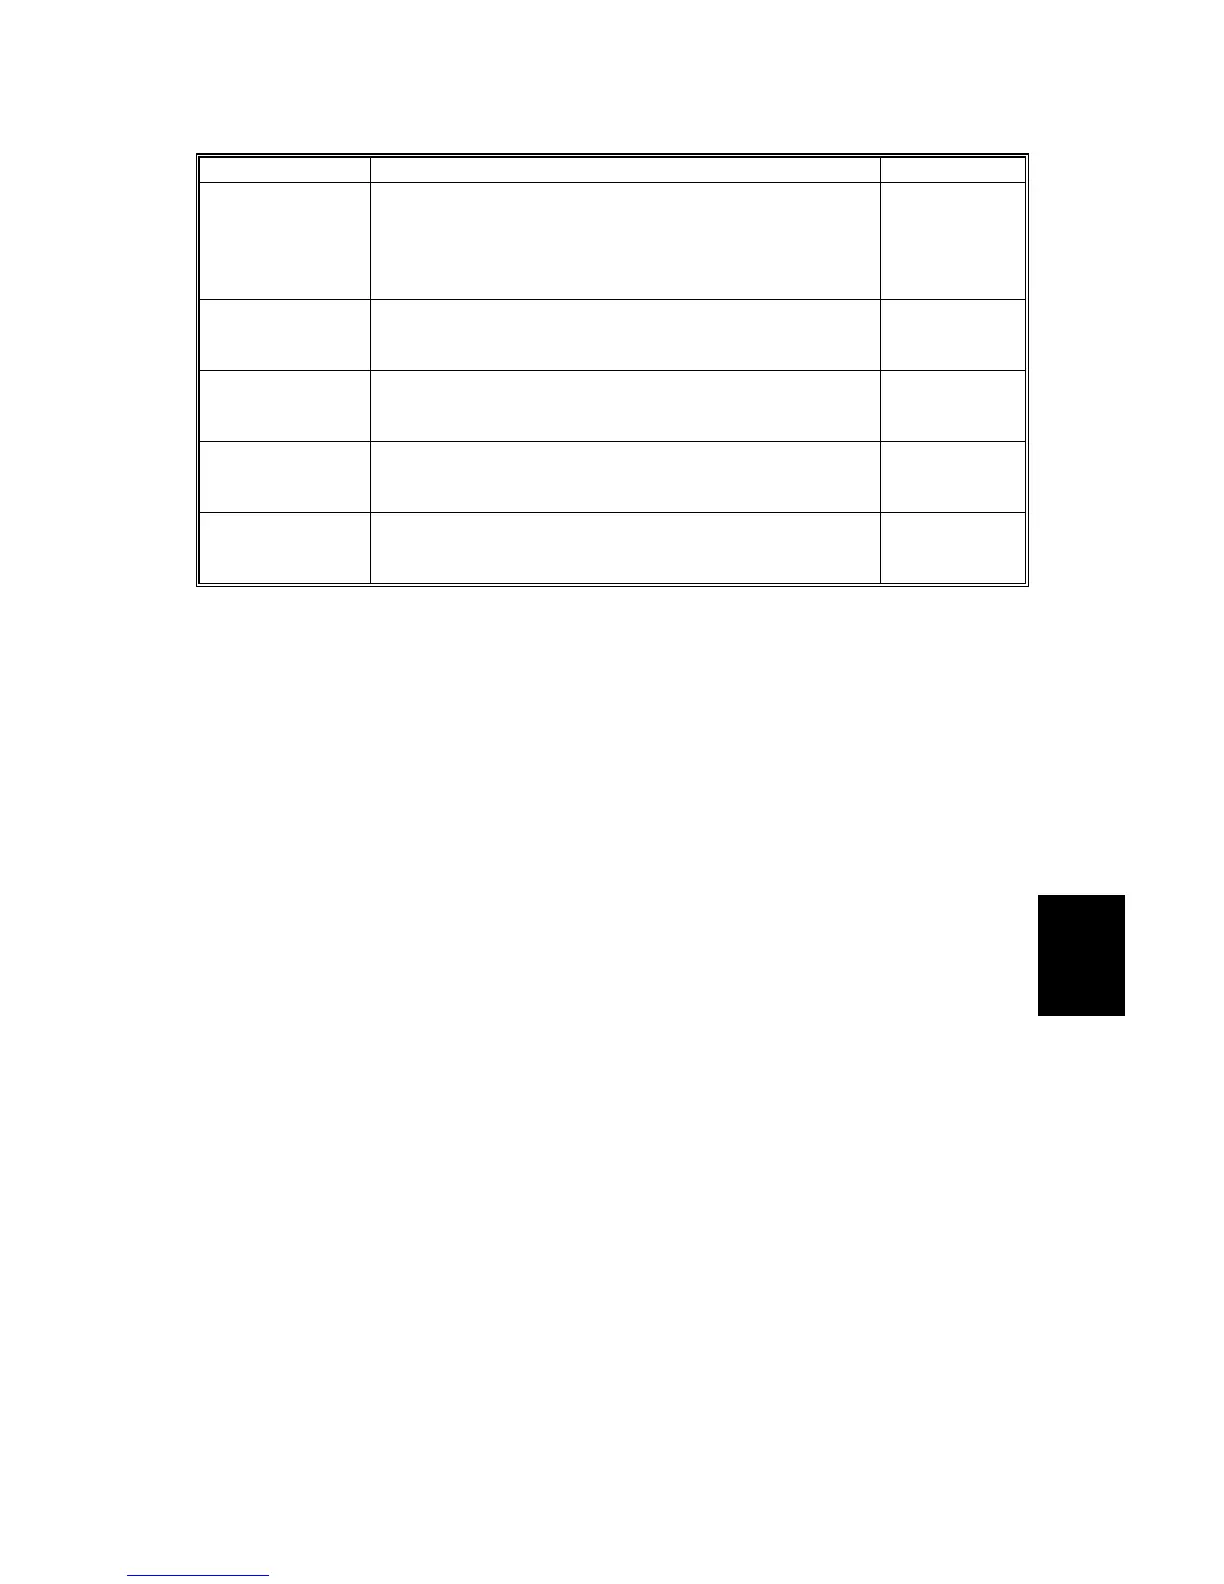
Event Condition Steps
K toner cartridge
or K development
unit replacement
This is done after clearing the K toner near-end state
(i.e., when a new K development unit is added). The
machine idles and when the development roller stops for
10 seconds, indicating that idling is over, process control
occurs.
➀, ➂, ➃, !
Color
development unit
replacement
After the color toner end or near-end state is reset, the
machine idles to transfer color toner to the development
unit. After idling, process control occurs.
➀ → ➅
Color toner
cartridge
replacement
After the color toner end or near-end state is reset, the
machine idles to transfer color toner to the development
unit. After idling, process control occurs.
➀, ➃, ➄, ➅
24 hours after
previous process
control
Same as ‘power on’ process control
➀, ➃, ➄, ➅
PCU replacement After the PCU counter is reset, it is lubricated (new OPC
belt lubricant application mode). Then process control
occurs.
➀ → ➅
Supplementary Information on Process Control
The following is a brief explanation of process control. This is for your reference. If
the information is helpful for understanding the machine in the field, read the
following explanation.
Step 1. ID Sensor Calibration
This calibration compensates for changes in the condition of the OPC belt or the ID
sensor. The ID sensor detects the light reflected from the bare OPC belt. The LED
current is adjusted until the sensor output is correct. The LED current for the color
toner detection circuit is adjusted based on the adjustment made for the black toner
detection circuit.
Step 2. Initializing Color Development Bias
For each color, the machine makes a solid patch (20x25) of toner on the OPC belt.
The ID sensor detects the density of the patch. The laser power for the patch of
toner is constant at about 210/255. Each color is calibrated separately (this step
has three stages - one for each color). M/A must be the following for areas of
maximum image density: 0.65 mg/cm
2
, Range:0.40 to 0.90 mg/cm
2
. If the detected
M/A is different from the target M/A, the development bias is adjusted.
Colour development bias initialisation is not always done. This is to reduce the
amount of time taken for process control. Also, in step 4, the current colour
development bias values are fine-tuned to correct for any changes in the machine
or temperature/humidity since the last full process control.
This step always has to be done when installing a new development unit. The toner
amount carried by a development roller varies with each unit. (The toner amount
used for a certain development bias is not the same.) Black development bias
initialisation (step 3) has to be done more often, because tests have shown that
process control errors occur more often if this is not done.
 Loading...