COPIER (B051/B052) 26 July 2002
1-12
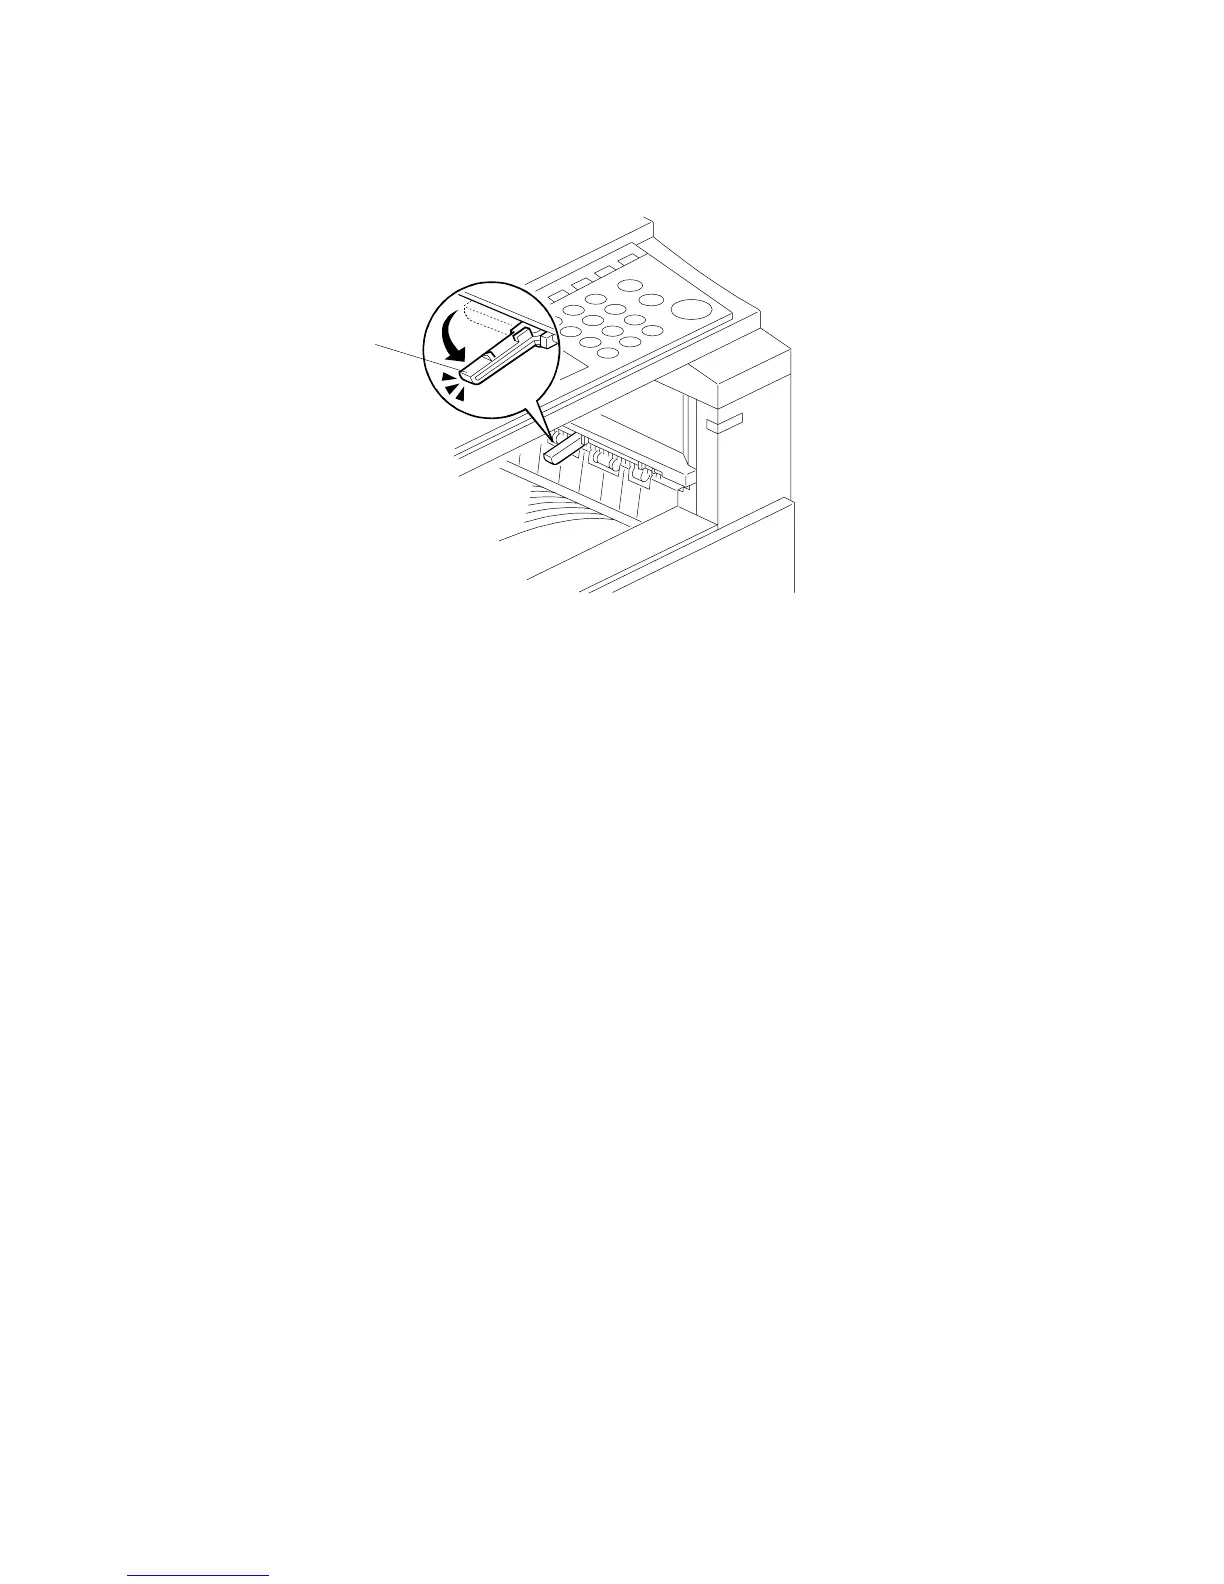
17. If the optional bridge unit will not be installed: Swing the sensor feeler [A]
out.
18. Install the optional ARDF or the optional platen cover (see ARDF Installation or
Platen Cover Installation).
19. Plug in the machine and turn the main power switch on. The machine
automatically performs the initialization procedure. After this has finished, the
Start button LED turns green.
20. Make copies of image samples (text, photo, and text/photo modes).
21. Perform Automatic Color Calibration (ACC).
NOTE: Since this machine has been subject to color adjustment using
Automatic Color Calibration (ACC) at the factory, there is no need to
make automatic color calibration again if the customer is satisfied with
the image sample. If the customer is not satisfied, do the following.
1) Print the ACC test pattern (UP mode – Maintenance – ACC – Start).
2) Place the printout on the exposure glass.
3) Place 10 sheets of white paper on top of the test chart. Then, close
the ADF or platen cover.
4) Press “Start Scanning” on the LCD panel. The machine performs the
ACC.
22. Make sure that the sample image has been copied normally.
23. After installing the machine and all options, and making all test copies, initialize
the total counter (SP 7-825) if required by the service contract.
B051I129.WMF
[A]
 Loading...